|
|
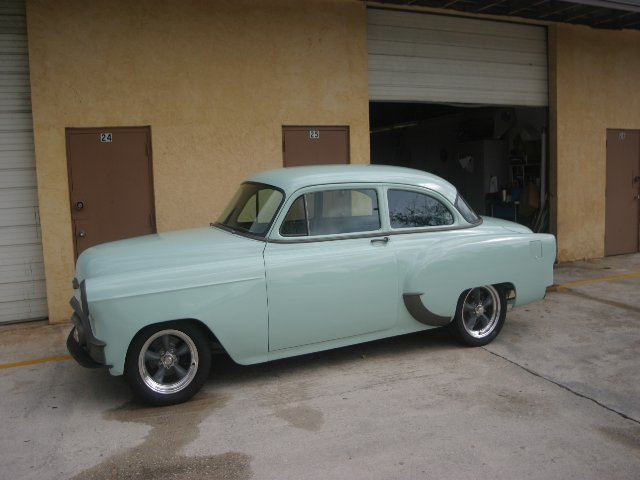
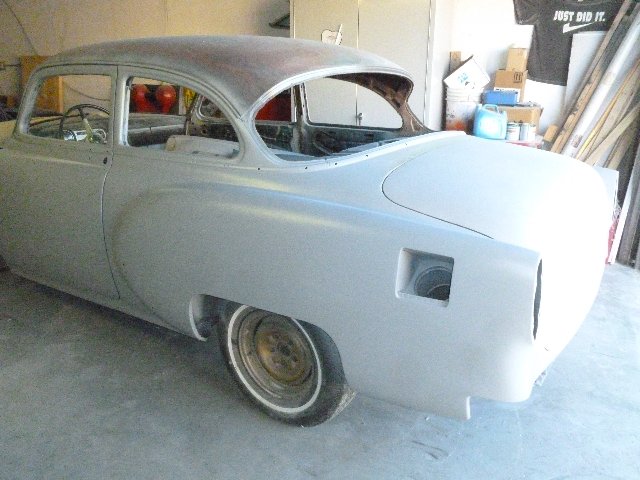
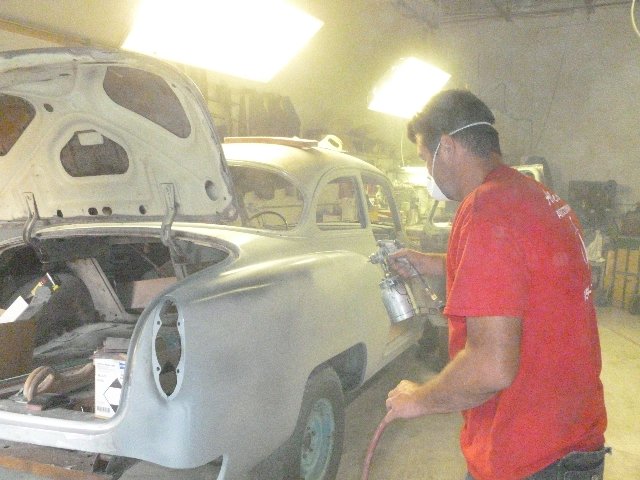
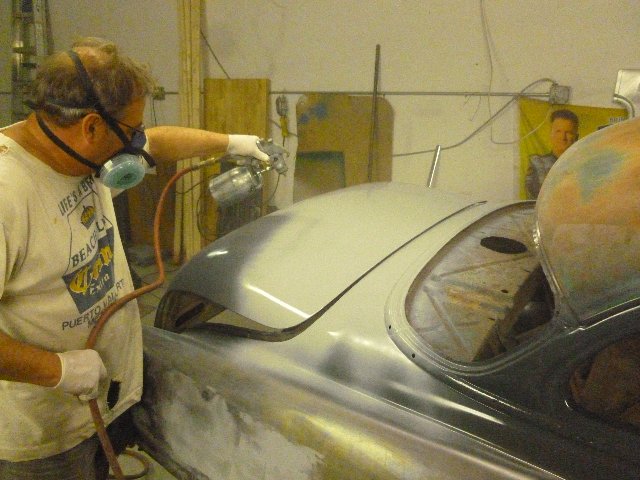
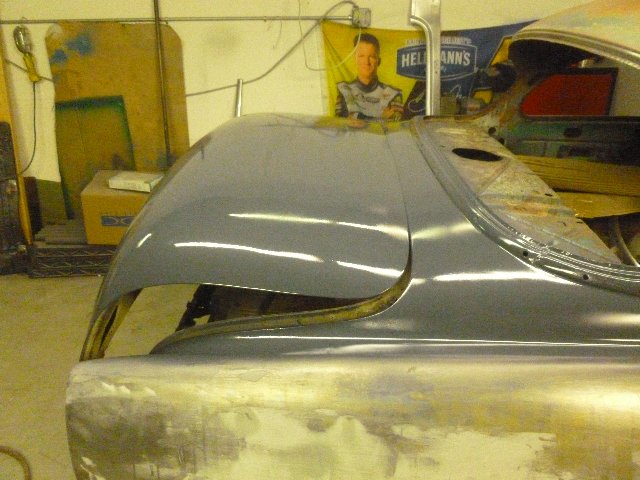
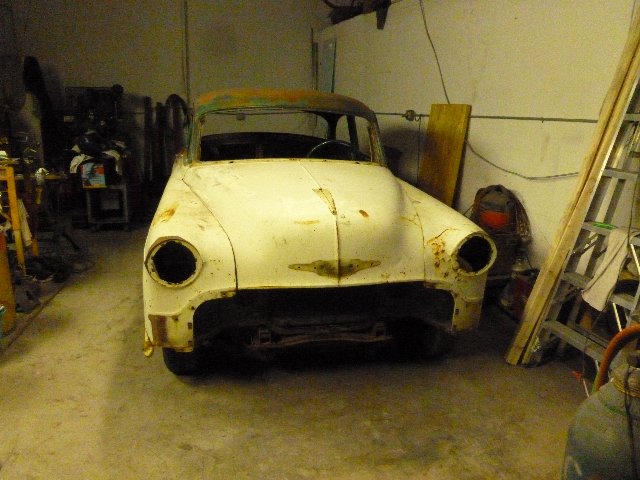
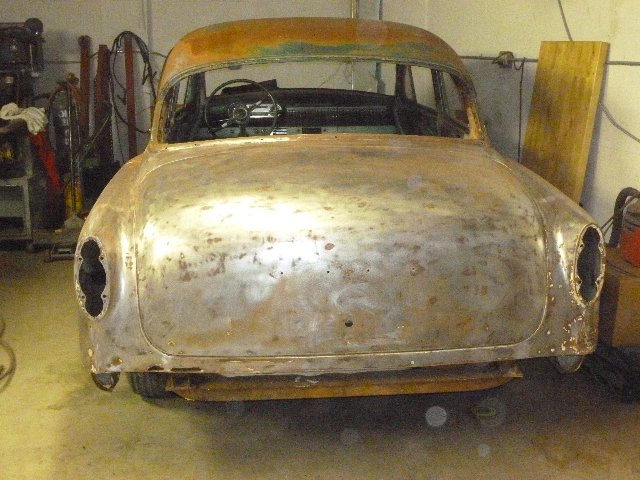
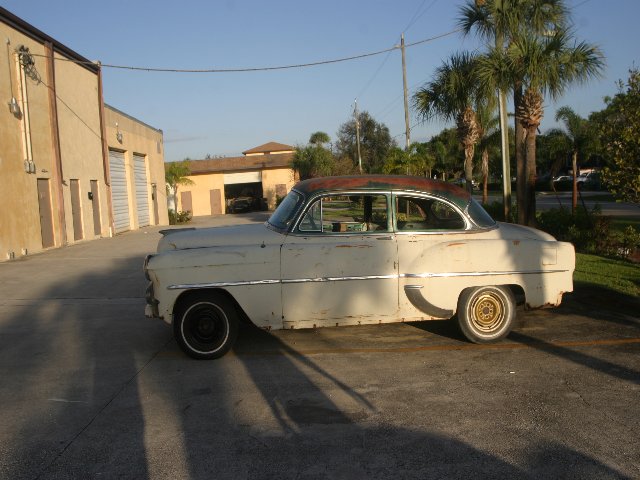
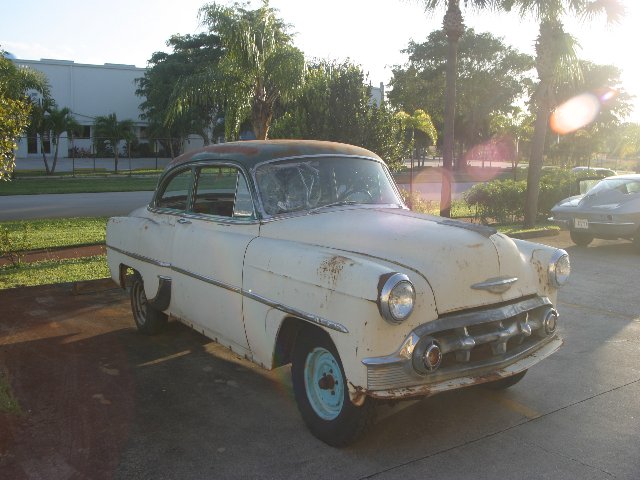
53 After being
painted! |
 |
 |
 |
 |
 |
 |
|
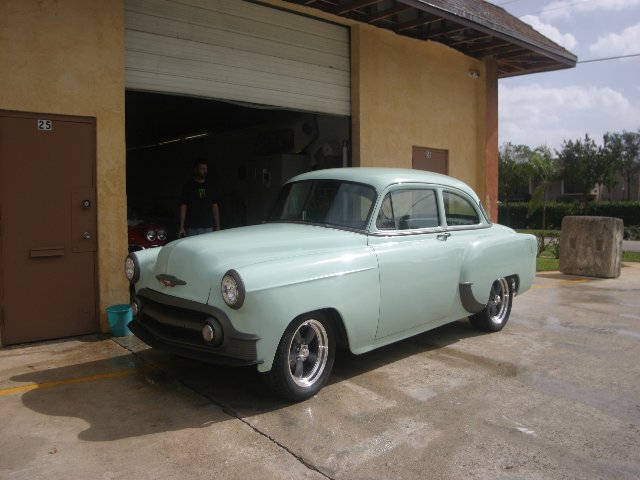
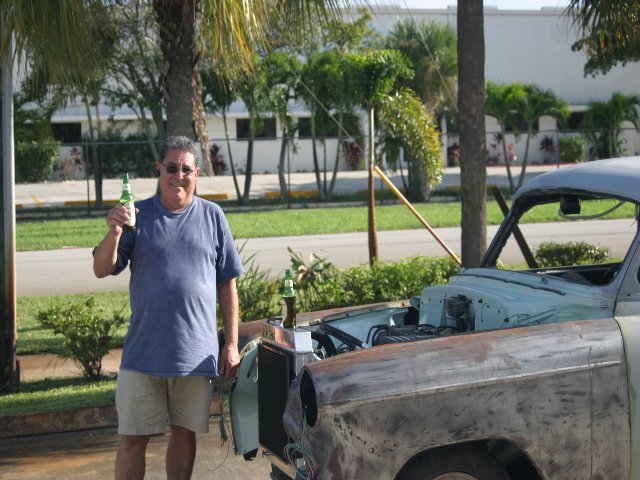
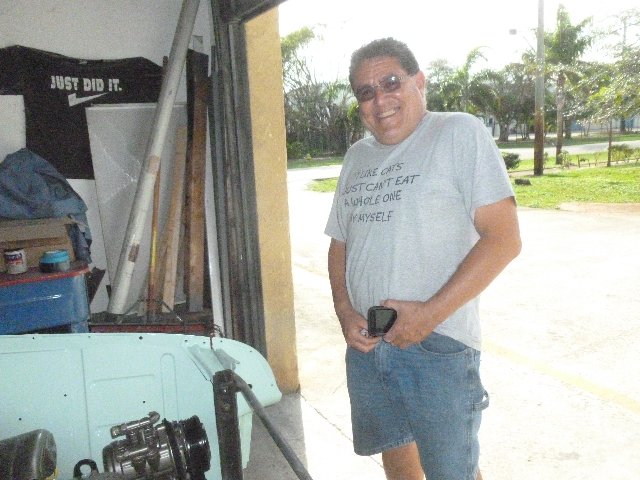
Javier's Birthday |
|
 |
 |
 |
 |
|
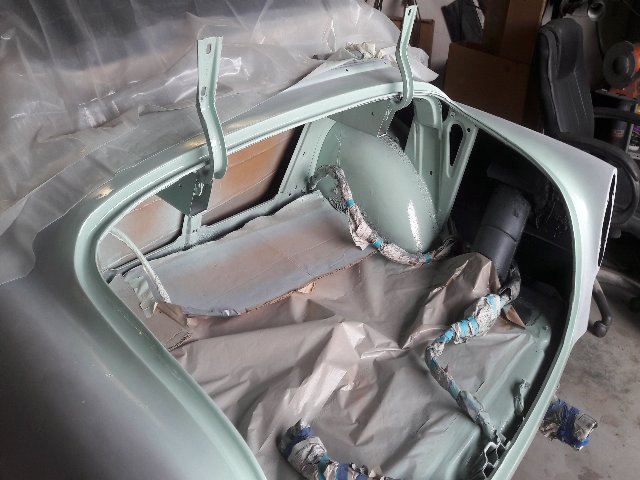
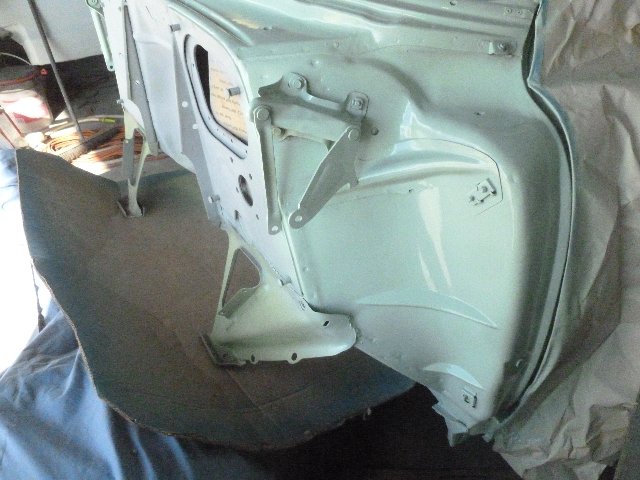
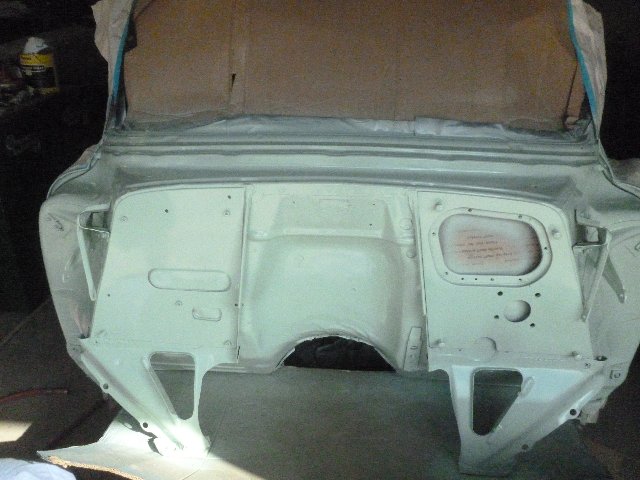
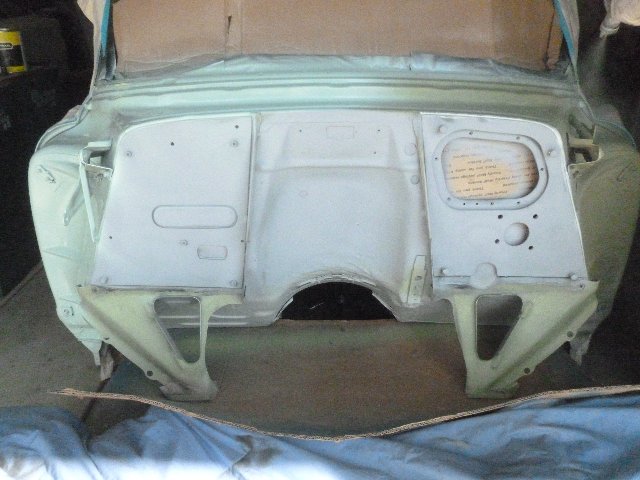
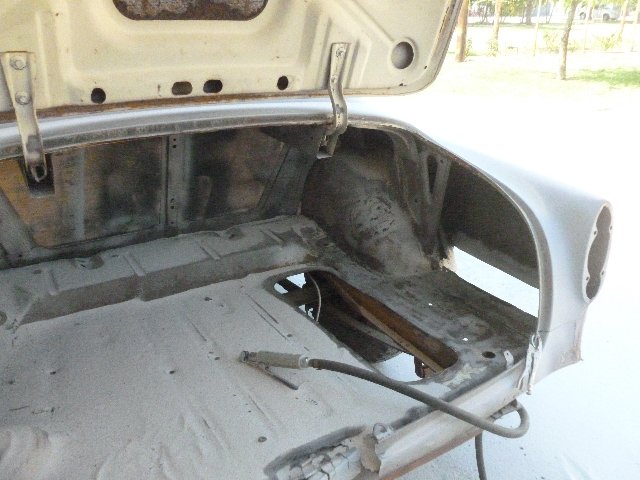
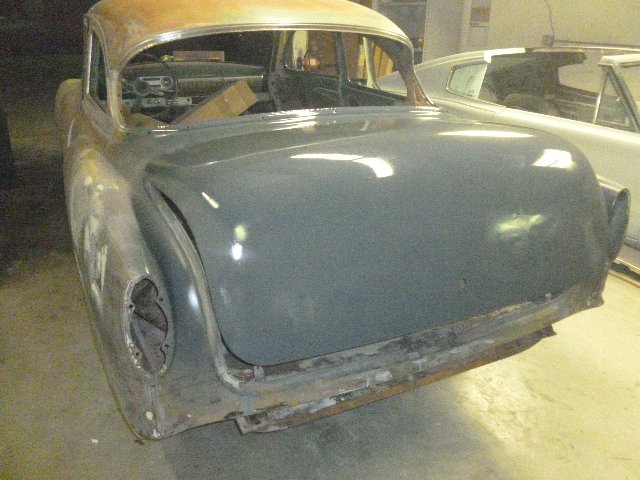
trunk and door jam prep & paint |
|
 |
 |
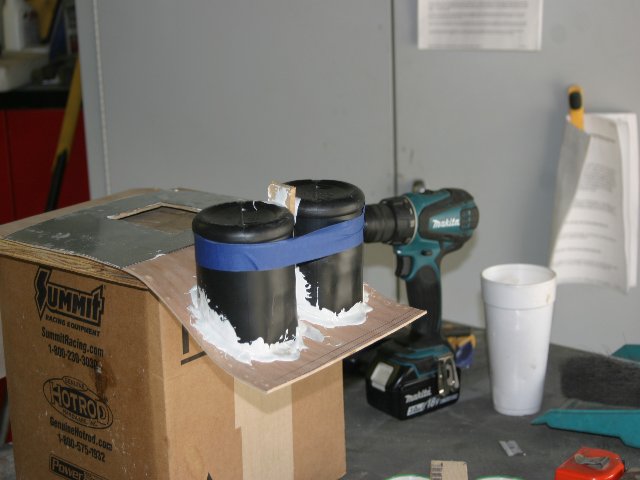
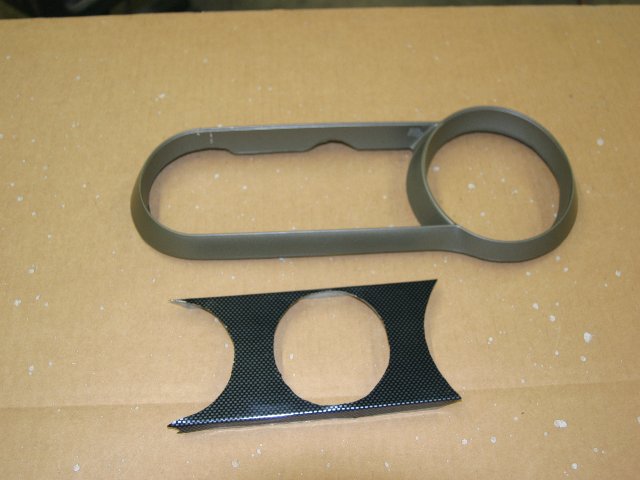
| adding cup holders |
adding vinyl |
 |
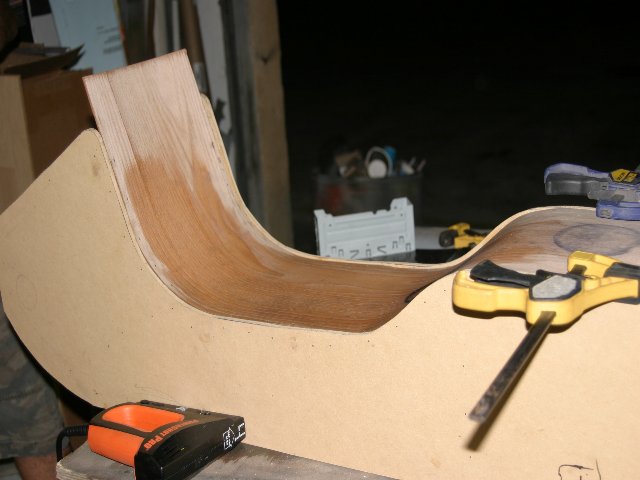 |
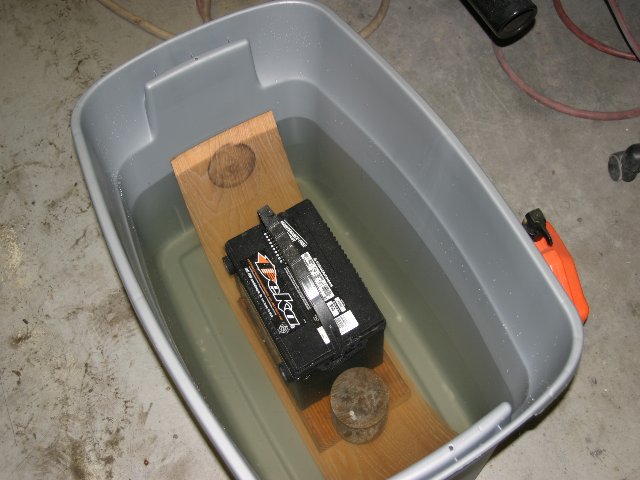
| bending wood ........... |
|
 |
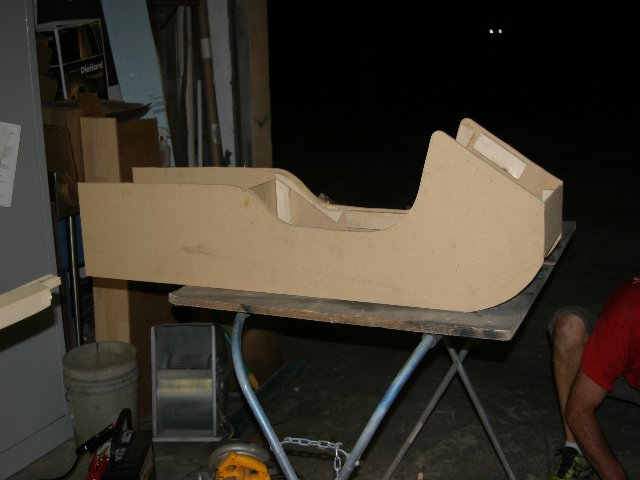 |
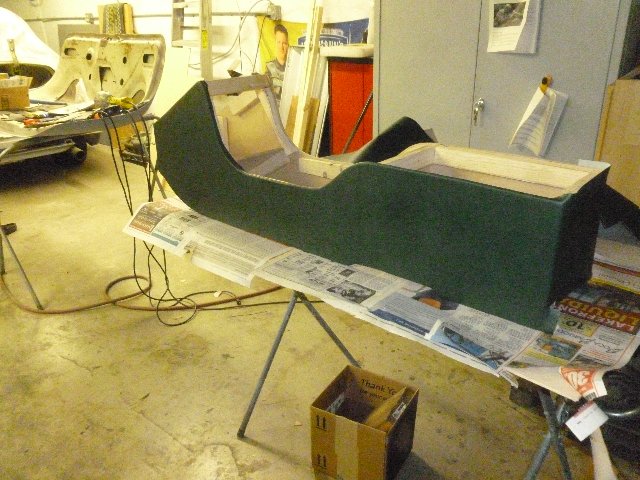
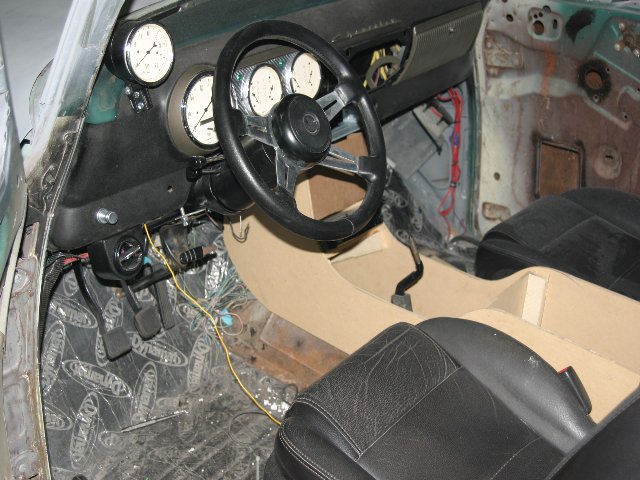
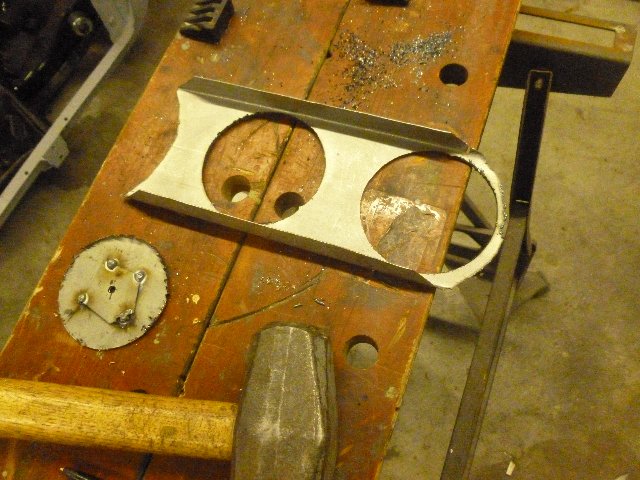
| creating a console |
|
 |
 |
|
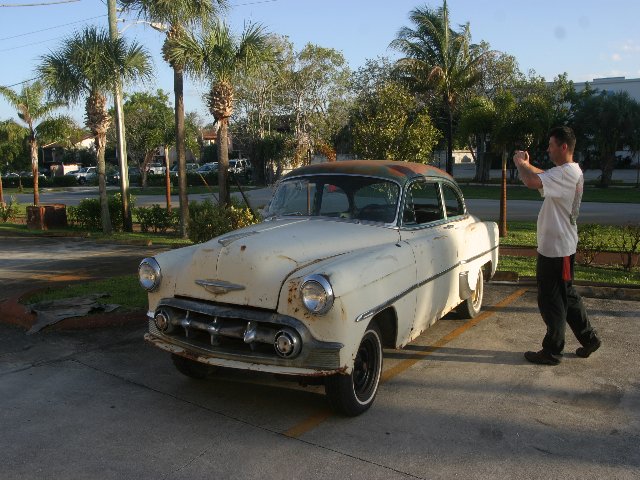
go for a ride |
|
 |
 |
|
clean er up |
|
 |
|
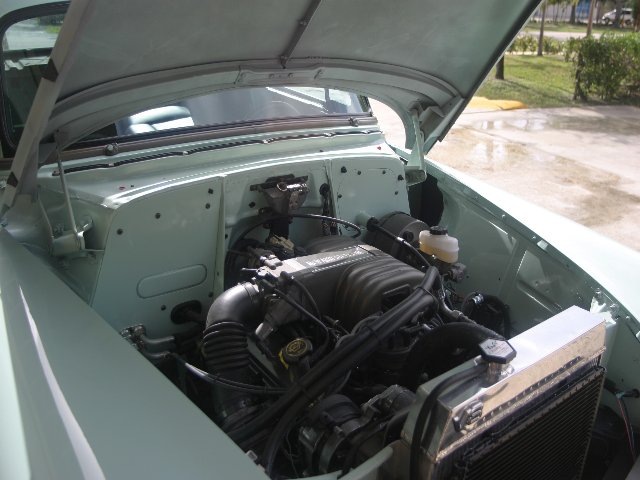
Have the exhaust installed and now the car runs
& drives!!! |
 |
 |
|
install seats |
prep the front fenders |
 |
 |
|
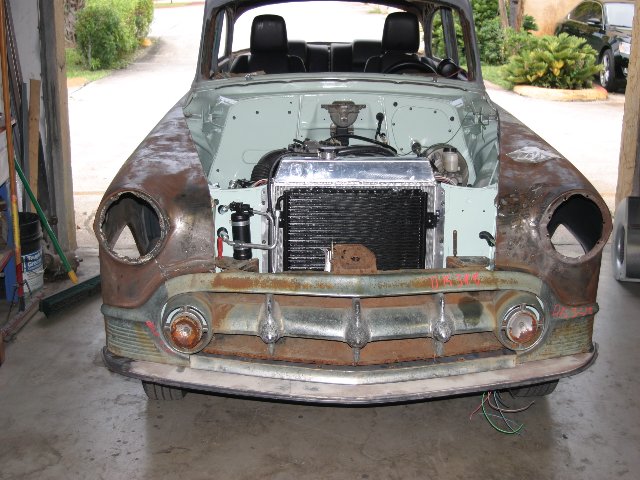
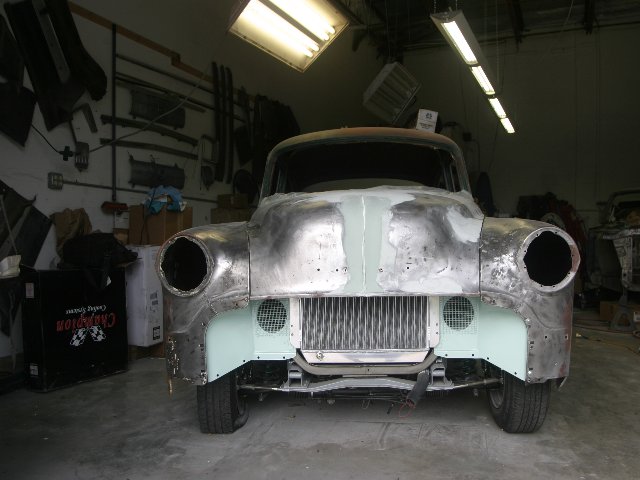
clearances are close |
test fit grill and latch assembly |
 |
 |
|
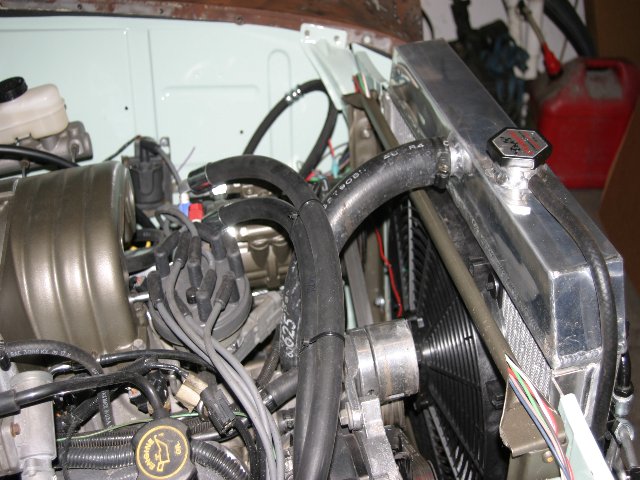
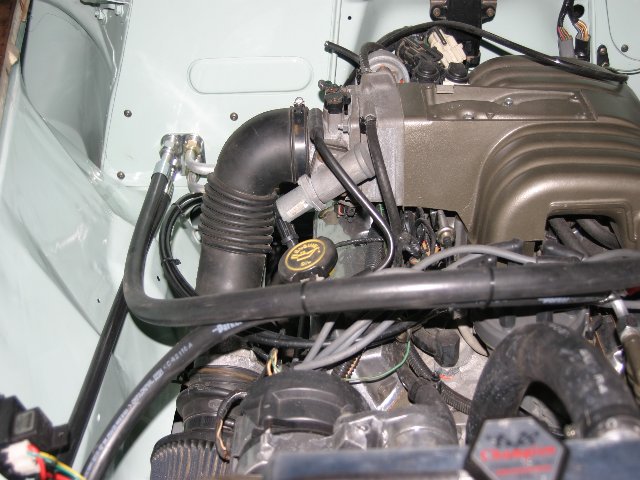
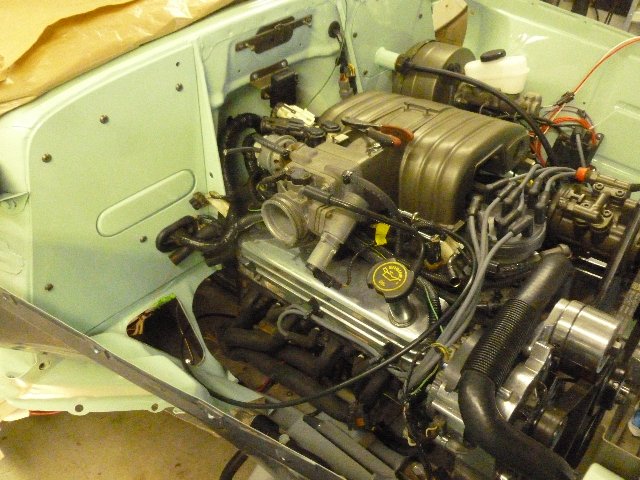
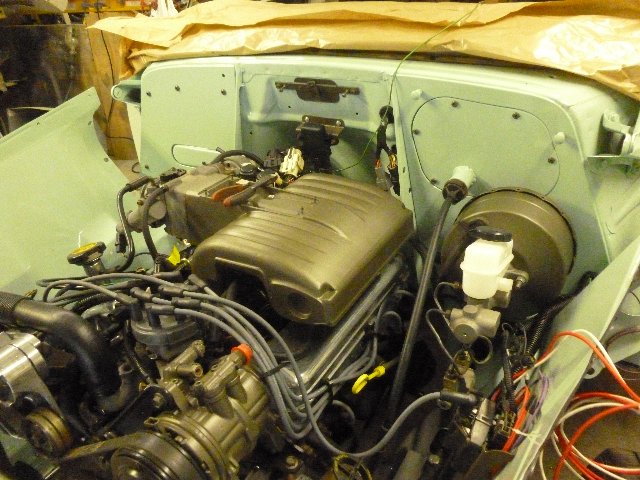
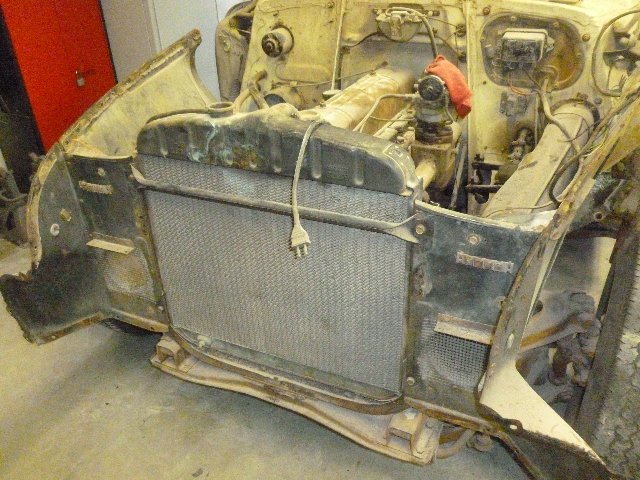
connecting the air and radiator |
routing the ac hoses |
 |
 |
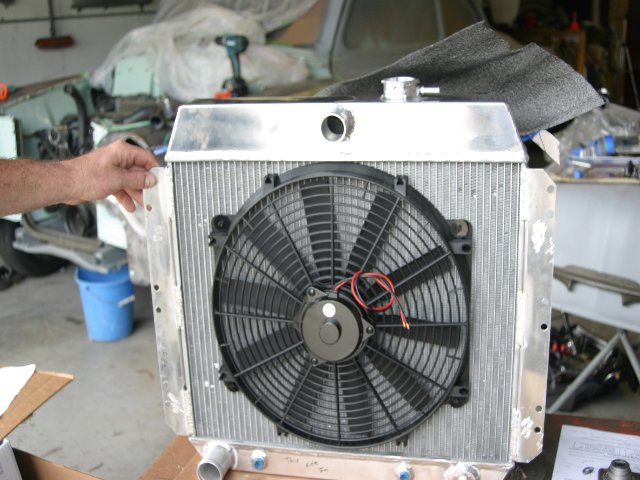
| Creating a custom radiator solution |
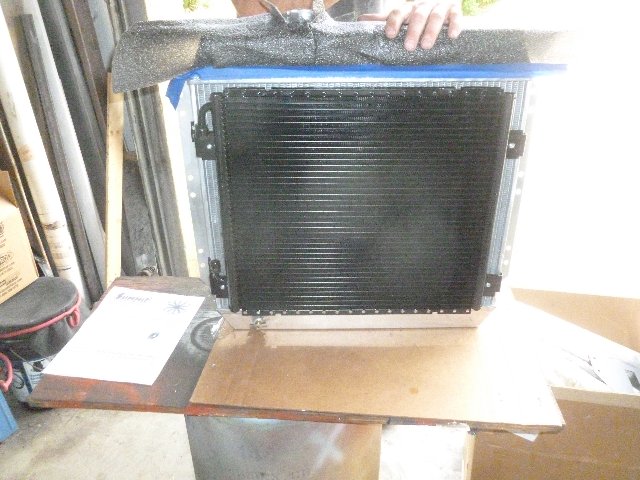
installing the condensor for the
Air Conditioning |
 |
 |
|
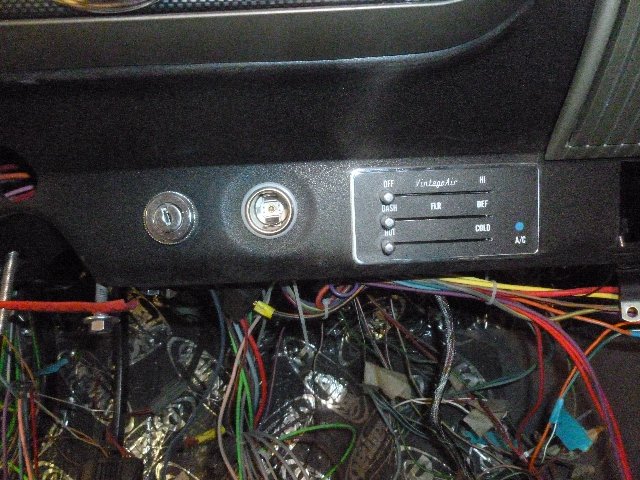
install air conditioning controls |
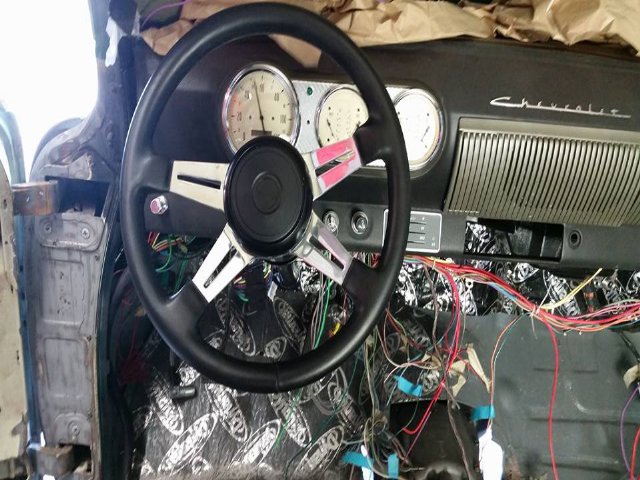
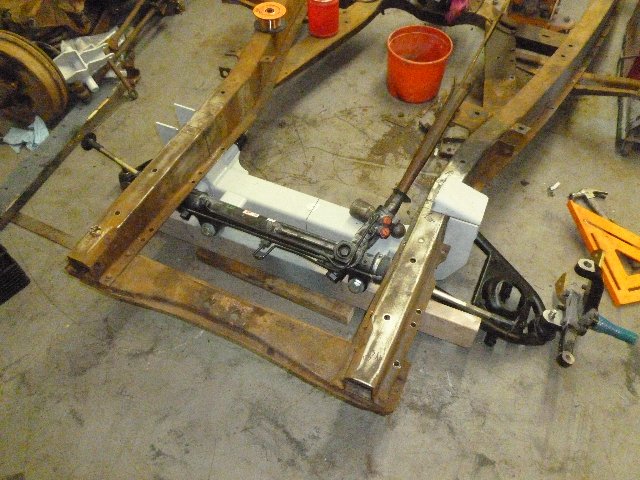
install steering column |
 |
 |
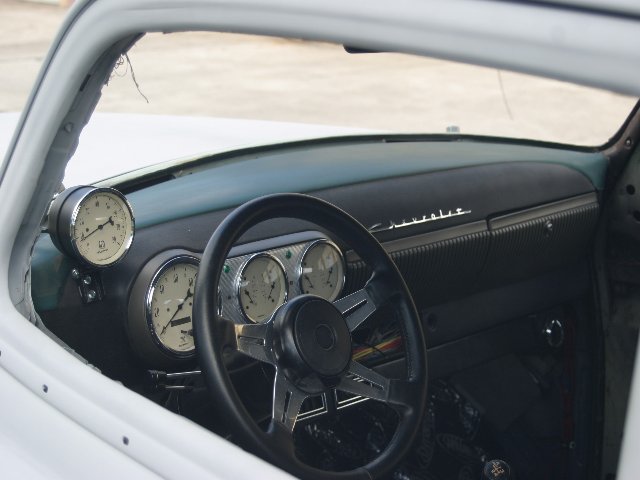
| trim it out ........... |
wire it up ............ |
 |
 |
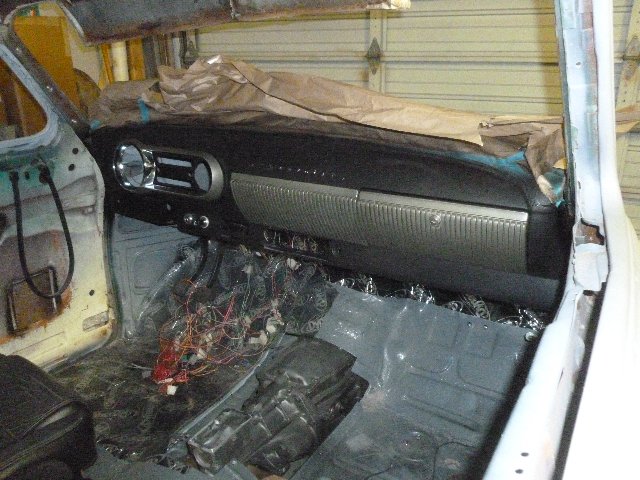
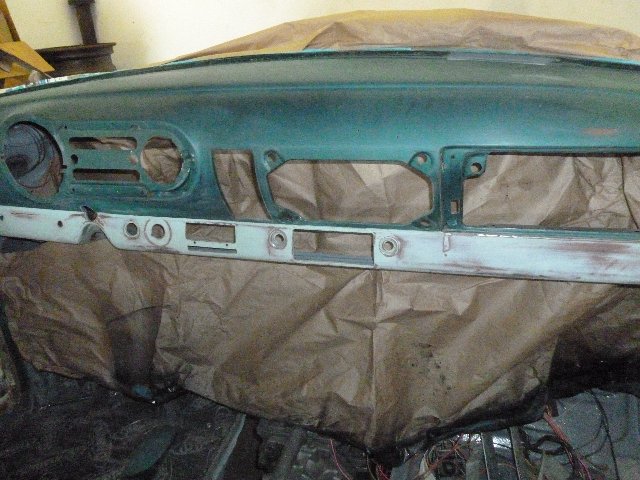
| were are going to make a new dash from the old
bezel |
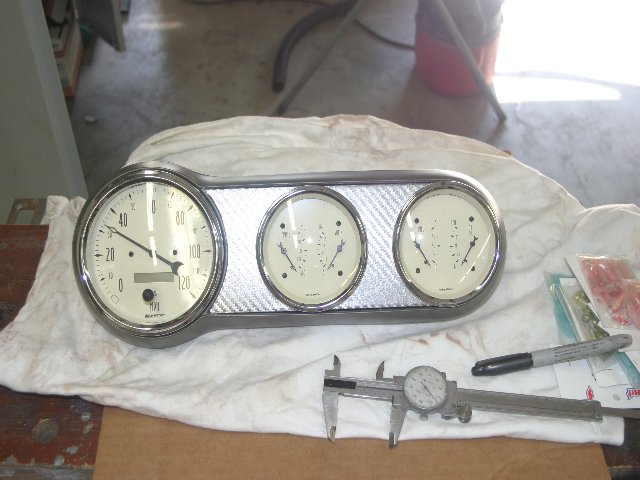
new guage plate |
 |
 |
|
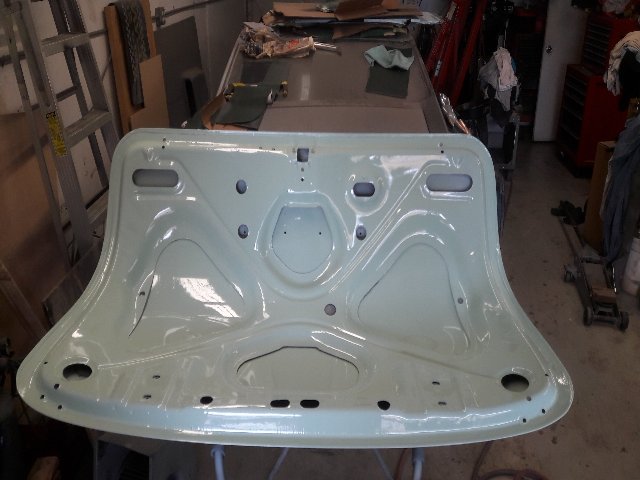
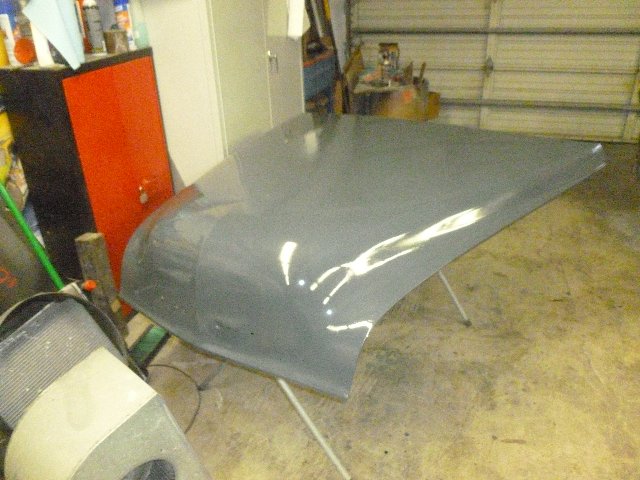
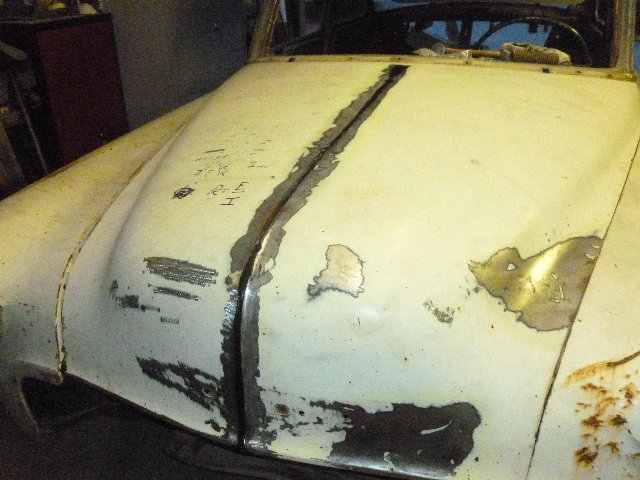
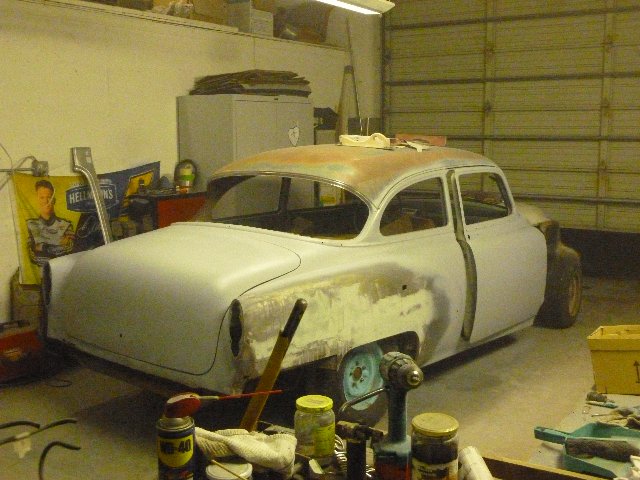
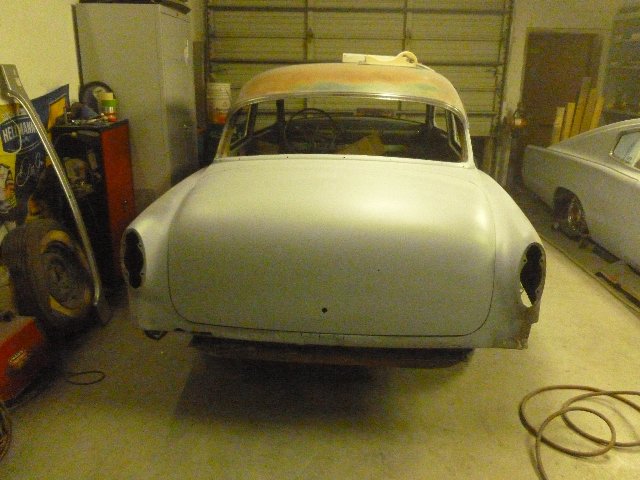
put the hood in primer |
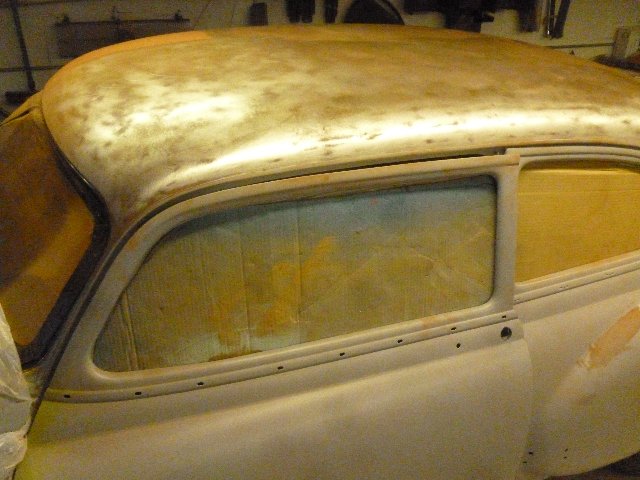
strip & prep the roof |
 |
 |
|
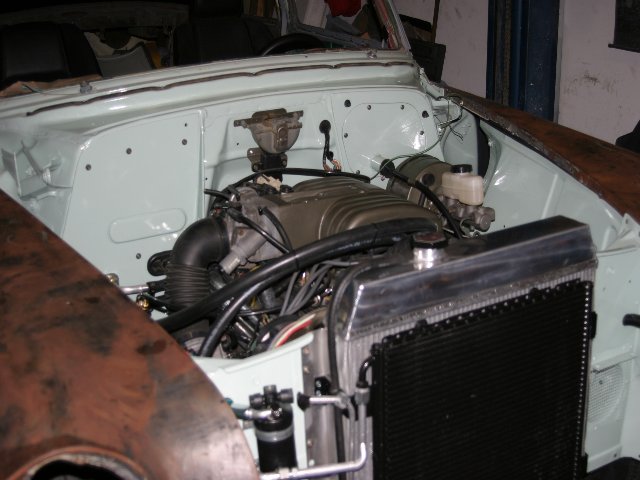
check radiator clearance under
hood |
 |
 |
| Mock up the fenders |
|
 |
 |
|
|
 |
 |
|
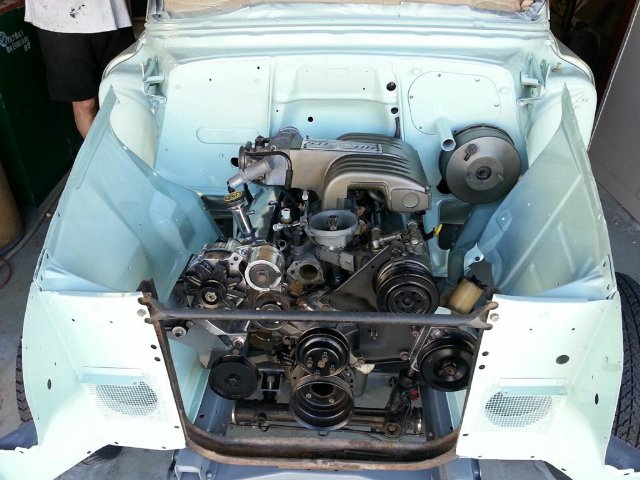
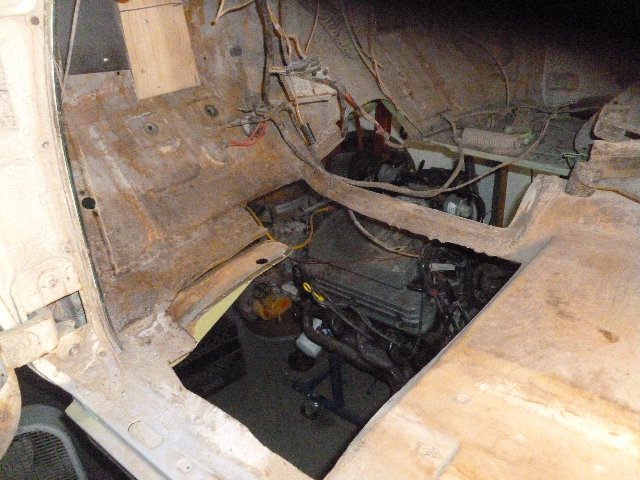
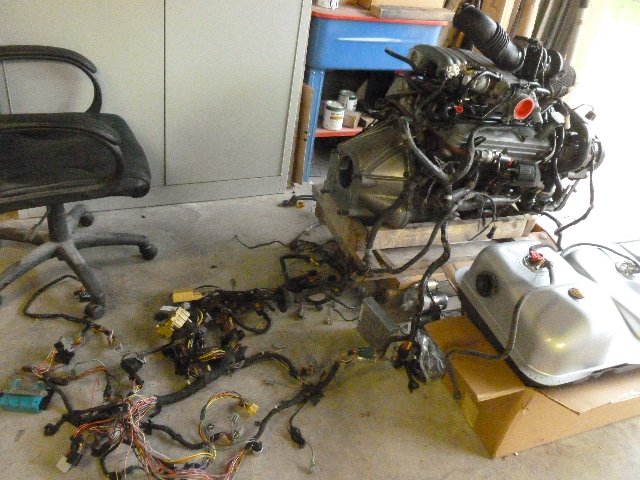
wiring the engine |
|
 |
 |
| the basics are working and the cars starts and
runs |
|
 |
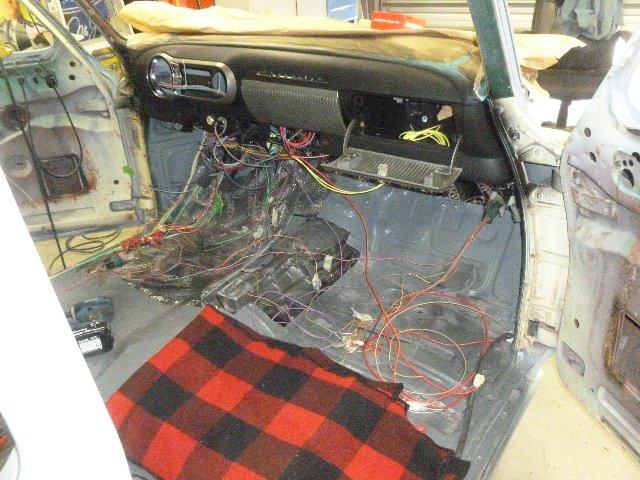 |
| AND the wiring begins ,,,,,,,,,,,,,,,,,,, |
|
 |
 |
 |
 |
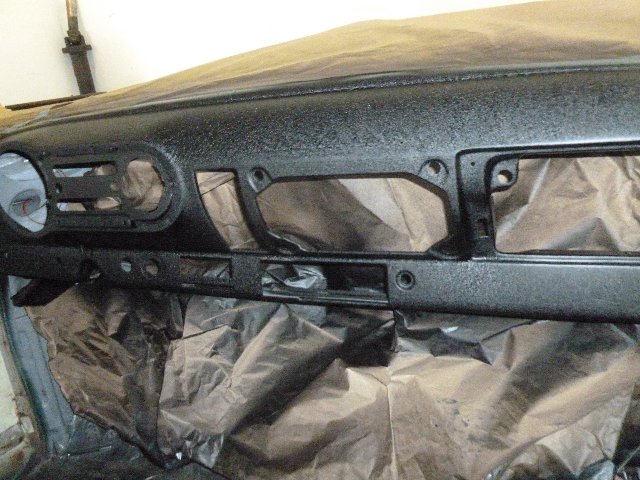
| Prep the dash for texture
coating |
|
|
 |
 |
|
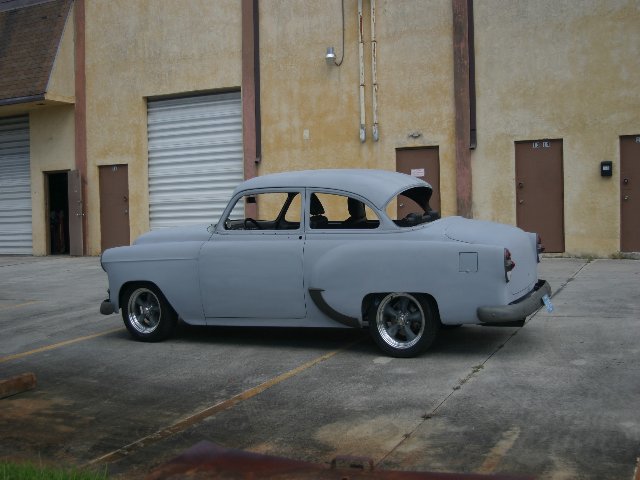
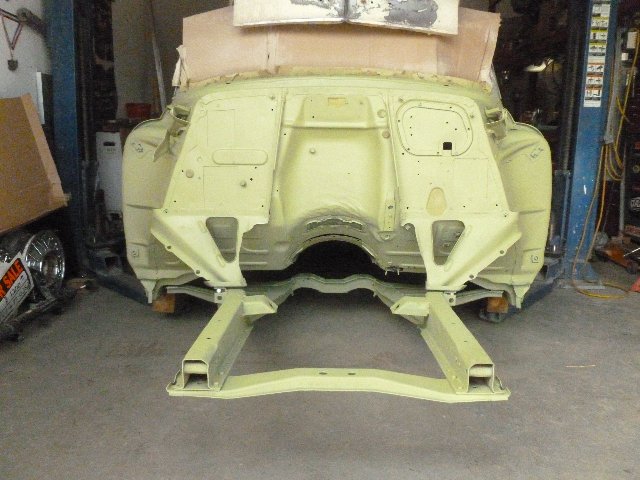
A little paint, re-install body,
cinch it all up |
 |
 |
| Looks good, now remove the body for some welding |
|
 |
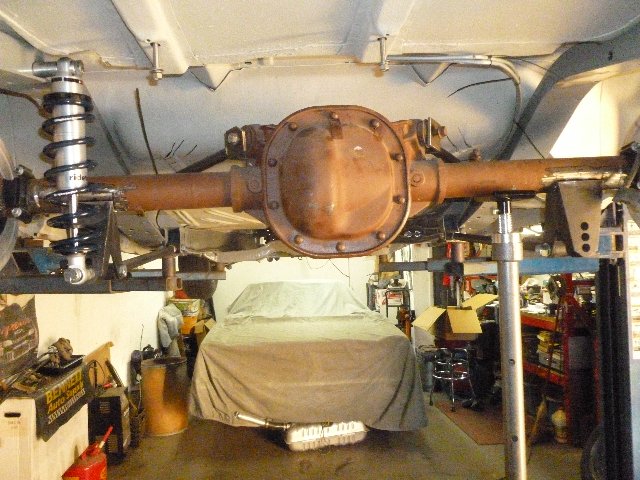 |
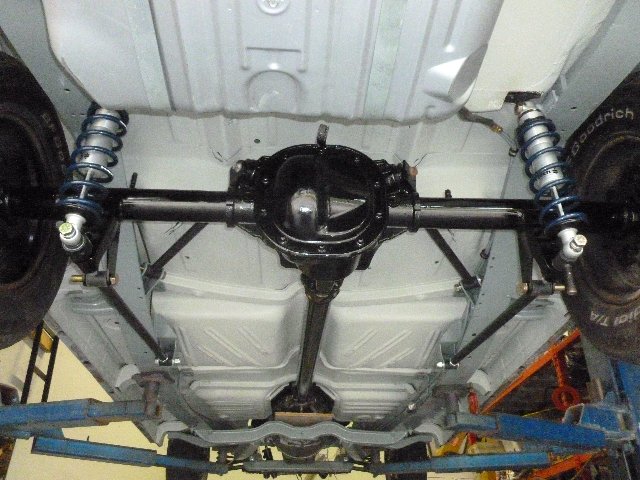
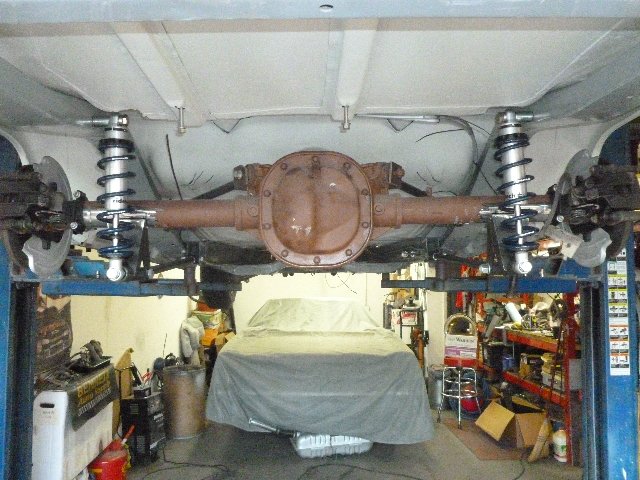
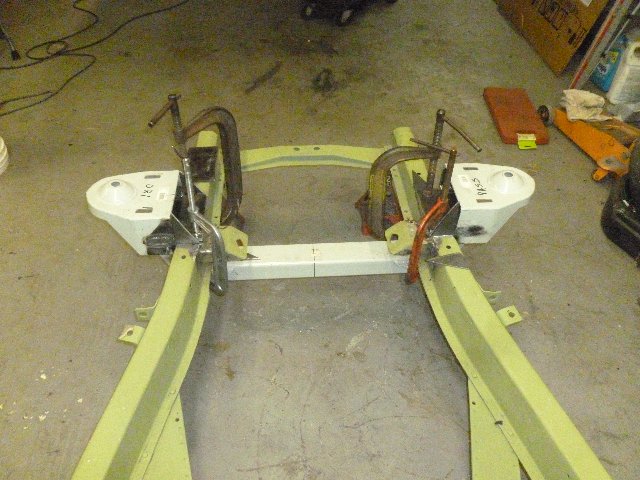
| Initial Mockup for the coil-over rear suspension |
|
 |
 |
|
|
 |
 |
|
|
 |
 |
|
|
 |
 |
|
|
 |
 |
|
|
 |
 |
|
|
 |
 |
|
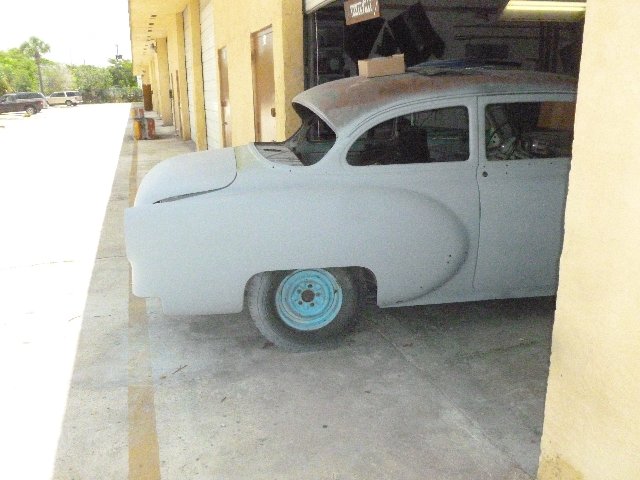
ready for paint |
|
 |
 |
|
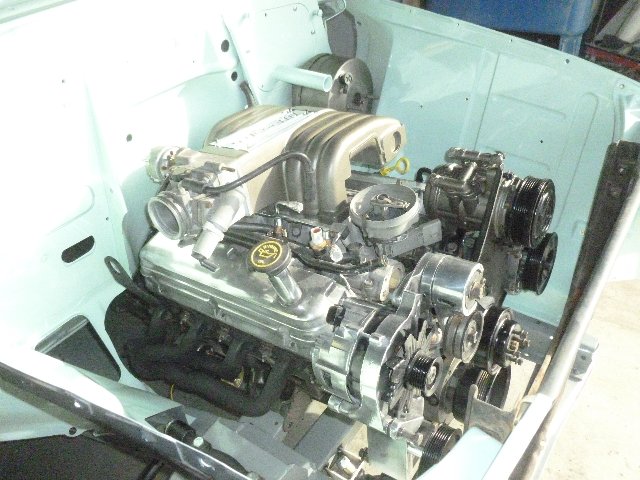
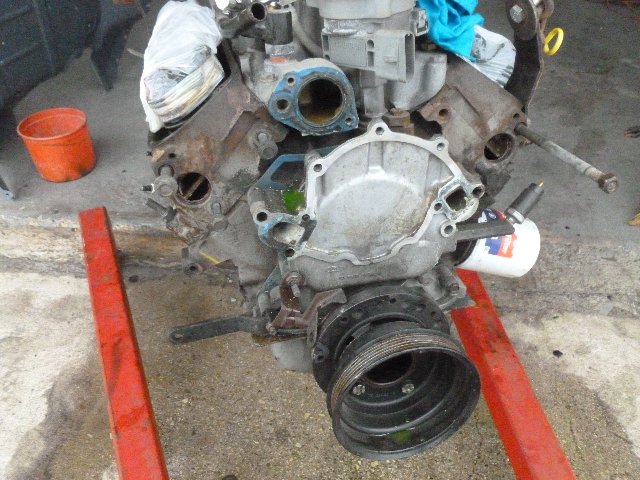
engine cleanup |
 |
 |
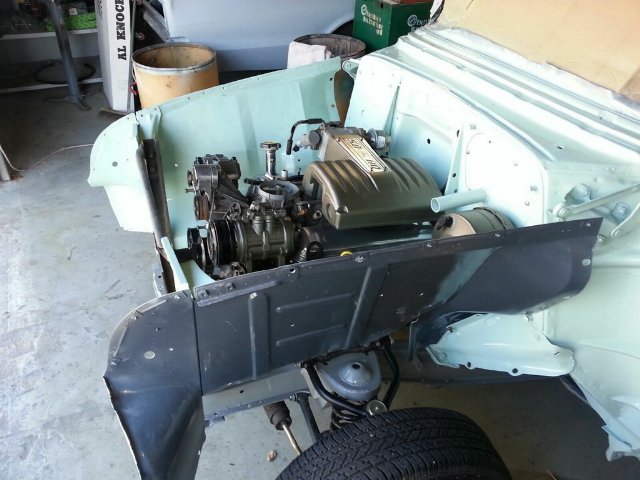
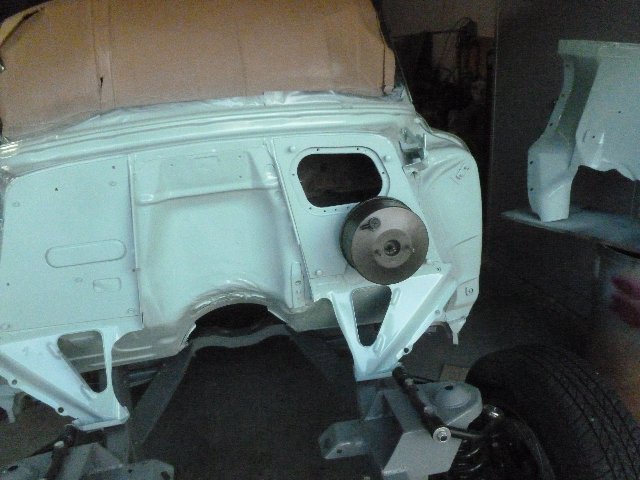
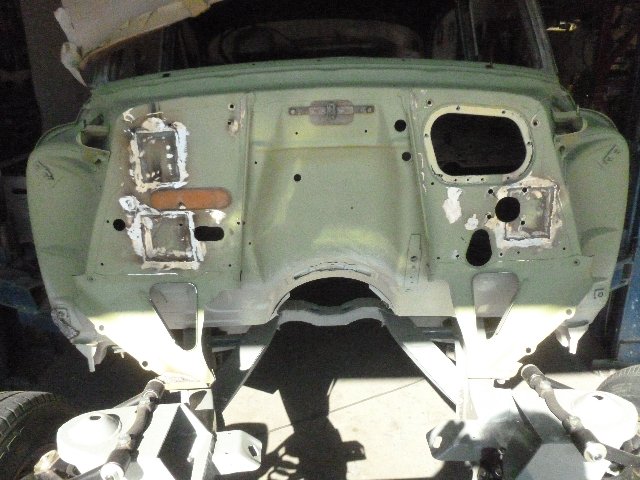
| firewall modifications for Air Conditioning |
firewall mods for Power Brakes |
 |
 |
|
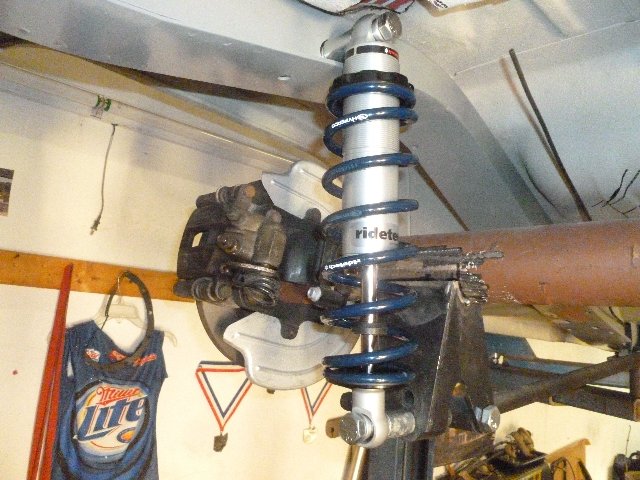
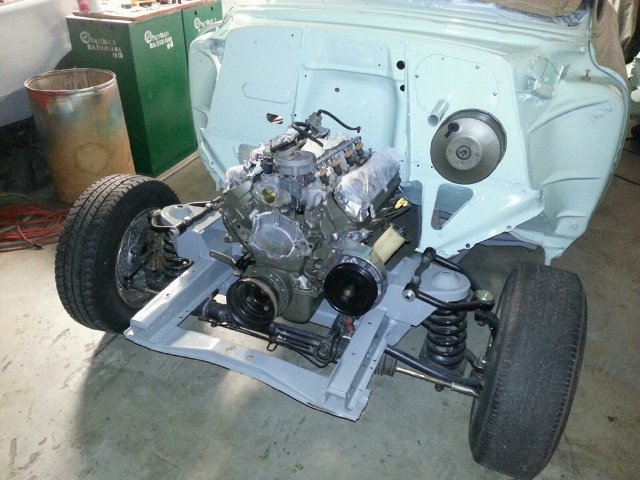
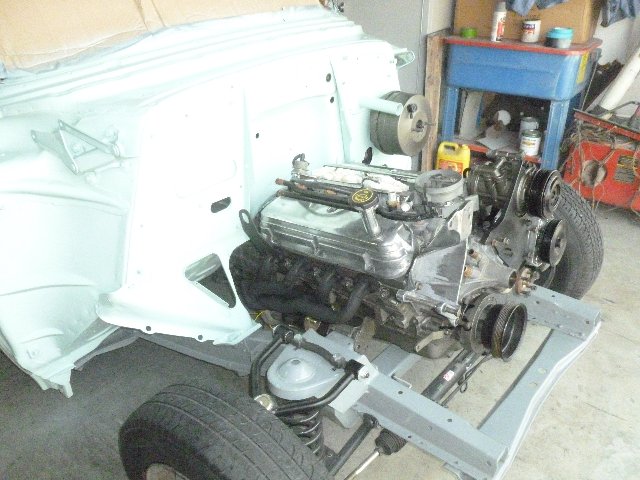
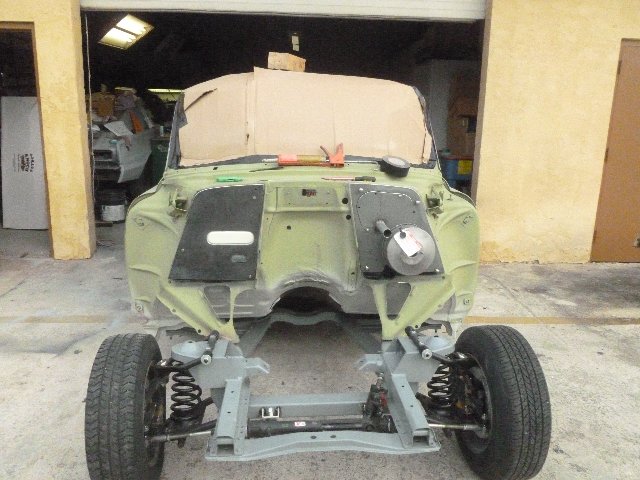
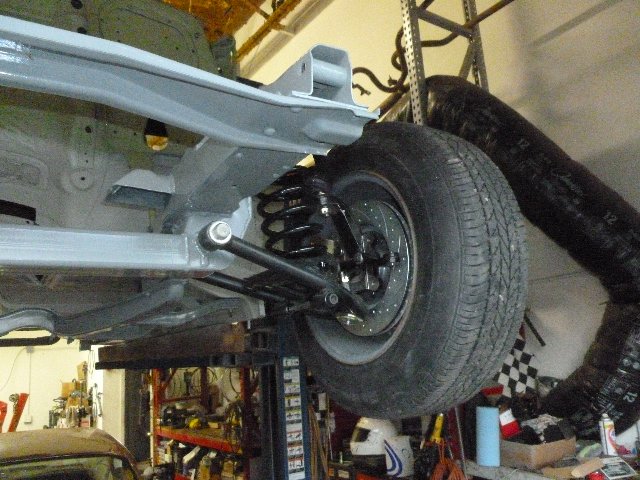
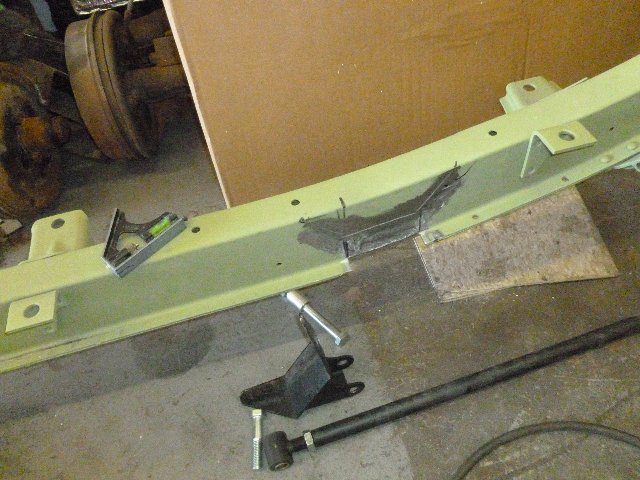
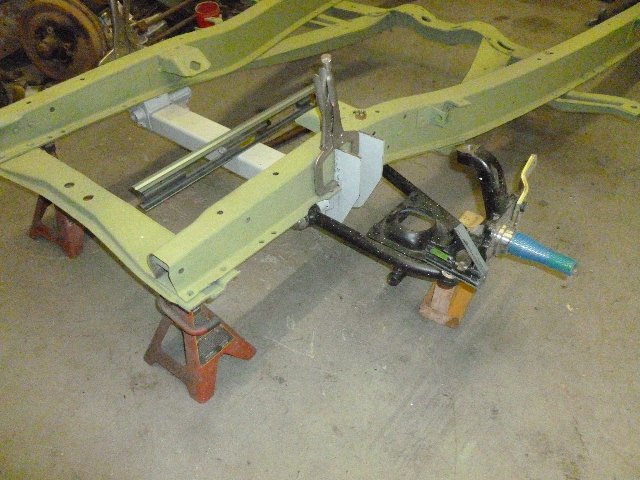
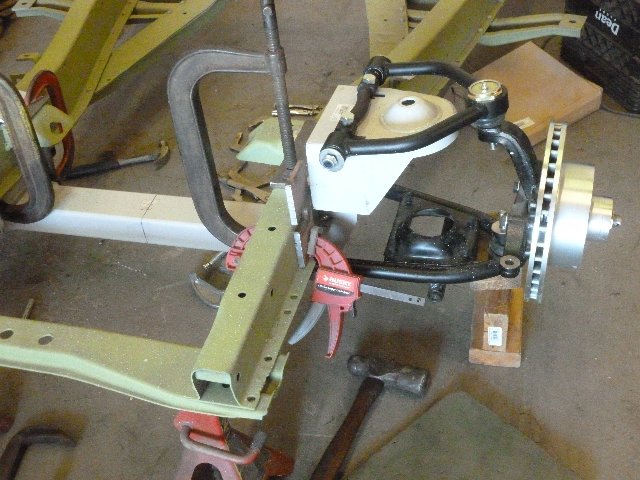
front suspension installed |
|
 |
 |
| It is re-attached ........... |
|
 |
 |
|
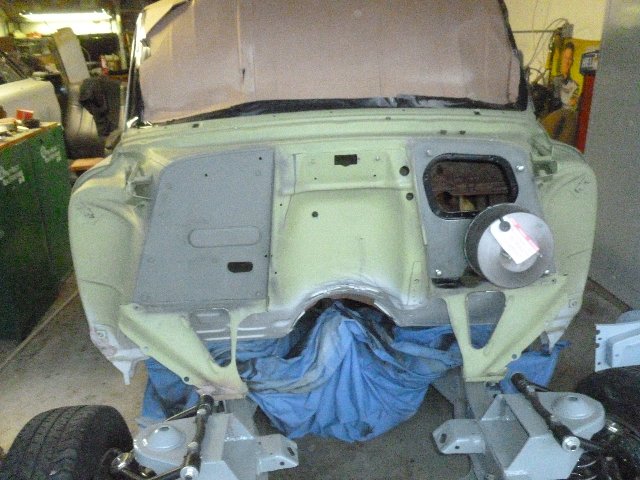
lower the body onto the frame |
 |
 |
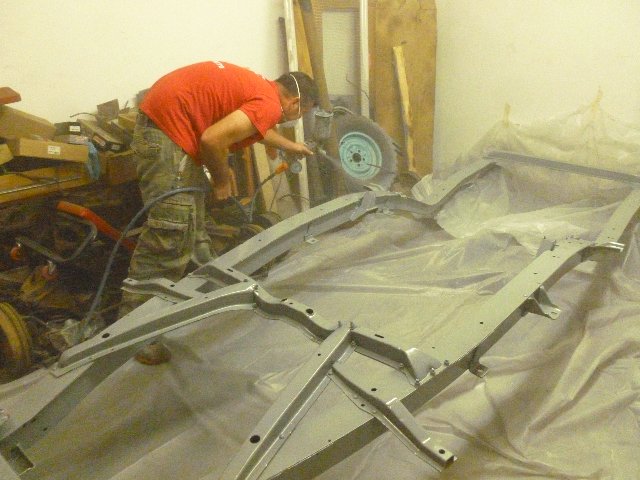
| flip it, paint it |
put it together |
 |
 |
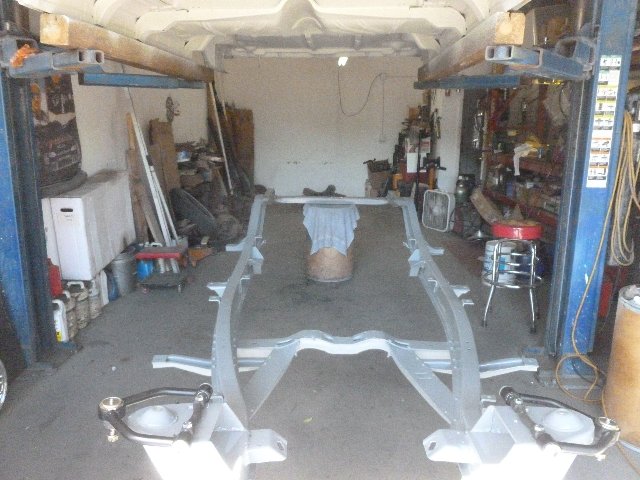
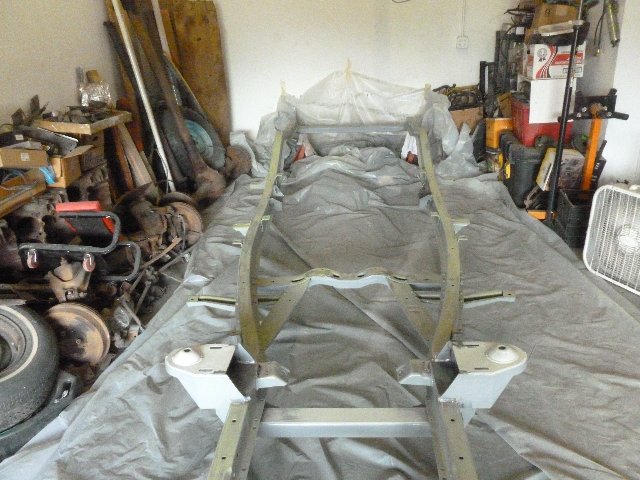
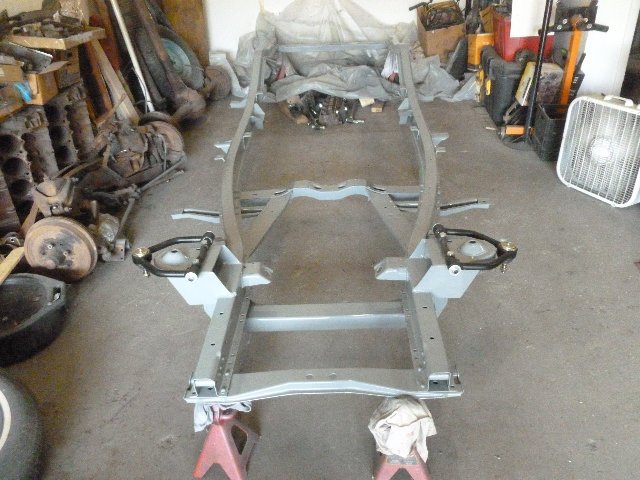
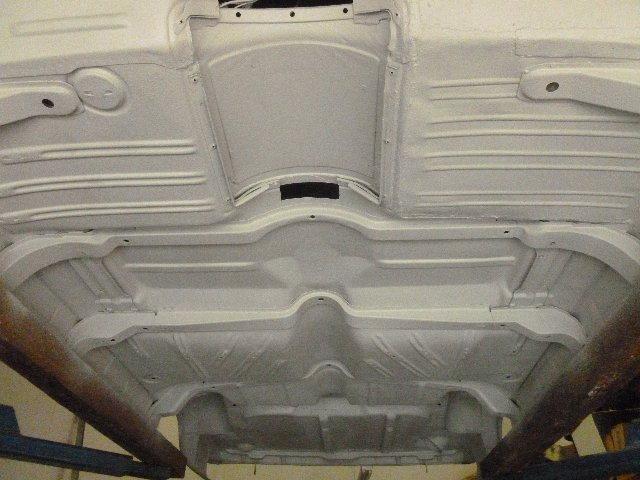
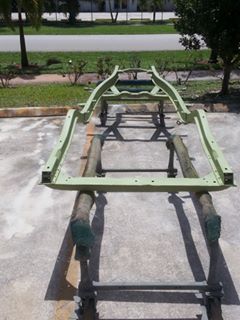
| prepare frame bottom for paint |
apply the paint |
 |
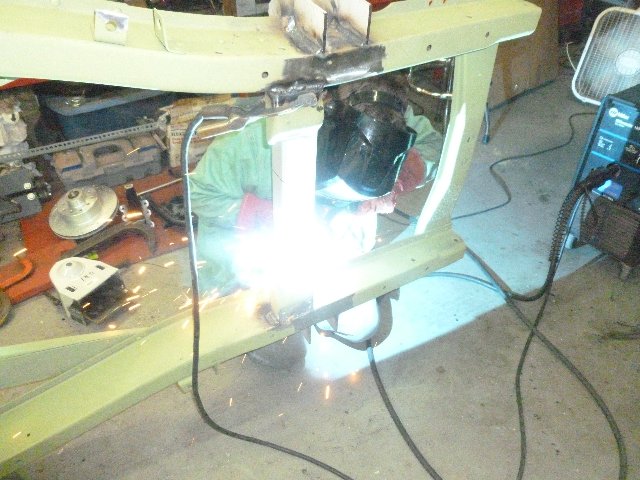 |
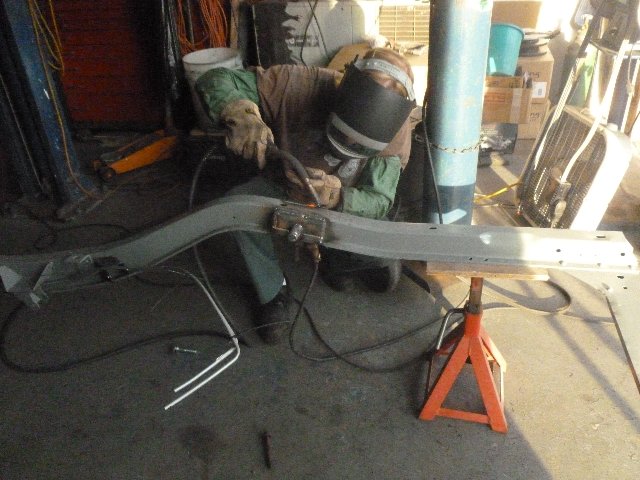
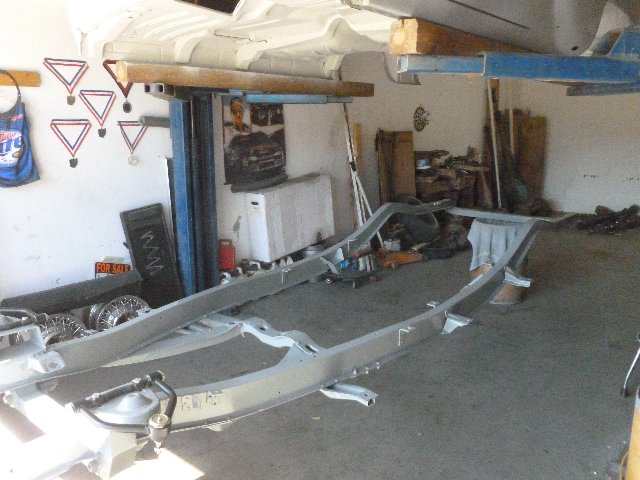
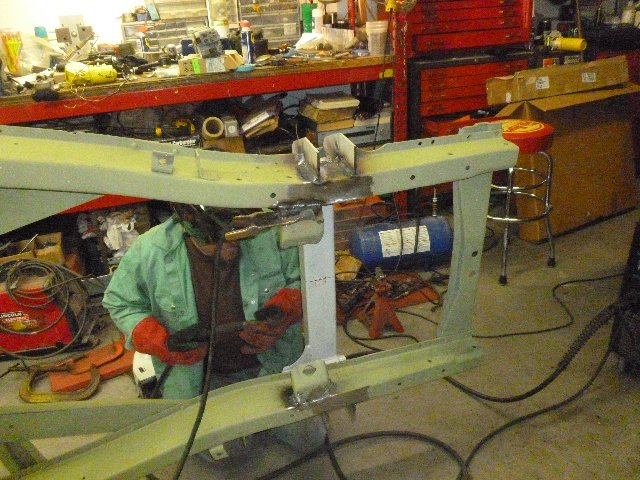
| welding the frame |
welding the frame |
 |
 |
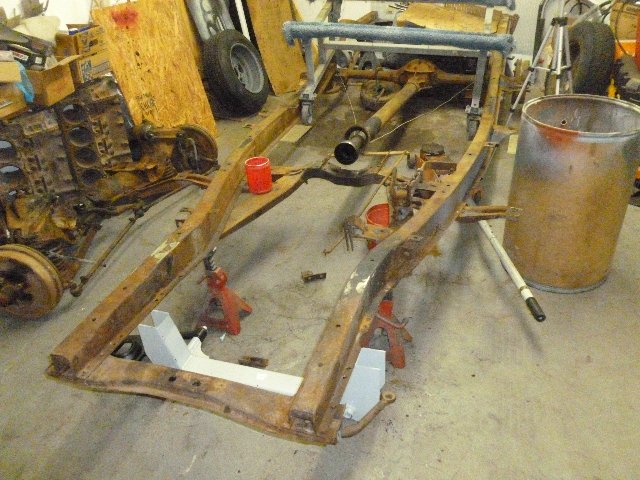
| prepare rear frame rail for 4 link installation |
|
 |
 |
| Prepare Crossmember for welding |
|
 |
 |
|
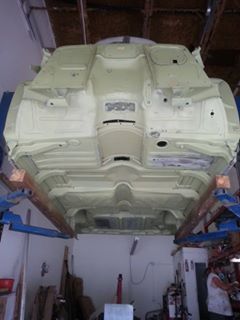
The undercar is finished with
Rock-It |
 |
 |
|
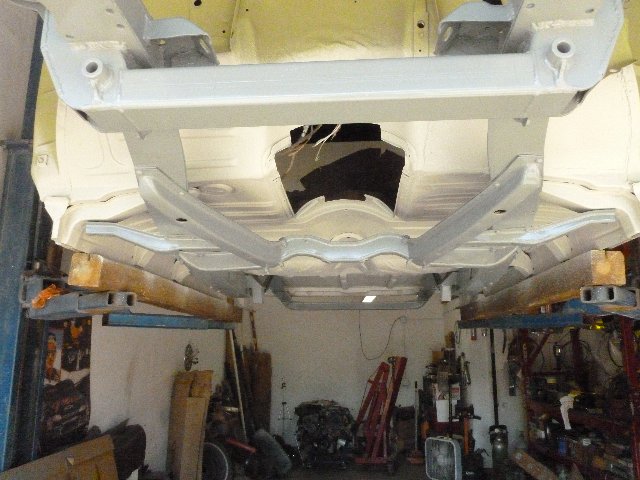
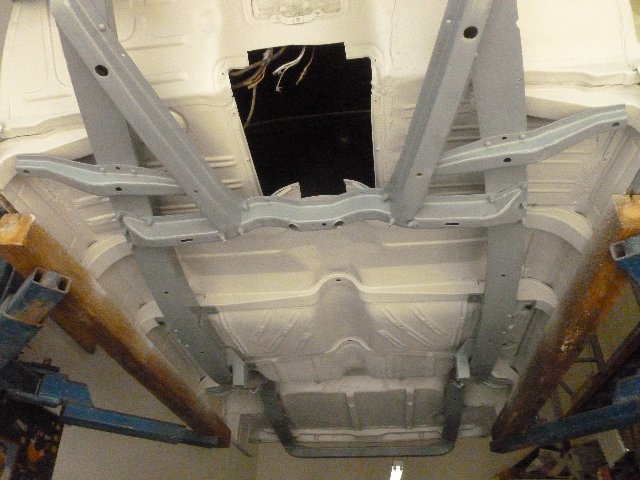
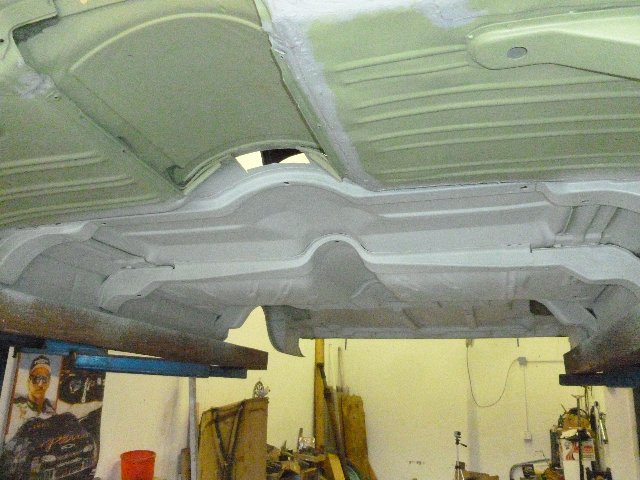
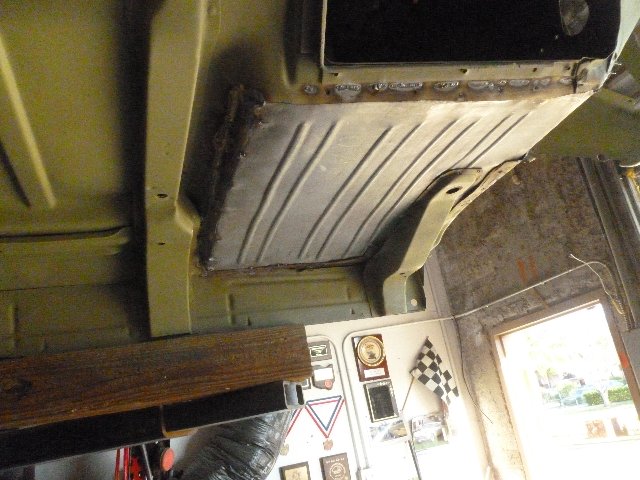
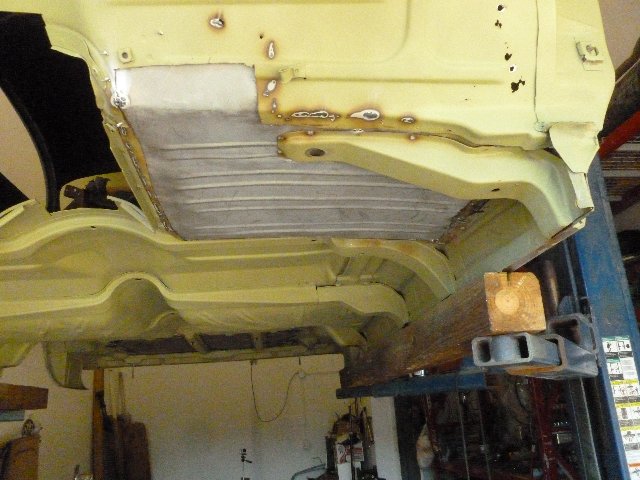
finished floor - ready for paint |
|
 |
 |
|
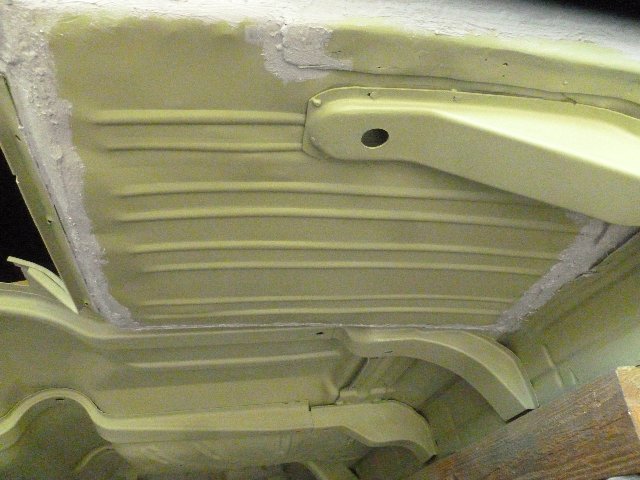
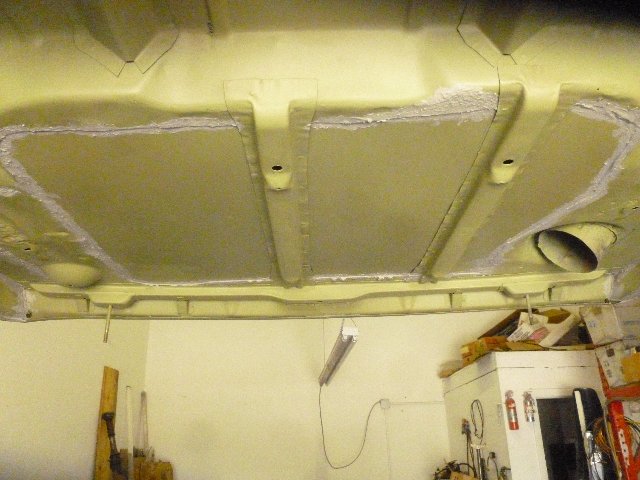
finish up and seam seal |
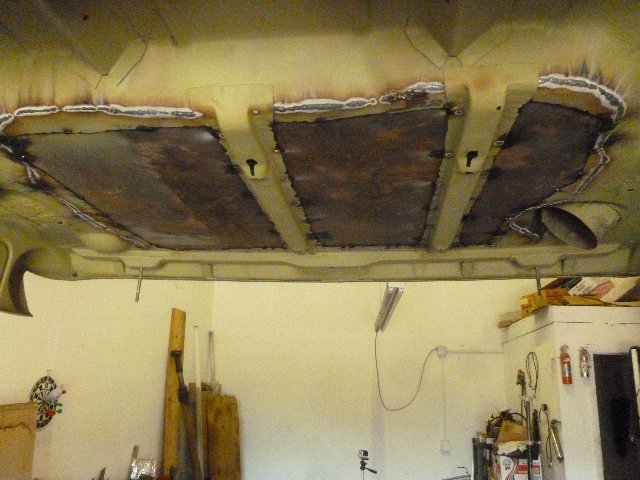
trunk pan inserted |
 |
 |
 |
 |
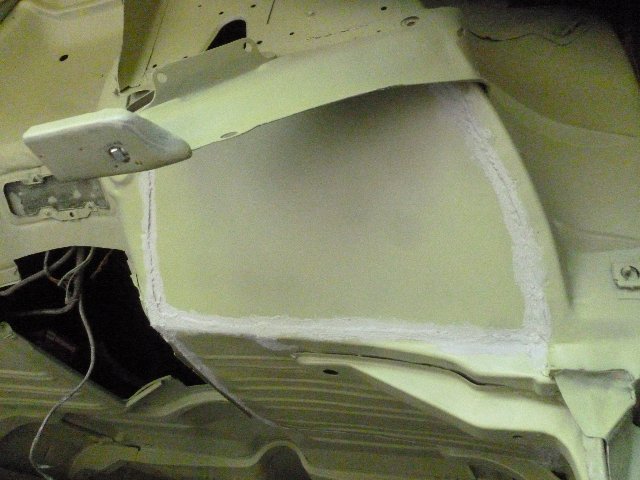
| we needed to cut out this section of floor |
new section inserted |
 |
 |
 |
 |
| Done! Now, we need to get in in primer! |
|
 |
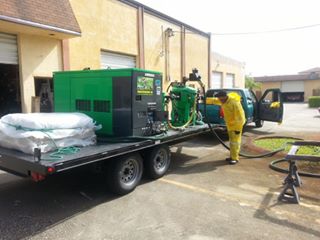
These guys did a fantastic job, were
done in a few hours and saved the crew a lot of time between manual labor,
transportation charges, and down time. |
 |
 |
 |
 |
 |
 |
 |
 |
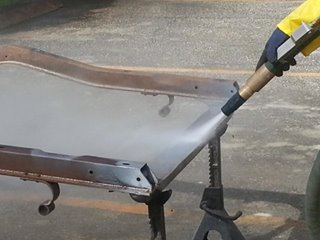
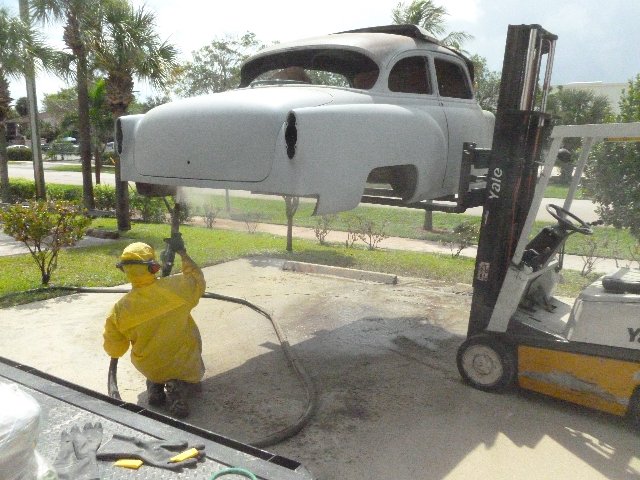
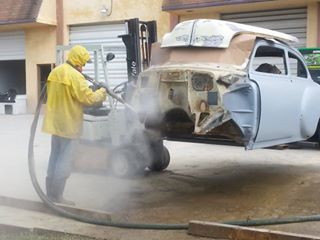
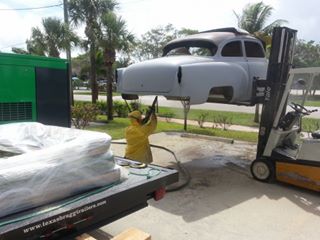
| We are going to blast the under-body of the car |
|
 |
 |
|
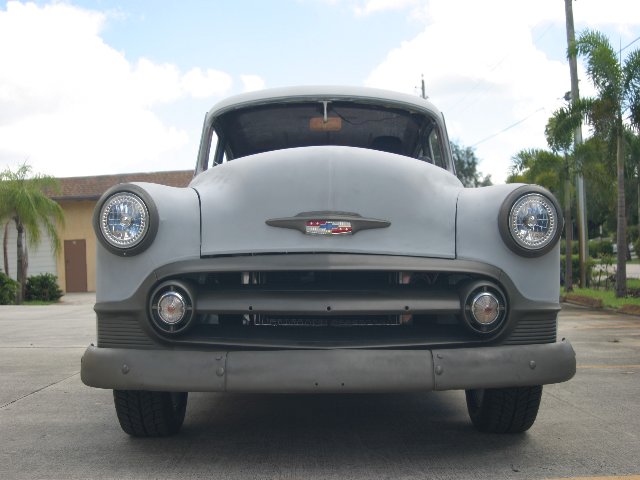
It Fits!!! |
|
 |
 |
 |
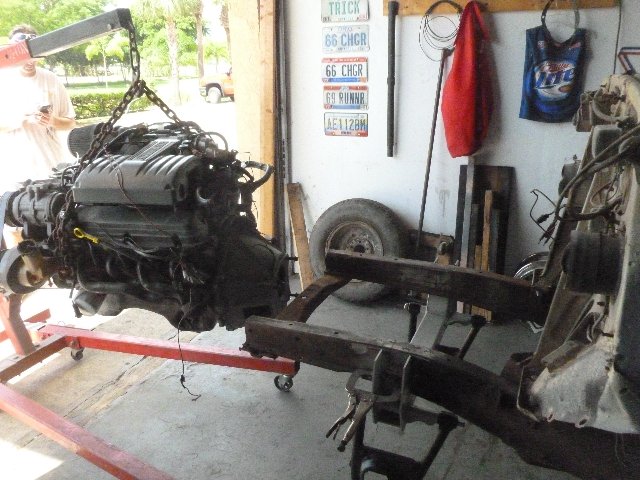 |
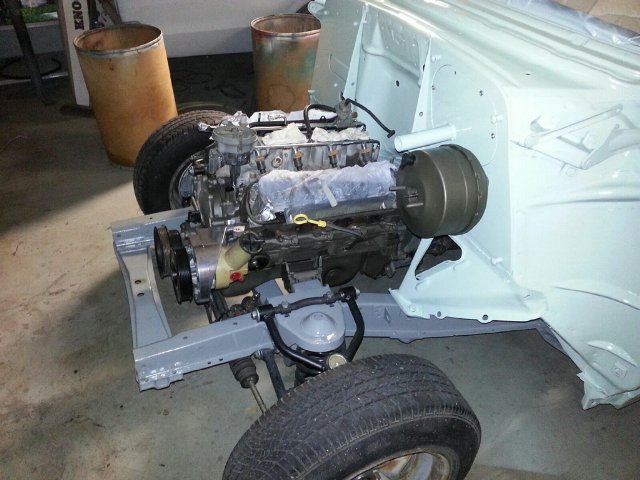
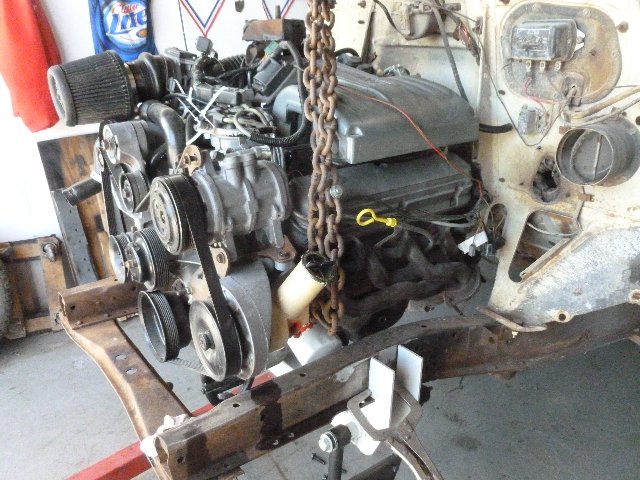
| re-install frame to body for engine test fit |
here we go .... |
 |
 |
| marking the crossmember for cut |
first tedt fit of crossmember |
 |
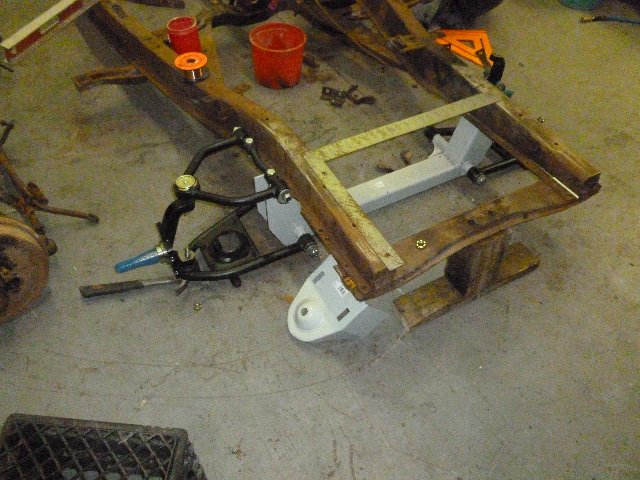 |
| remove old front suspension |
initial mockup for new suspension |
 |
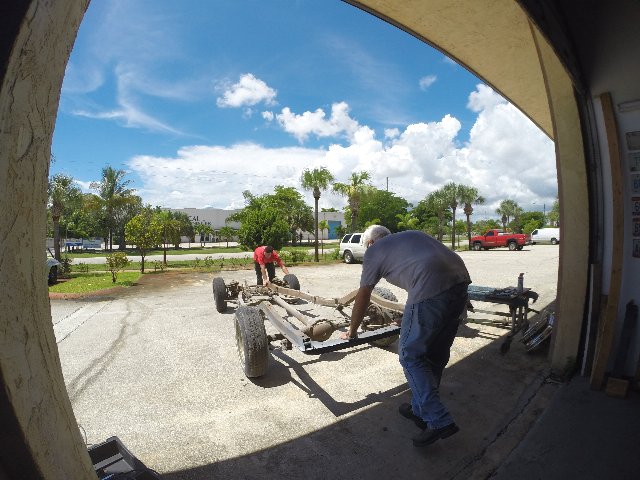 |
| take the frame for a walk |
it is getting a wash job |
 |
 |
|
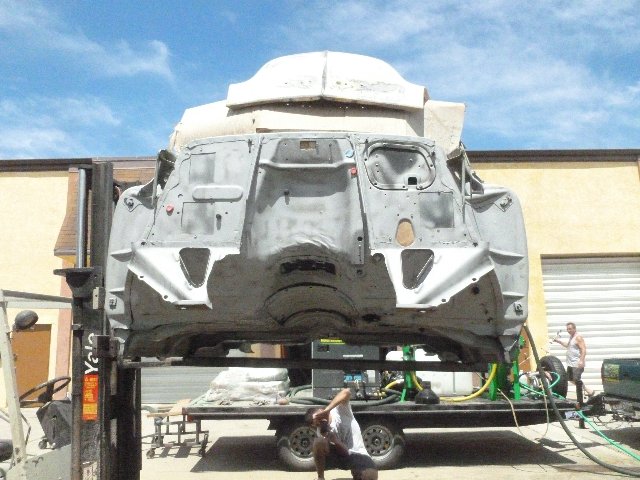
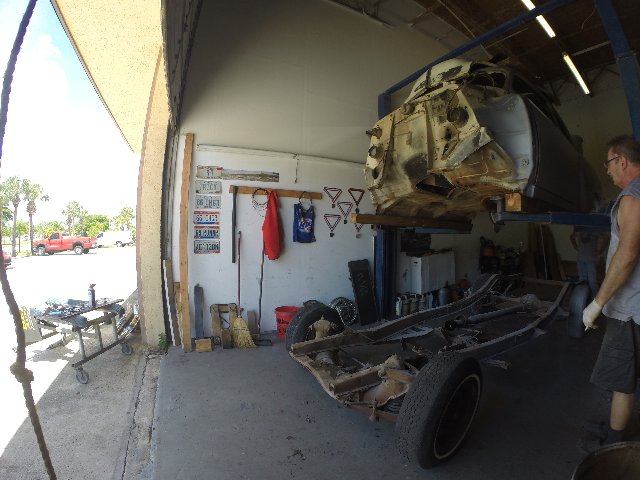
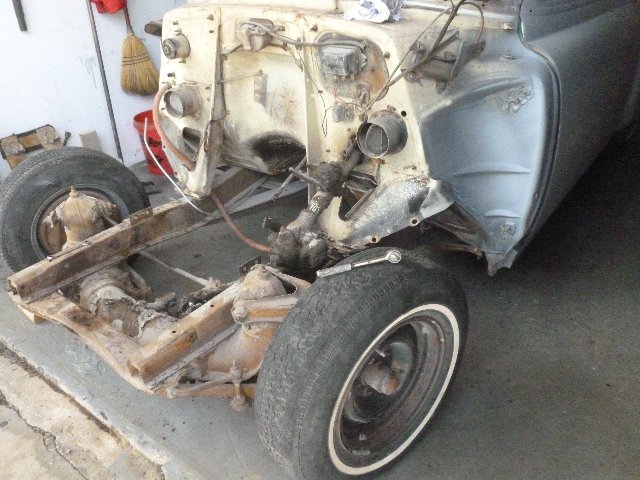
It is OFF! |
 |
 |
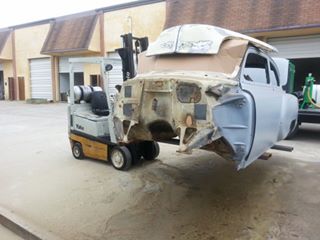
| here we go! up up and away |
|
 |
 |
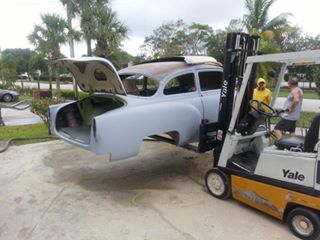
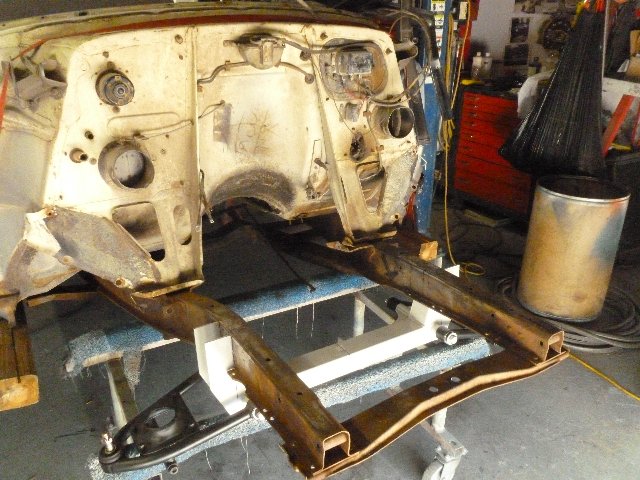
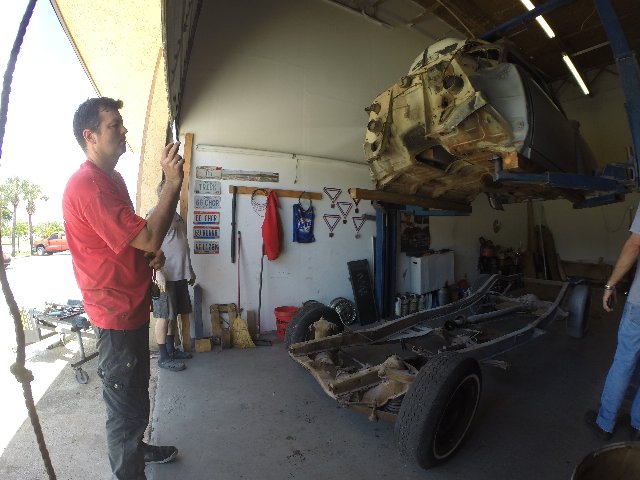
| last look before the body comes off ...... |
|
 |
 |
|
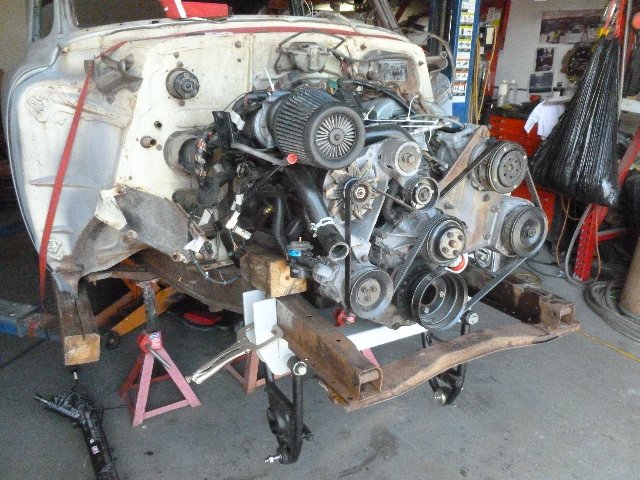
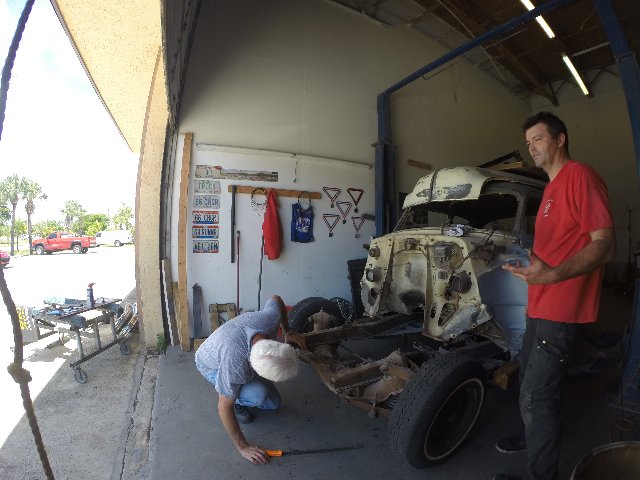
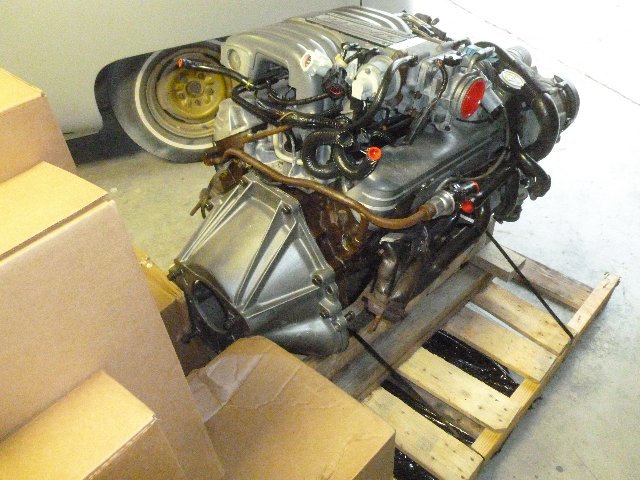
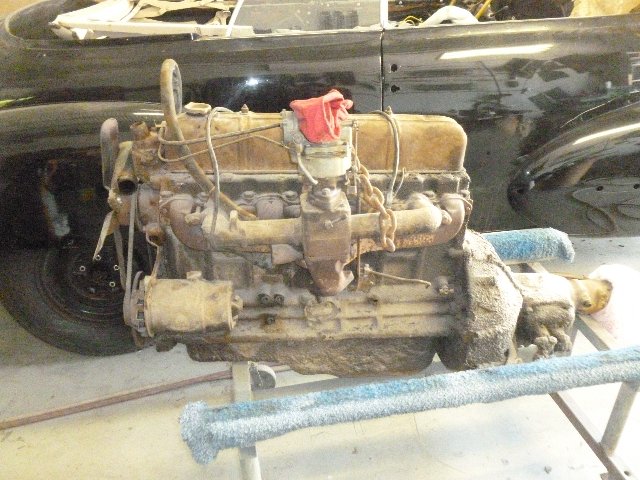
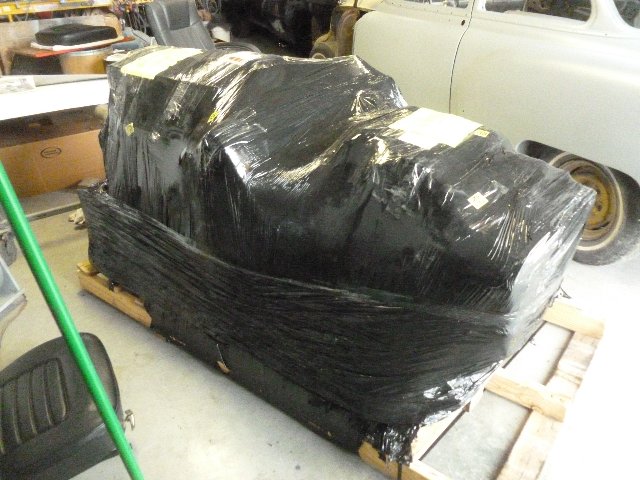
Cool!! What do you think it is ?? |
It is a 5.0 HO KIT! |
 |
 |
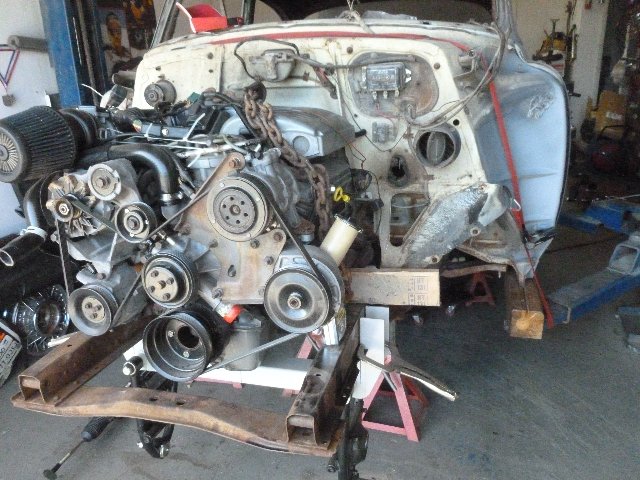
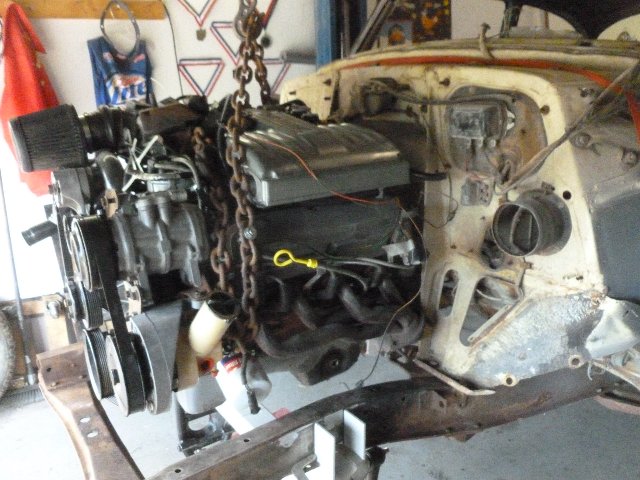
| the old engine is out |
guess what's inside |
 |
 |
| fill hood seam |
take a last look, cuz it is going |
 |
 |
 |
 |
 |
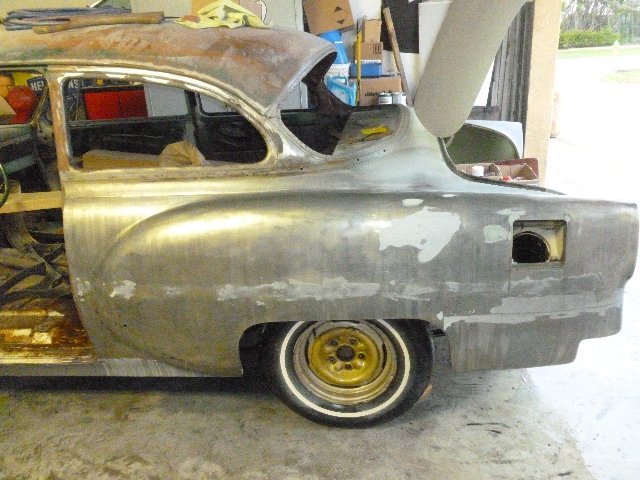 |
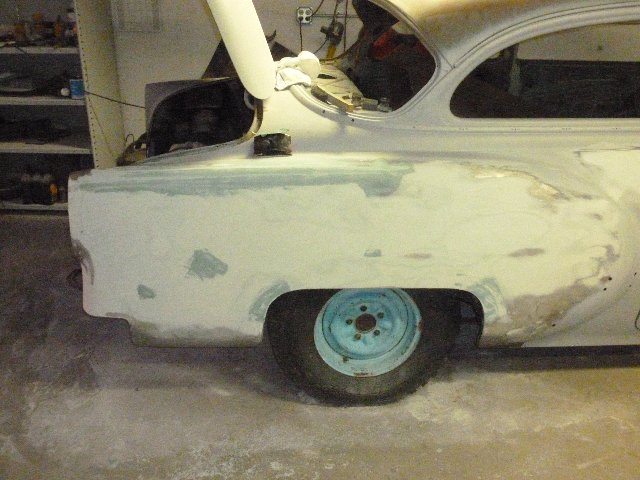
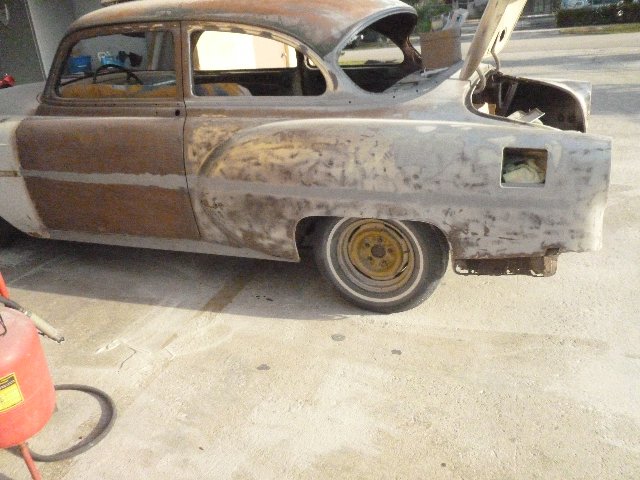
| drivers side prep |
|
 |
 |
| looking good ........... |
|
 |
 |
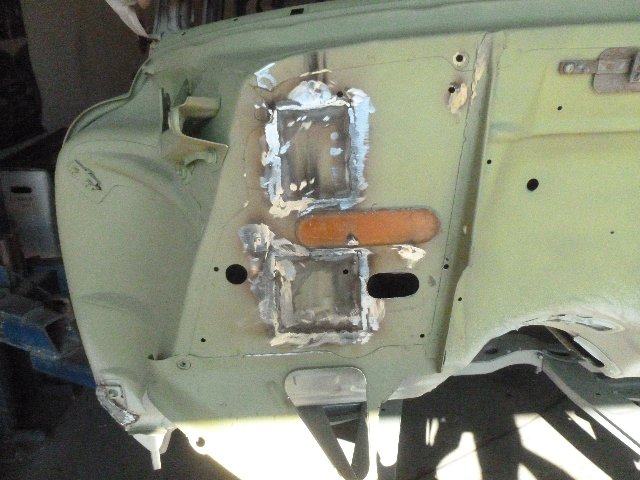
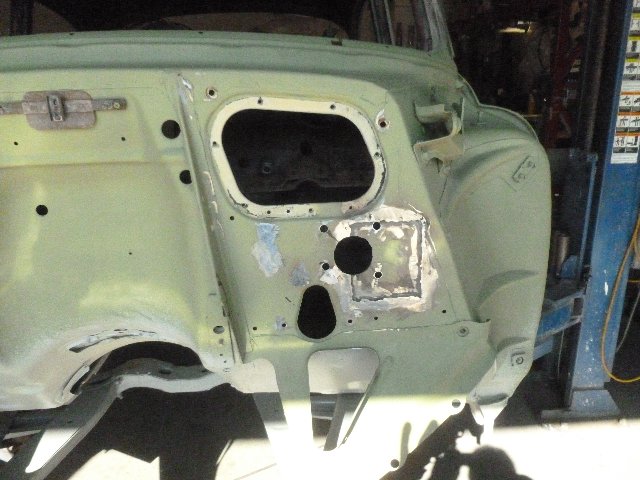
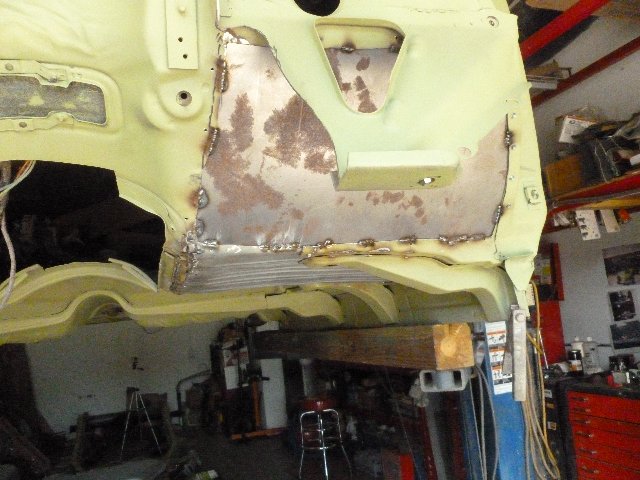
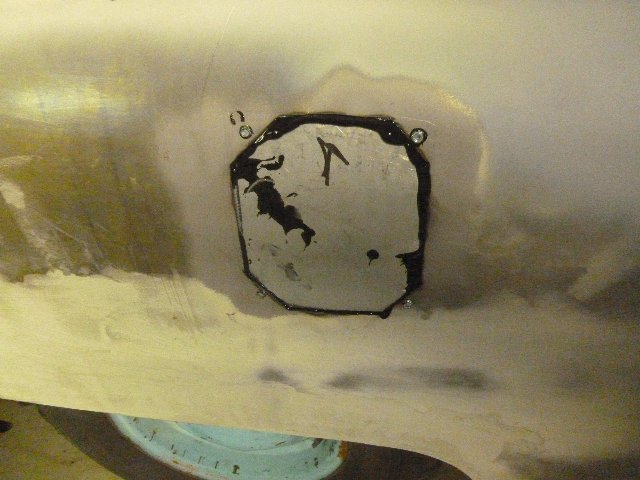
| installing new panels rear trunk latch area |
|
 |
 |
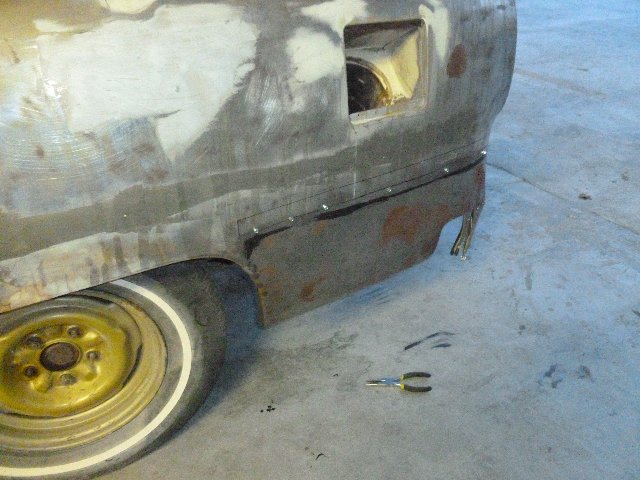
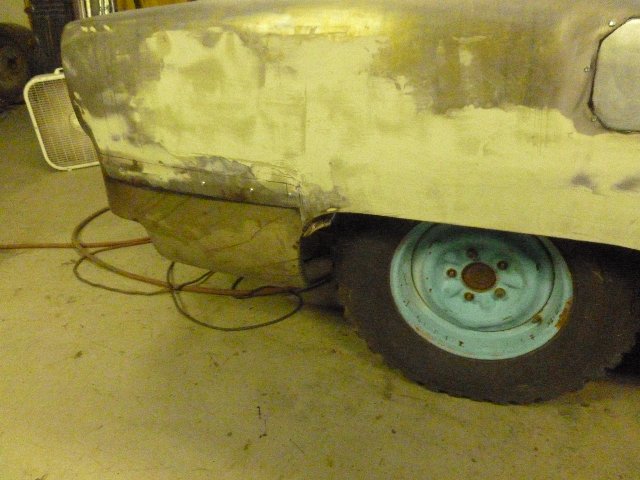
| lower quarter panel repair panels installed |
|
 |
 |
|
repiar patch installed with panel
bonding adhesive |
 |
 |
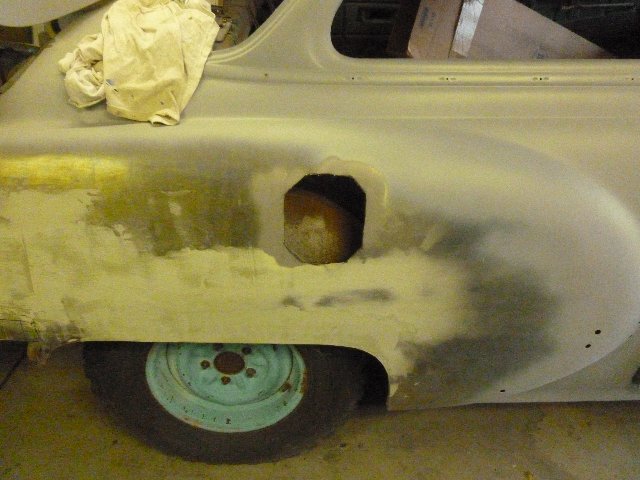
| sandblasting inside trunk & quarter
area |
cut out bad metal |
 |
 |
 |
 |
| apply High build primer |
|
 |
 |
 |
 |
 |
 |
 |
 |
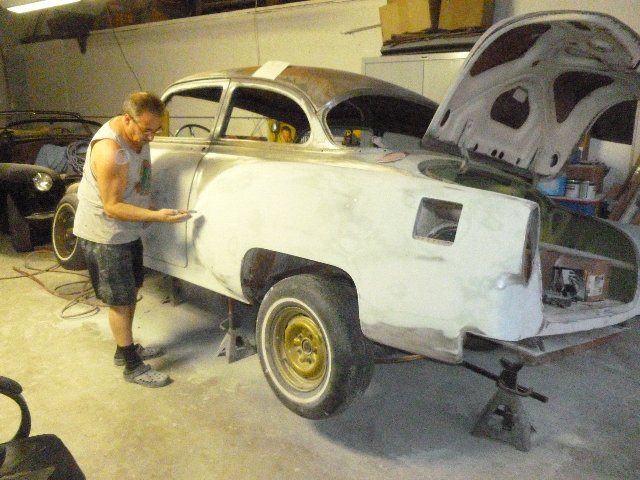
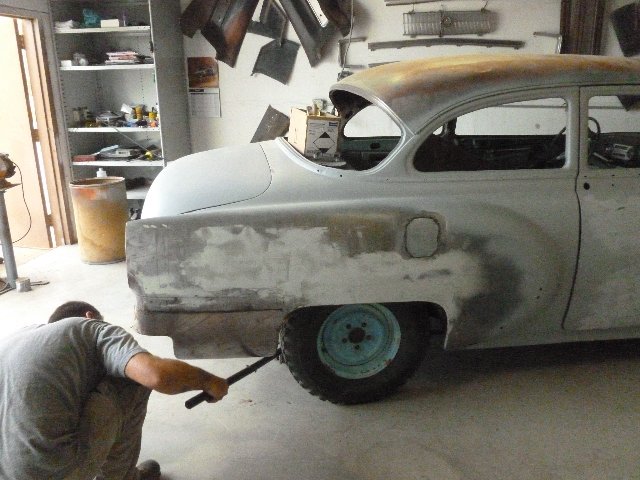
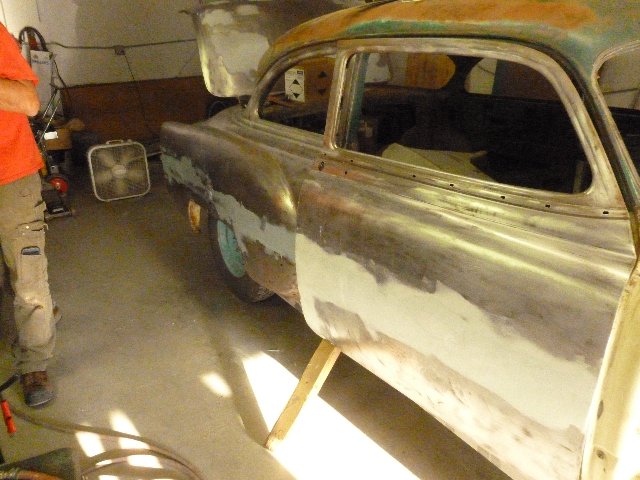
| body work |
apply expoxy primer |
 |
 |
| sandblasting area metal |
scim expoxy over welds |
 |
 |
|
lowered 3" by heating the front springs |
cruising the 47 CHESTANG 03/14 |
 |
 |
|
removing chrome locations holes |
cleaning up, looking good! |
 |
 |
|
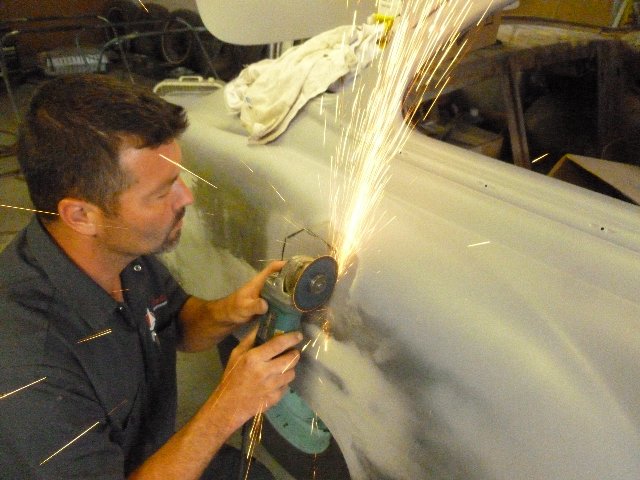
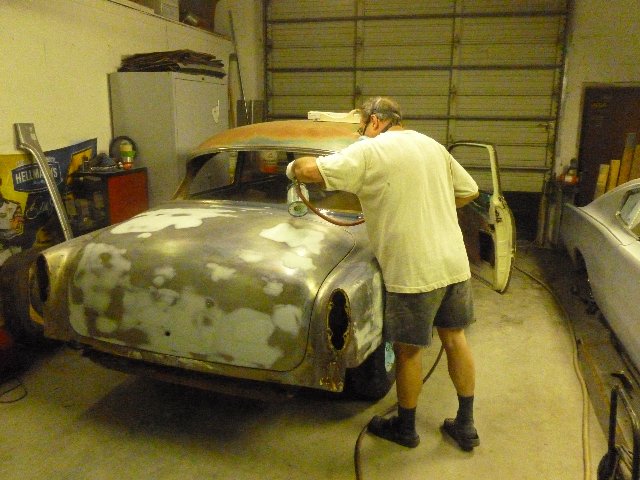
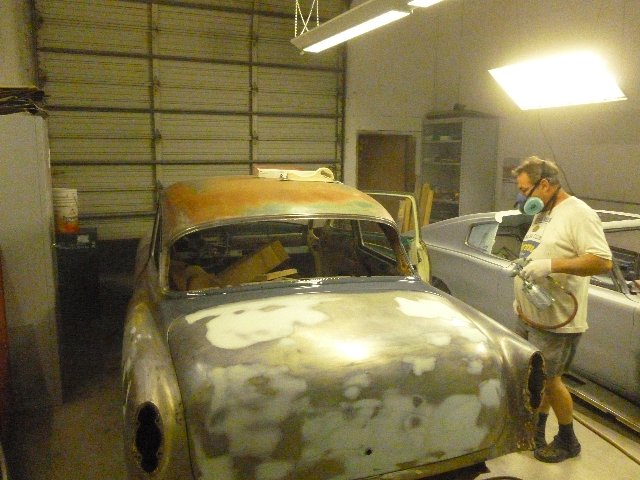
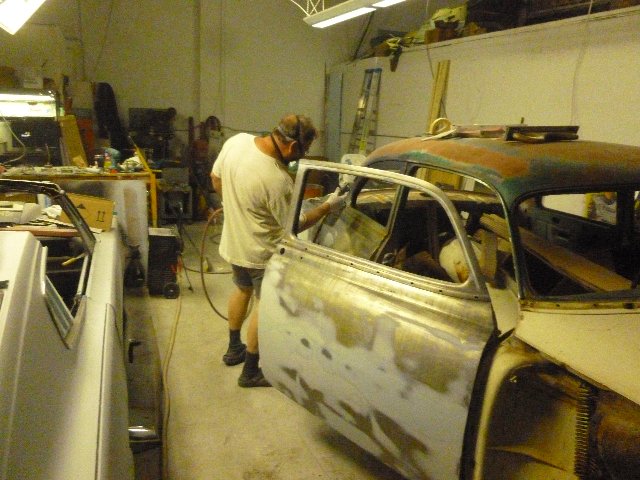
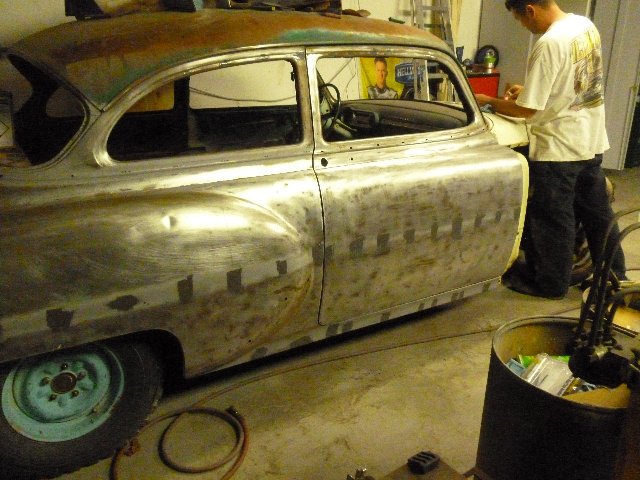
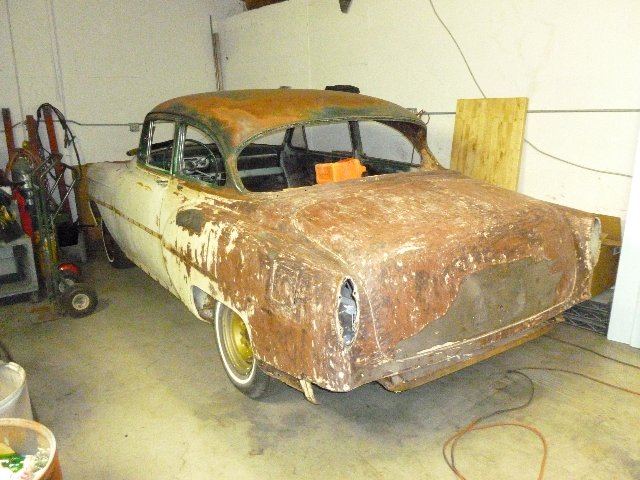
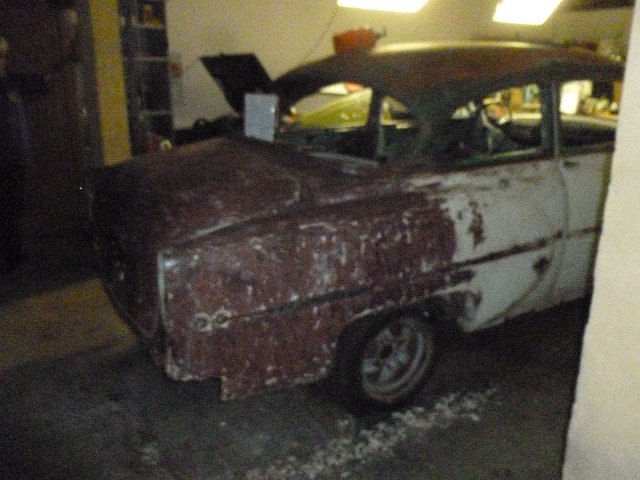
paint stripping begins |
 |
 |
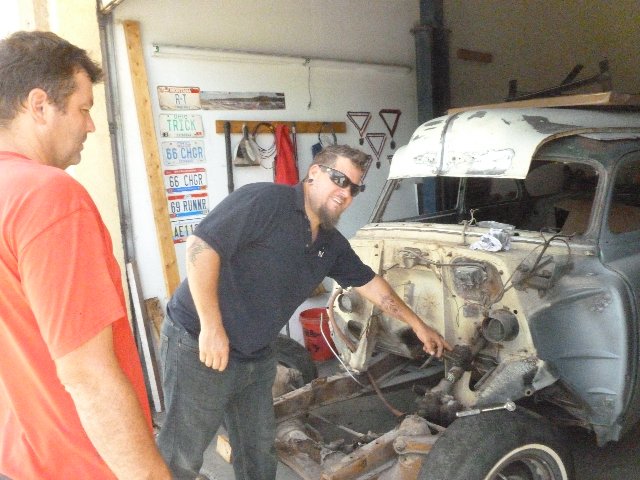
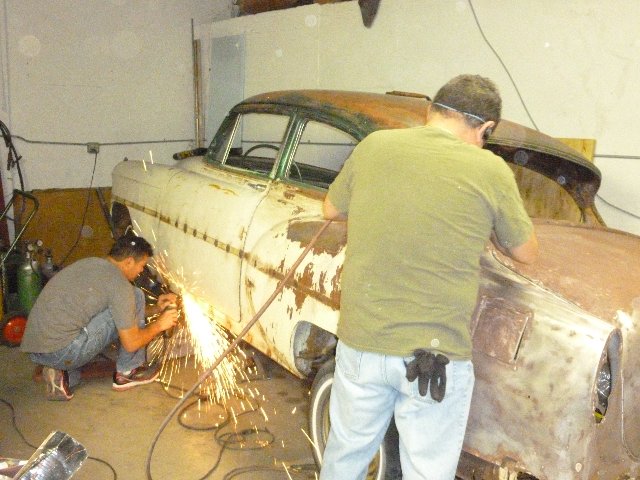
| And the real work begins .... |
removing chrome attachment holes |
 |
 |
|
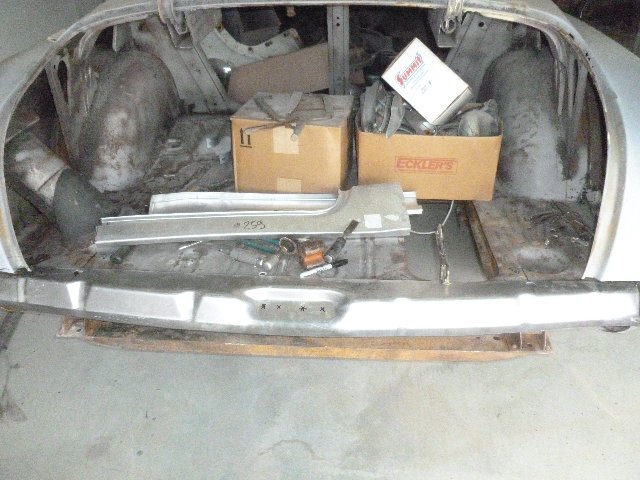
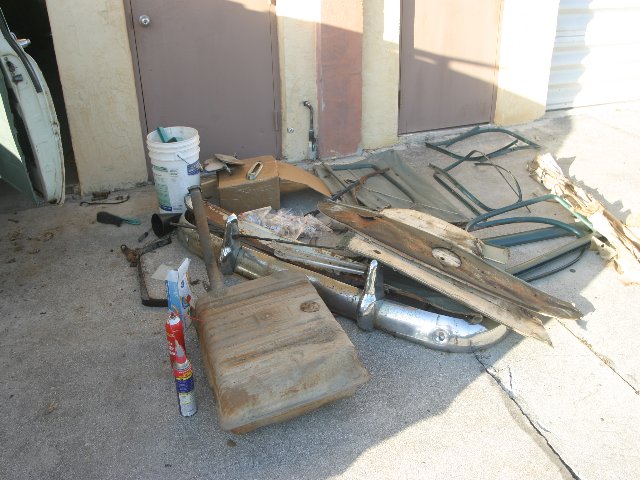
SPARE PARTS
|
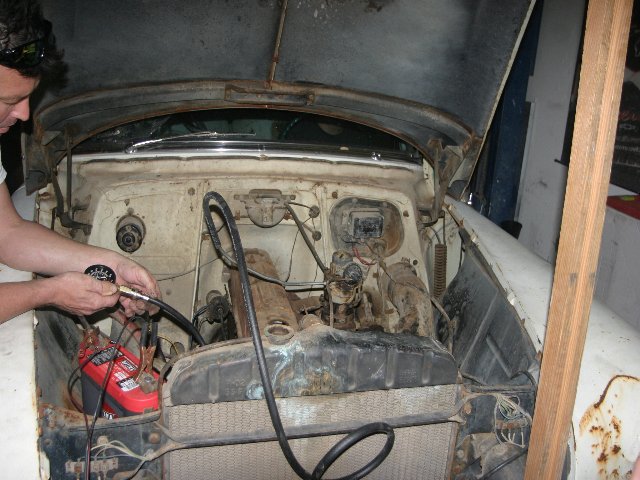
run a compression test after
running the engine |
 |
 |
|
|
 |
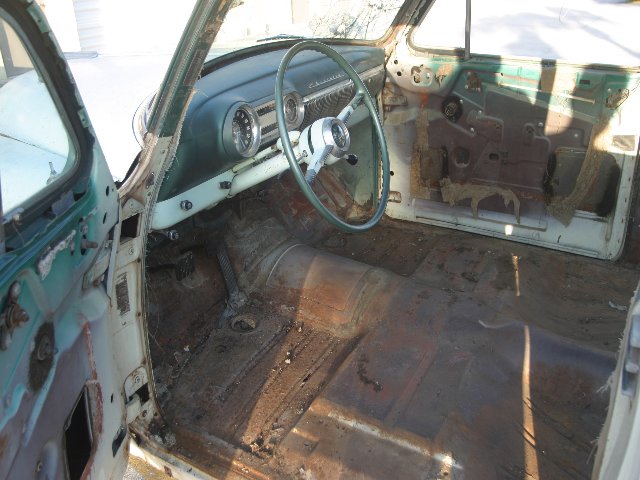 |
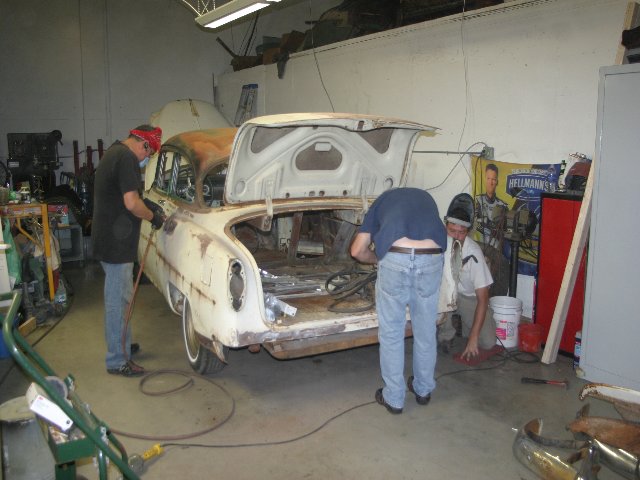
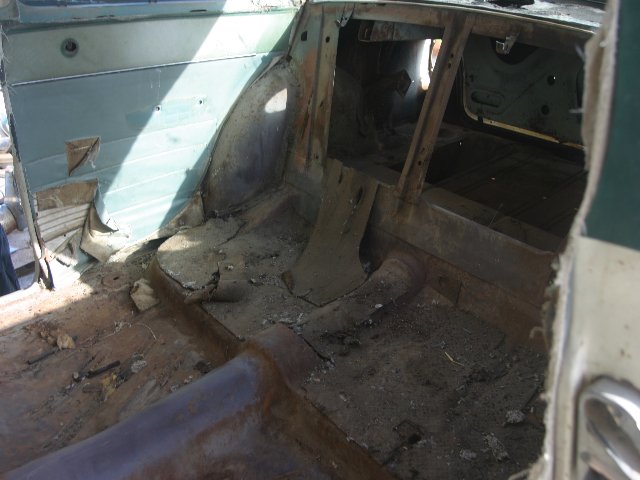
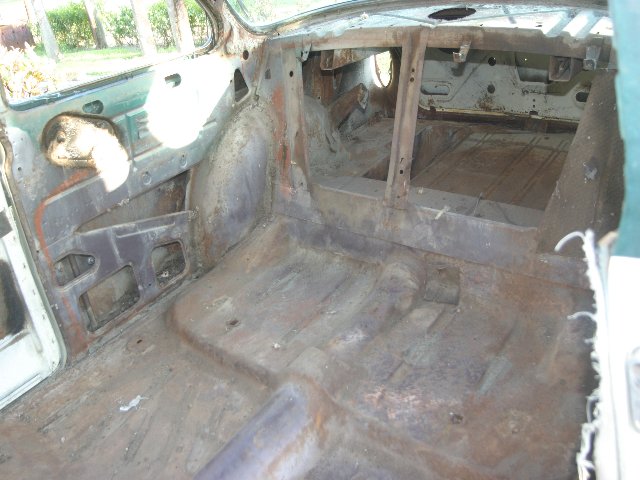
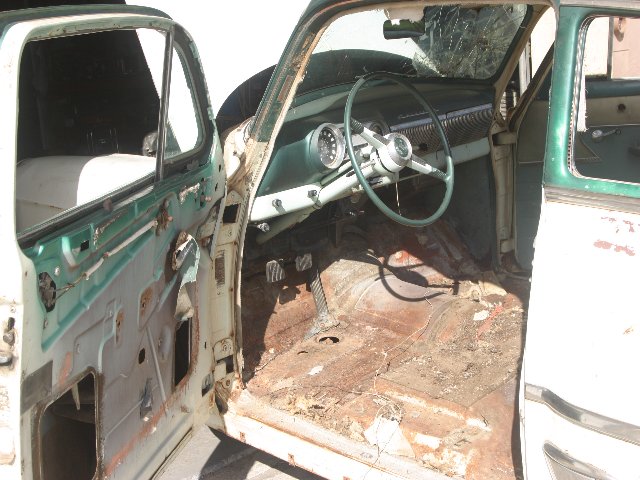
| clean out the interior .............. |
|
 |
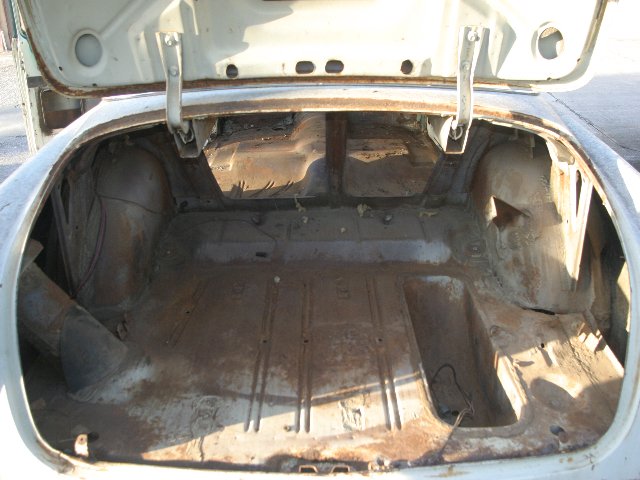 |
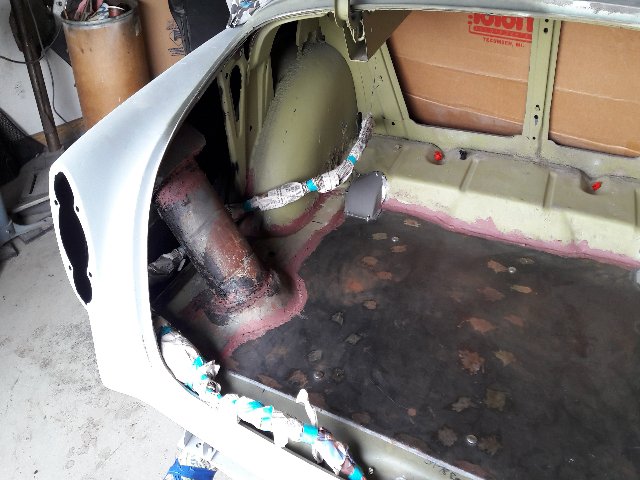
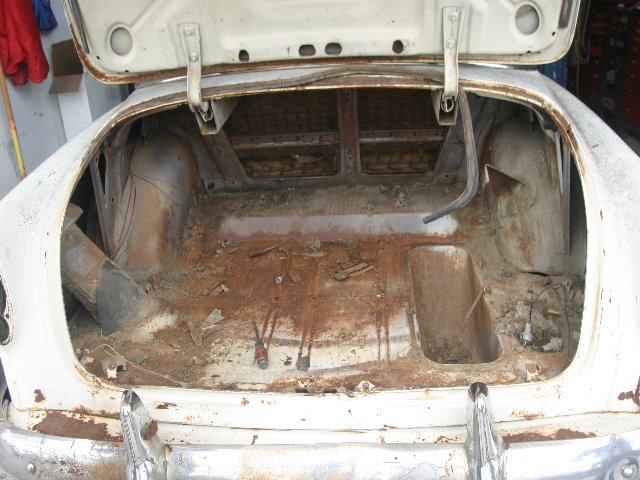
| Clean out the trunk ....... |
|
 |
 |
 |
 |
|
works begins 02/14/14 |
