


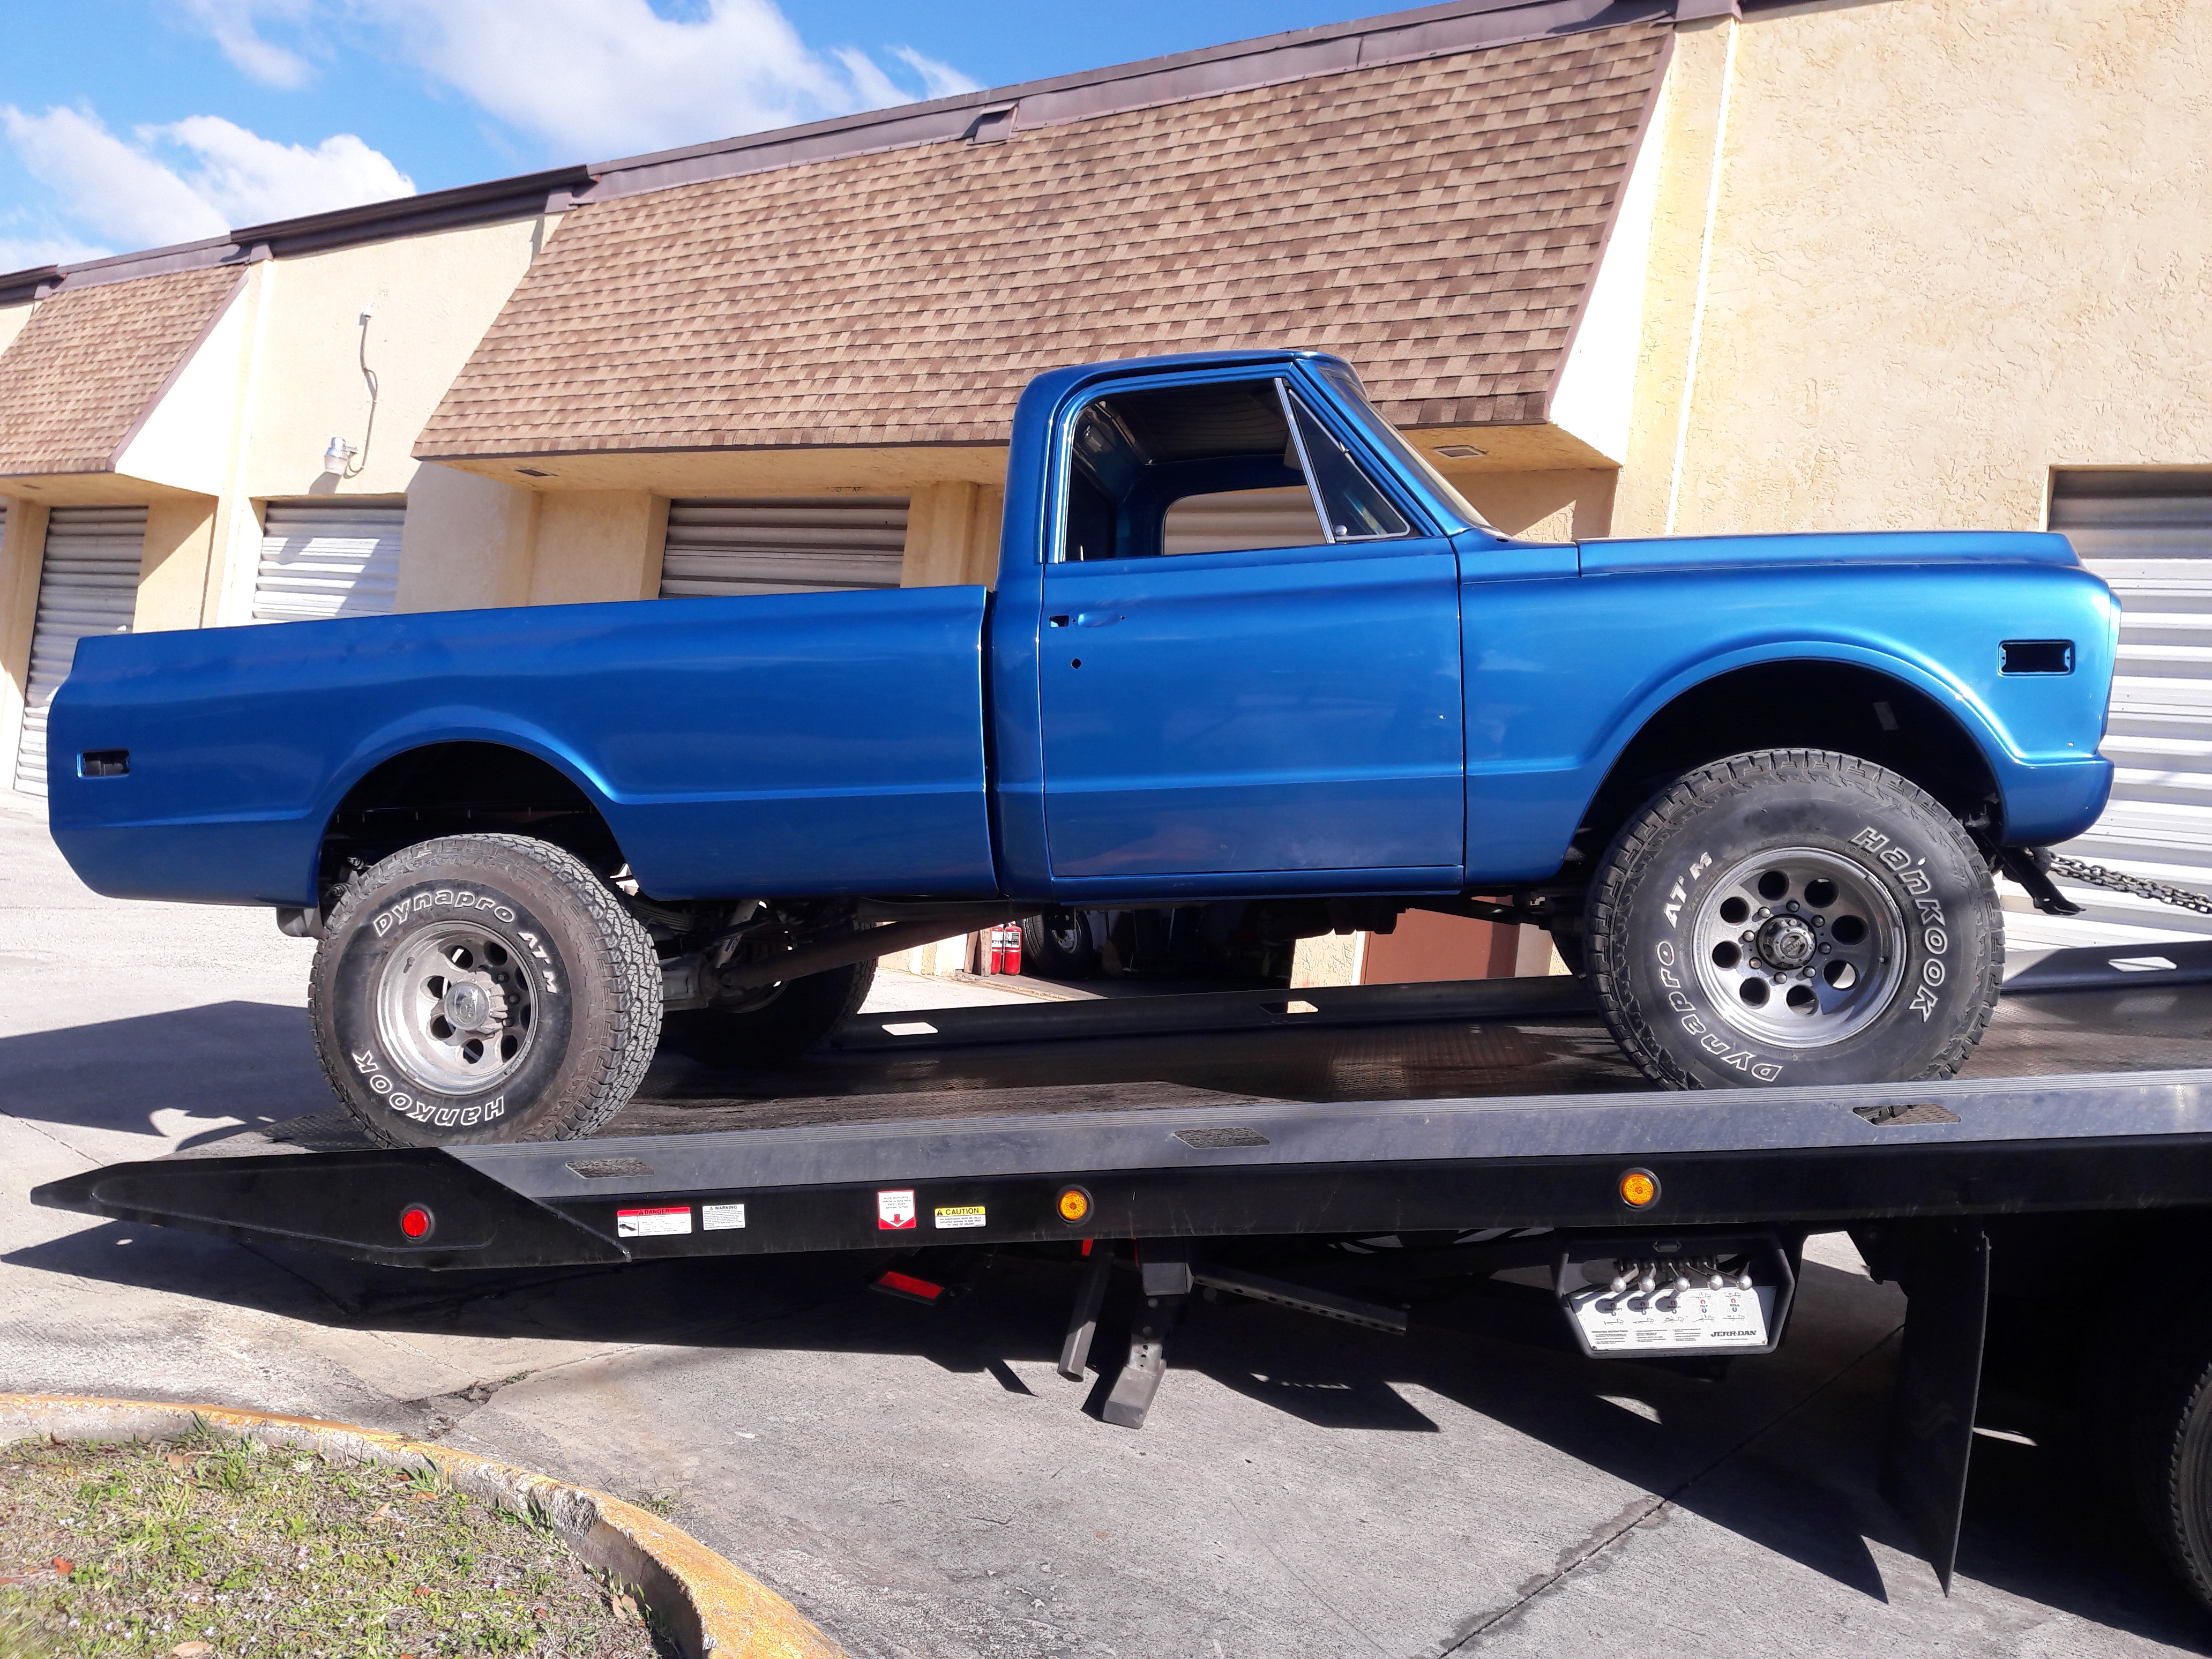
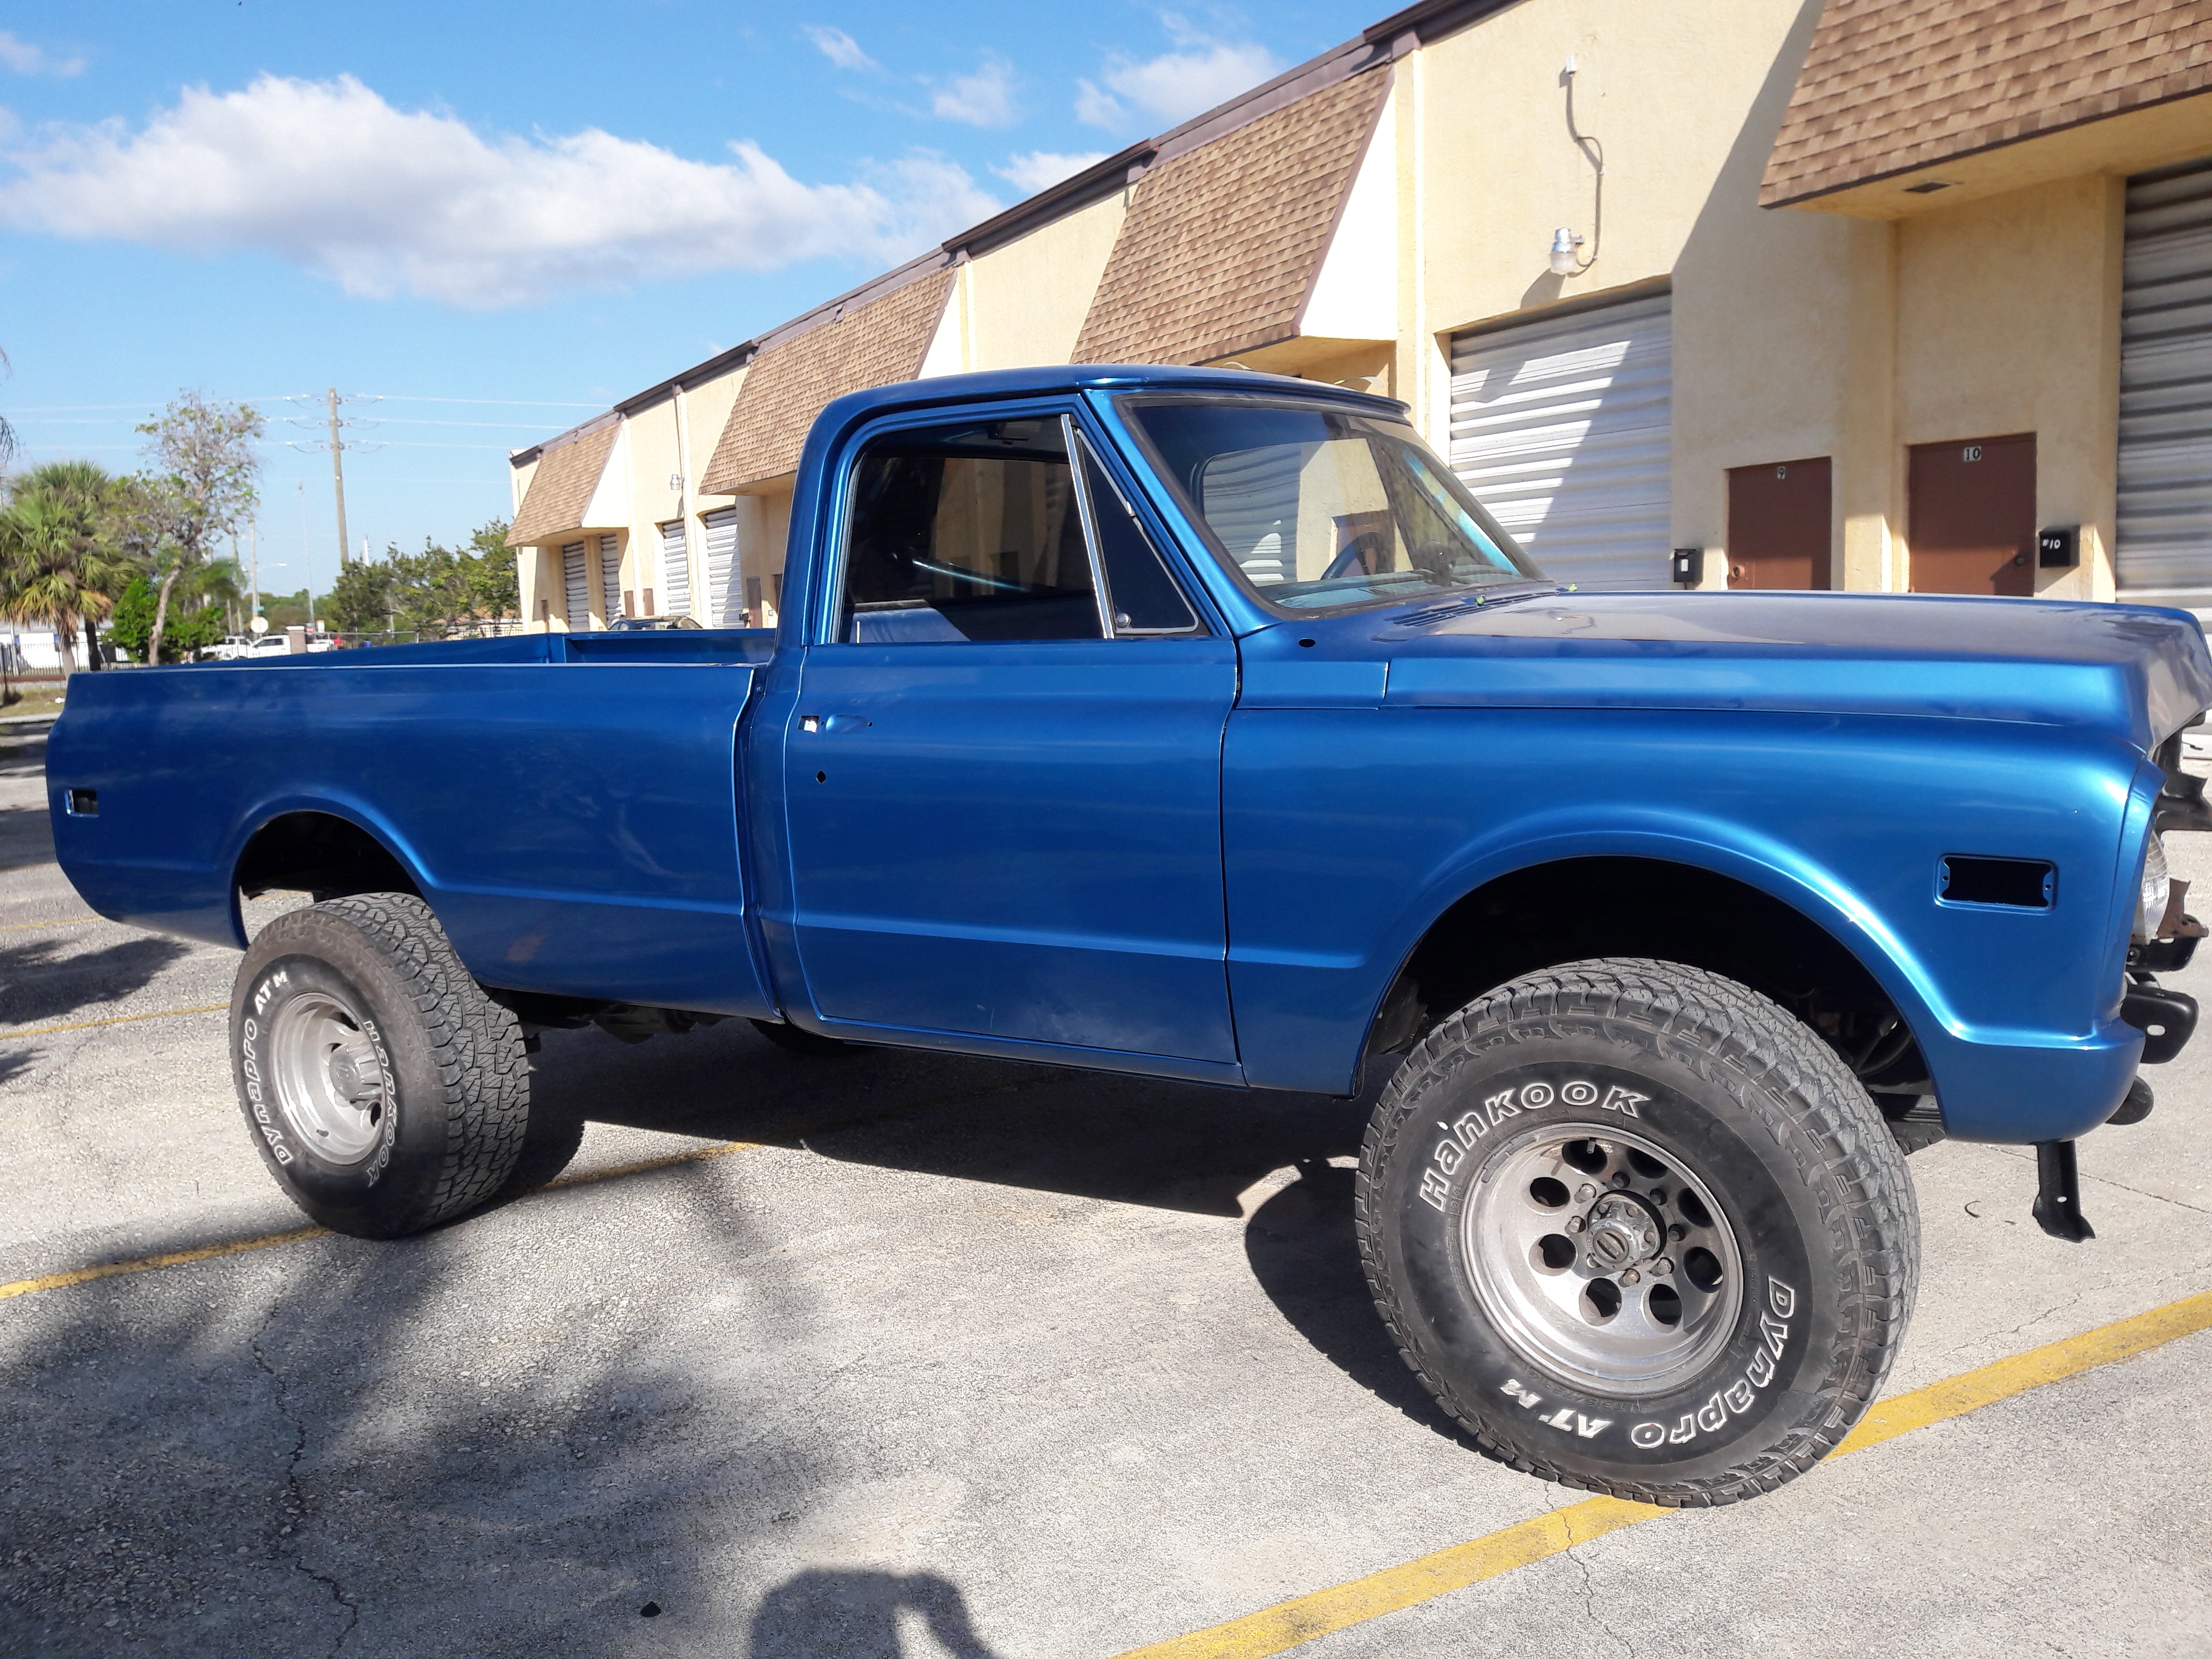
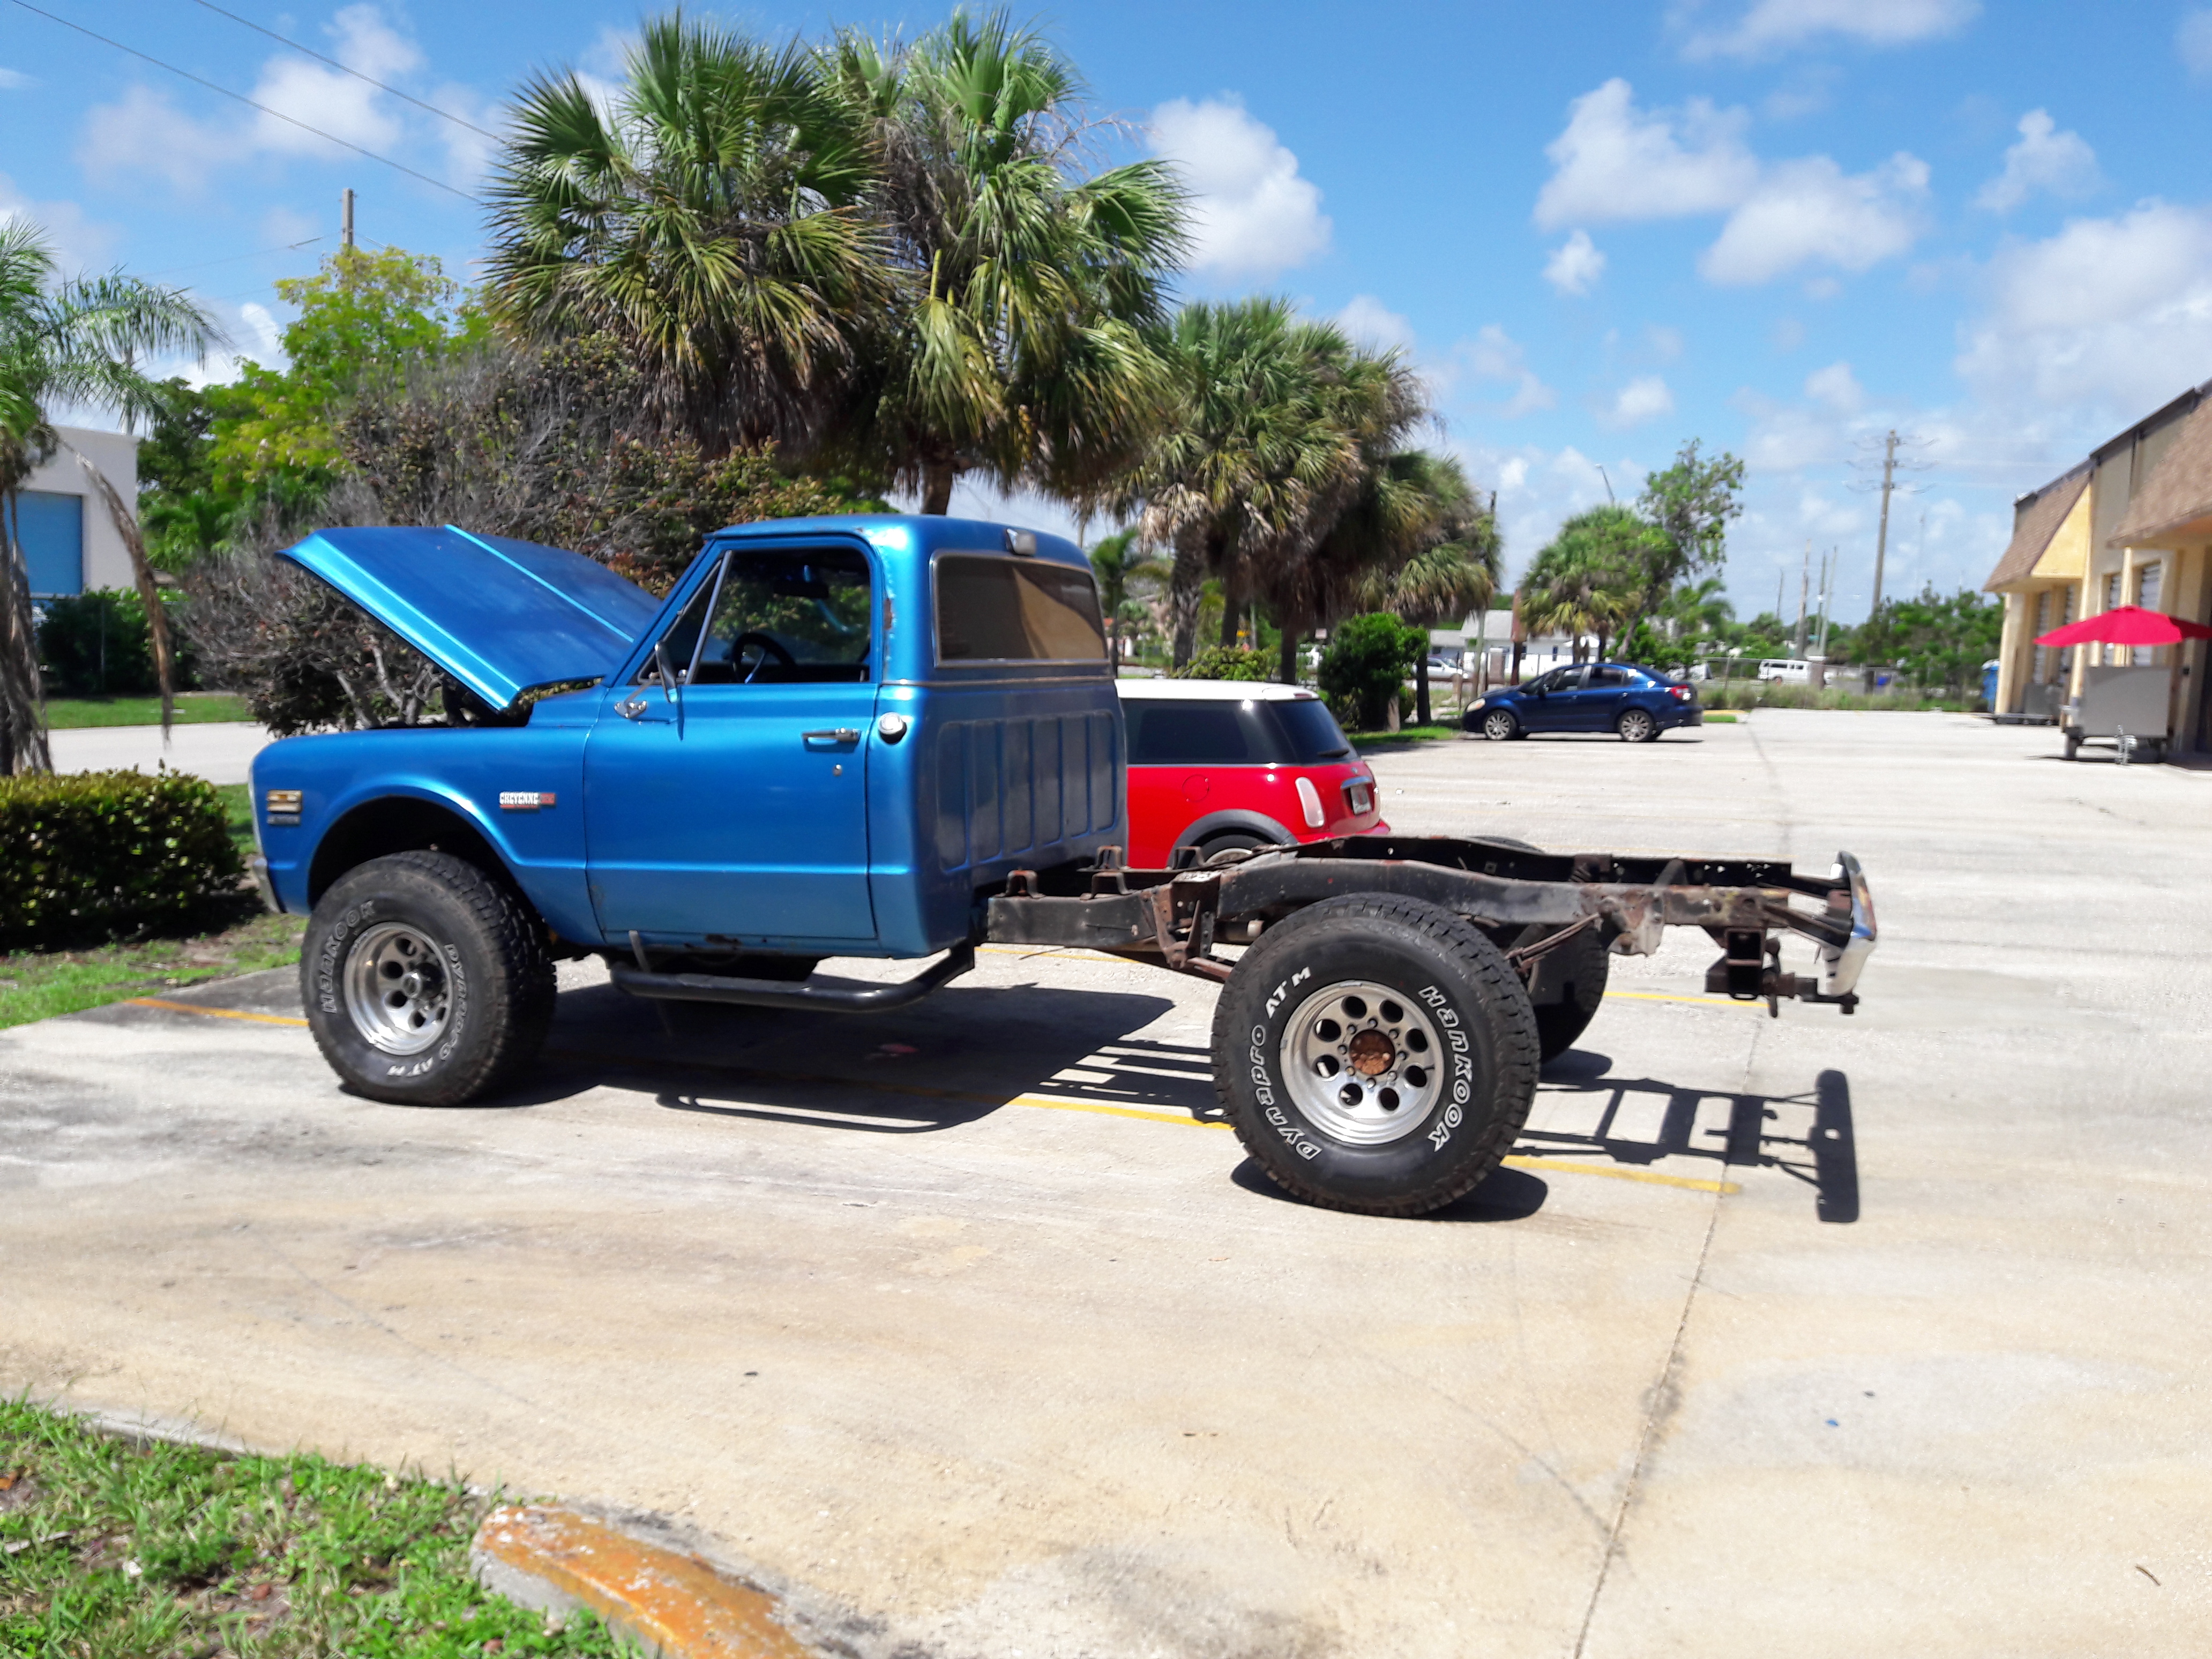
71 GMC K2500 Pick-Up
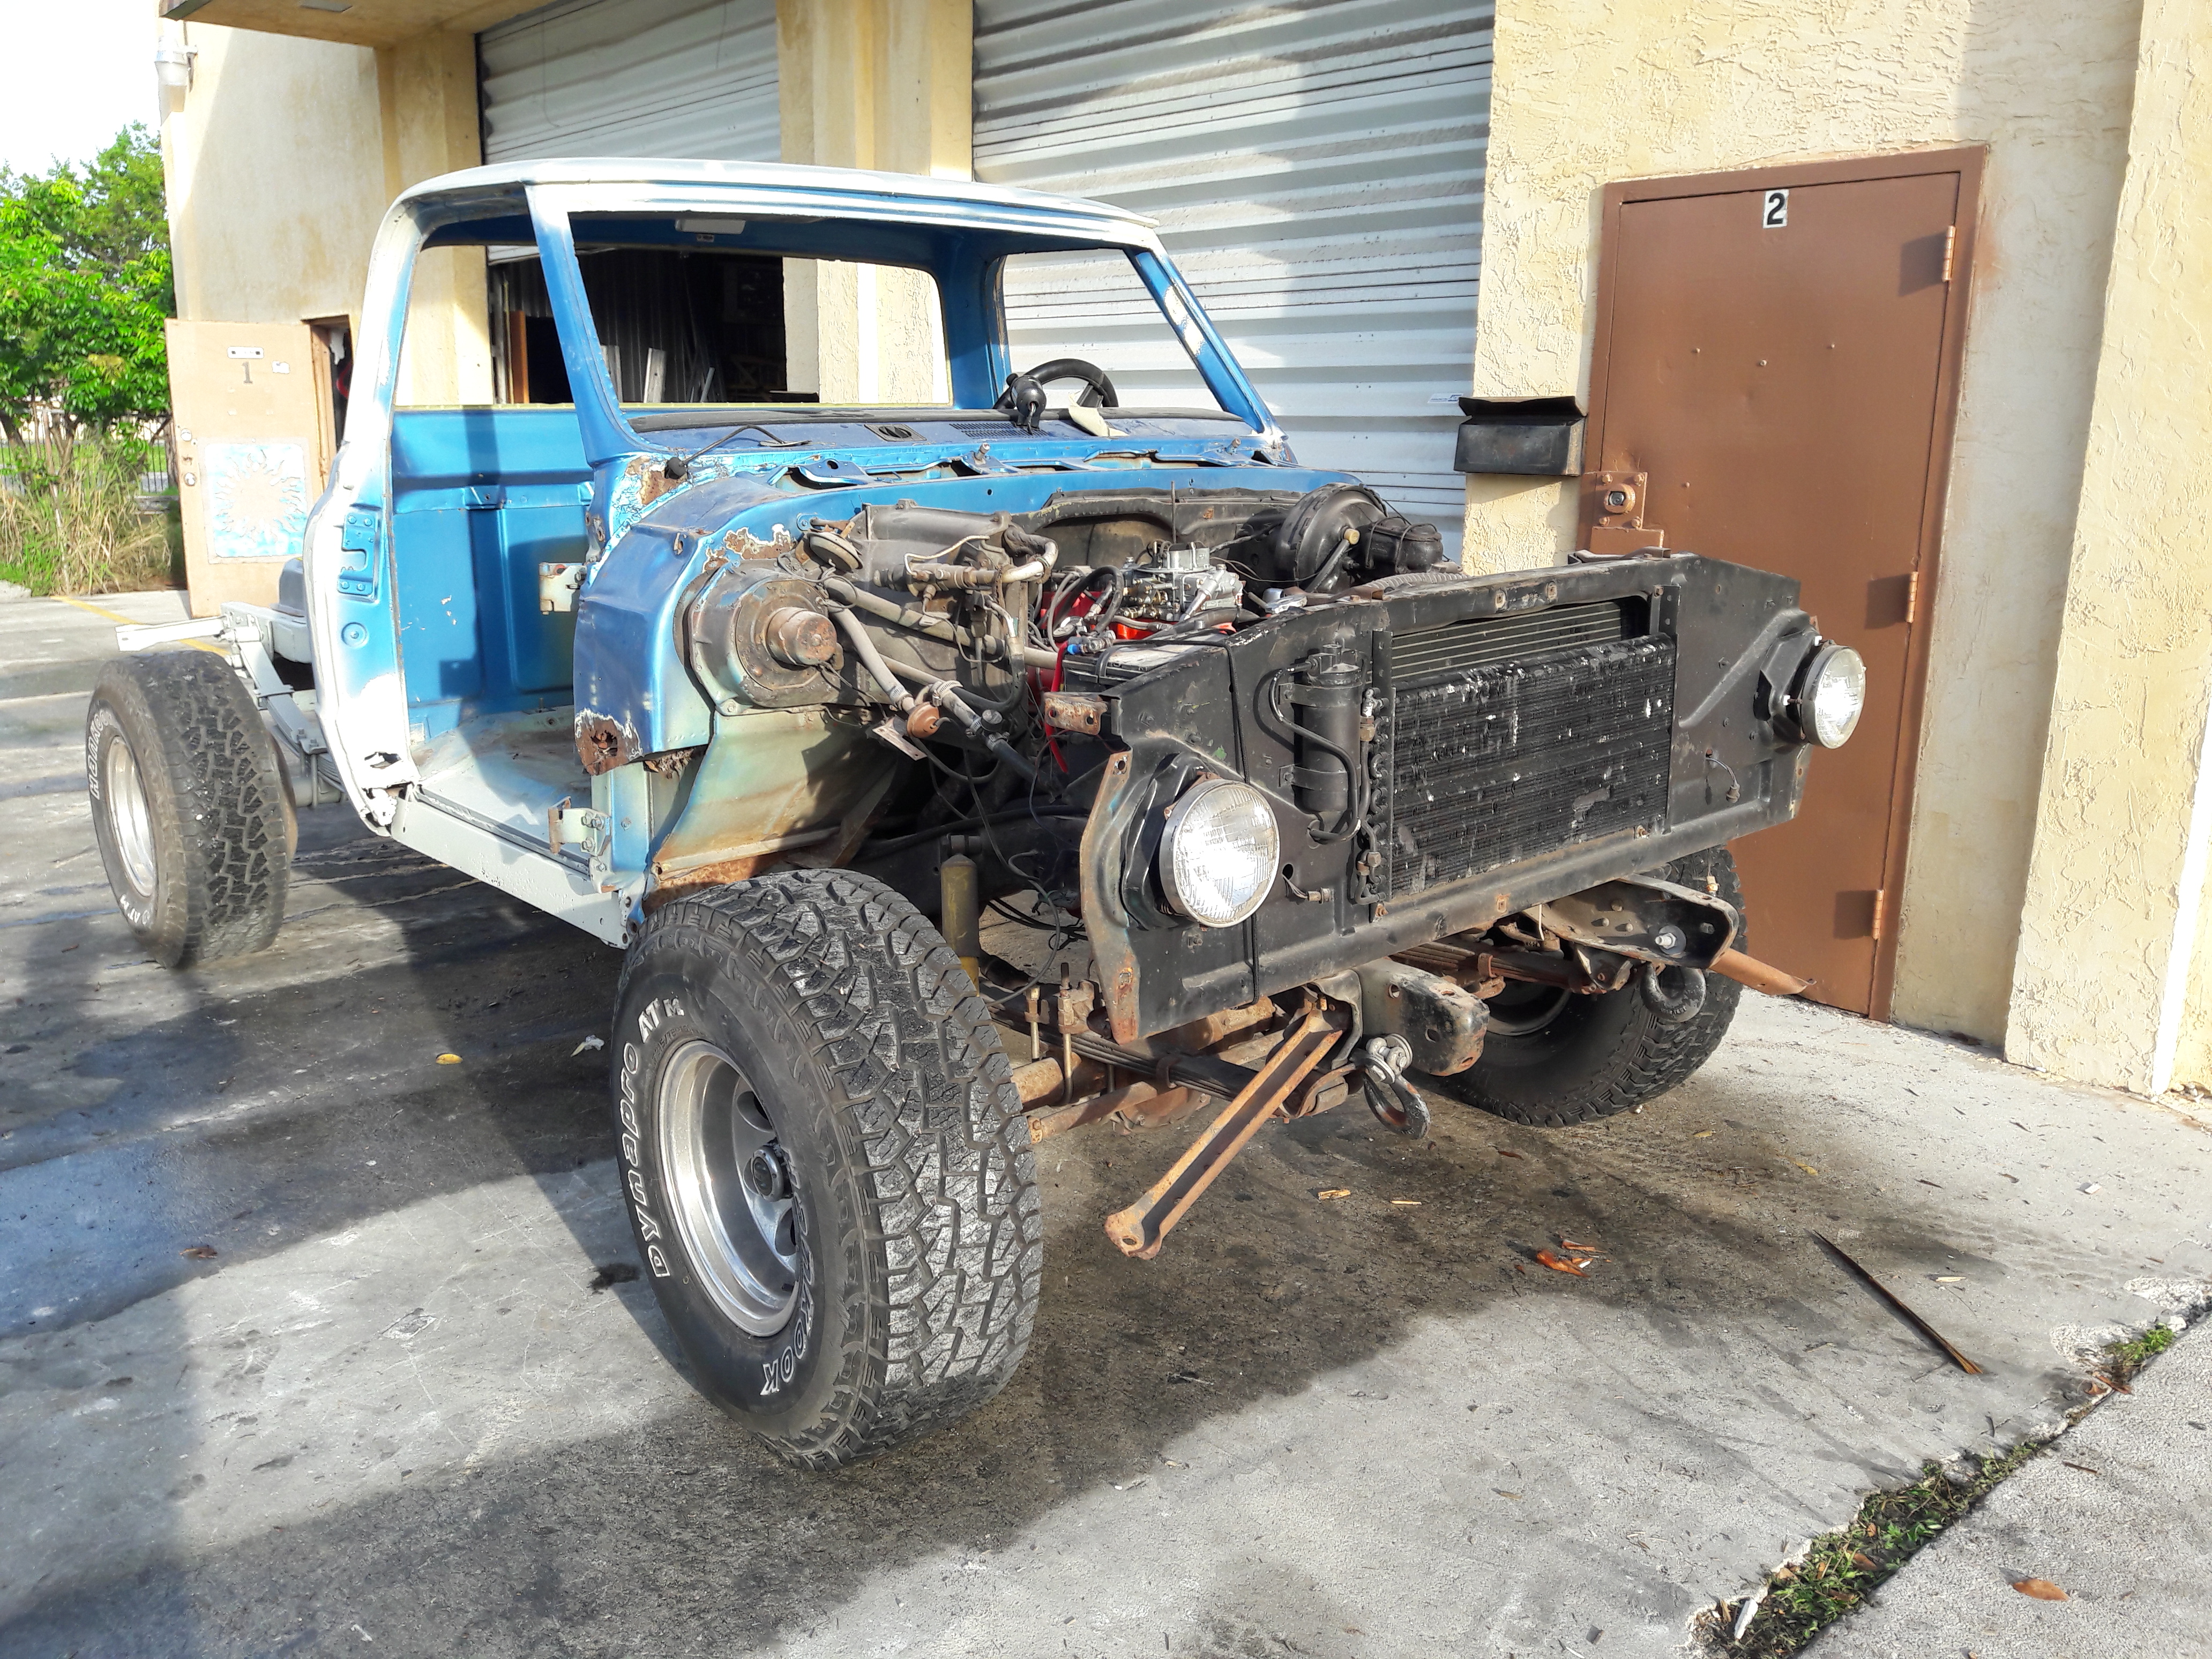
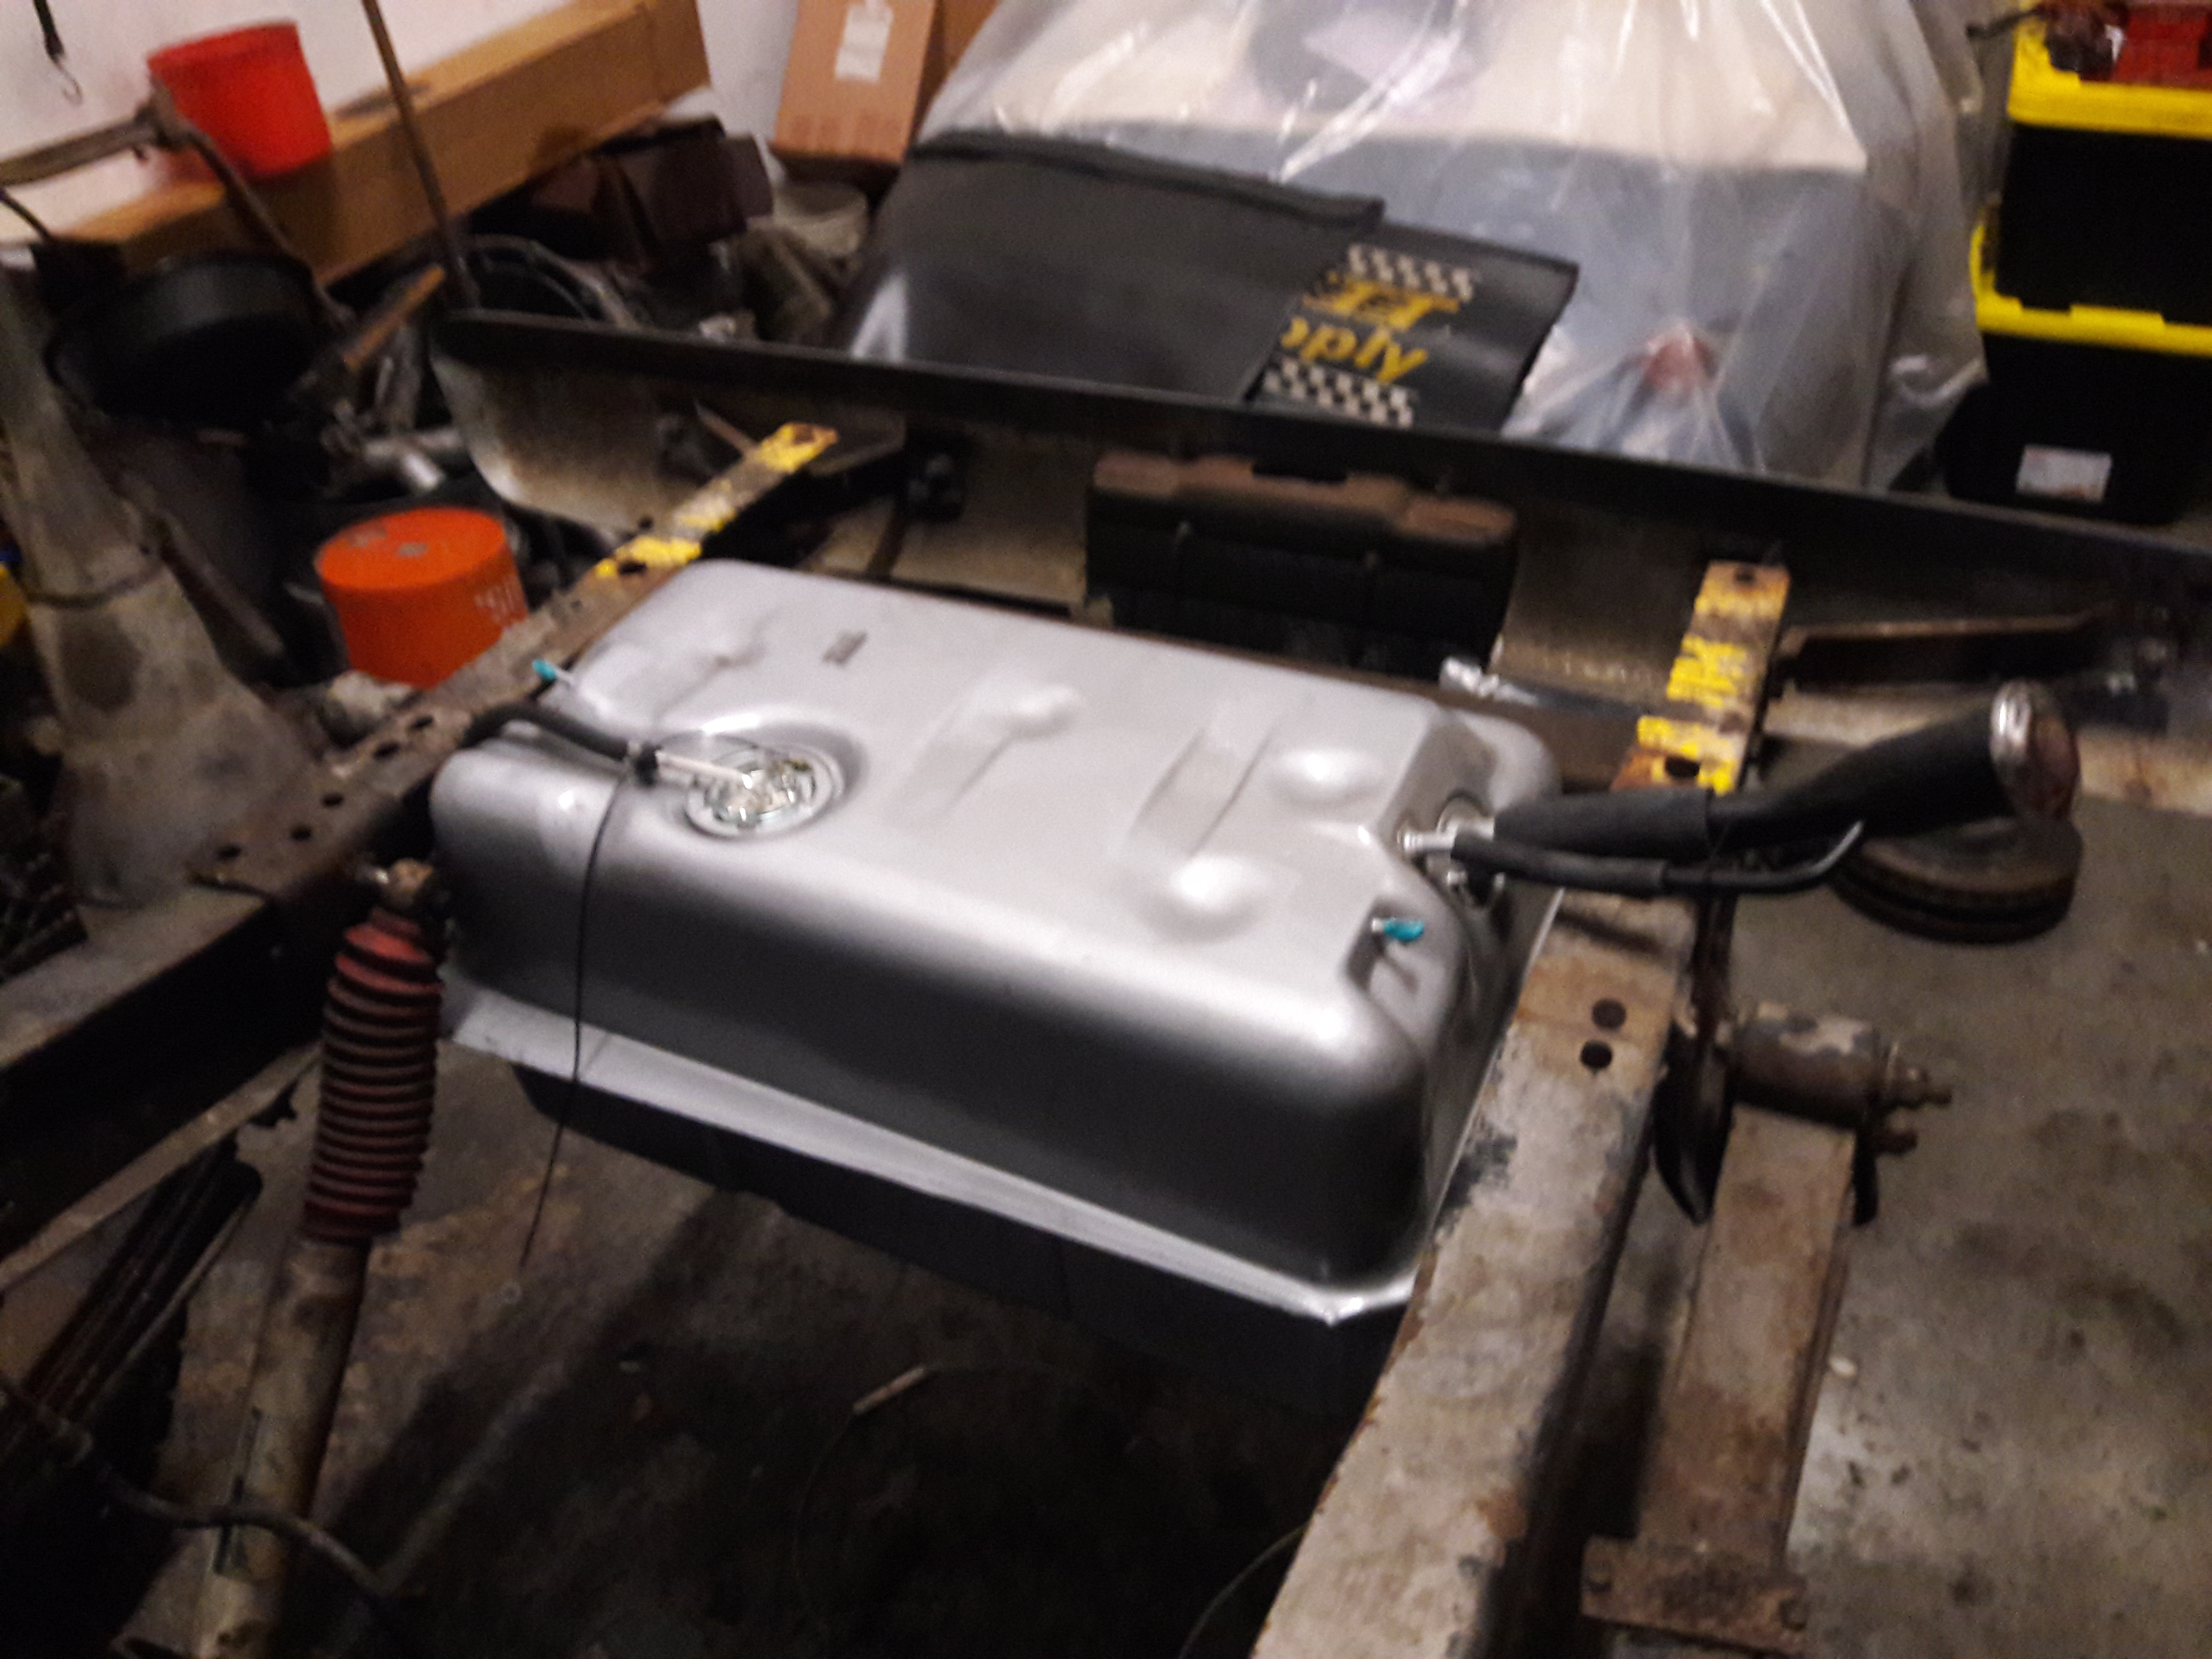
1971 GMC Pick-Up 454 / 350 trans 4 wheel drive. This truck is in for basic engine work. I am also going to re-locate the fuel tank under the bed. Since the bed needed to be removed, the bed will be rebuilt with a new floor at the same time.
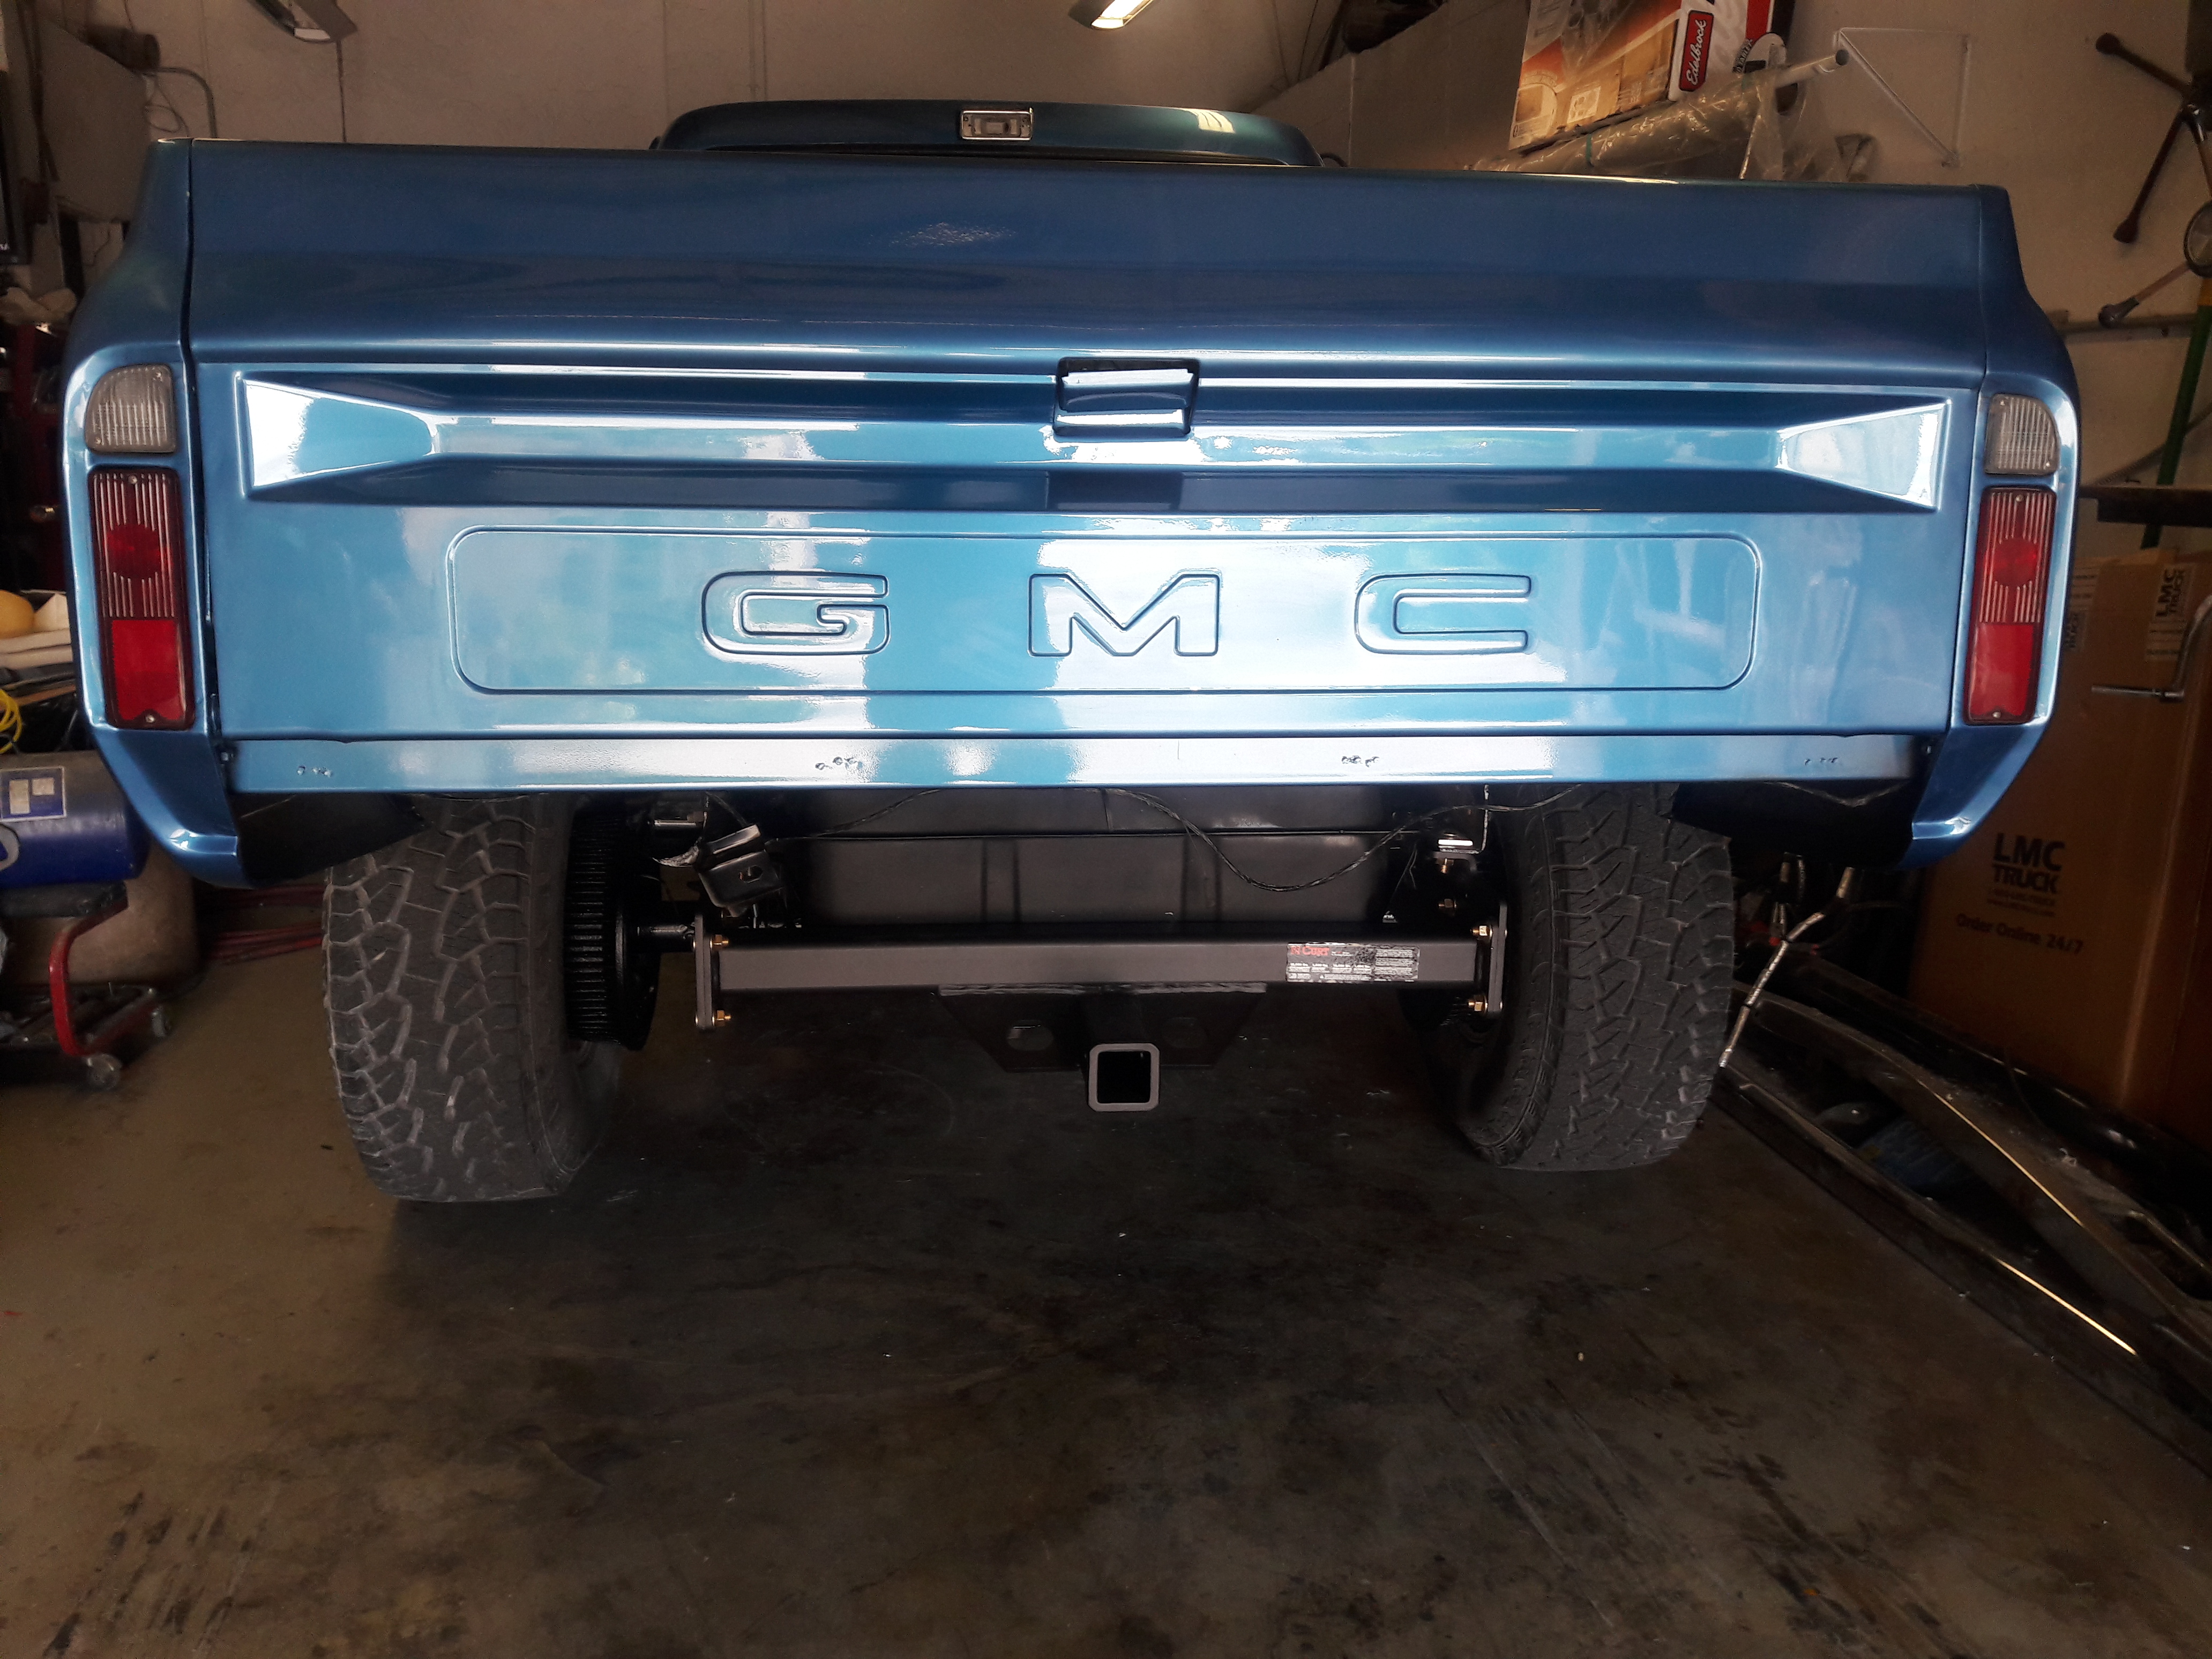
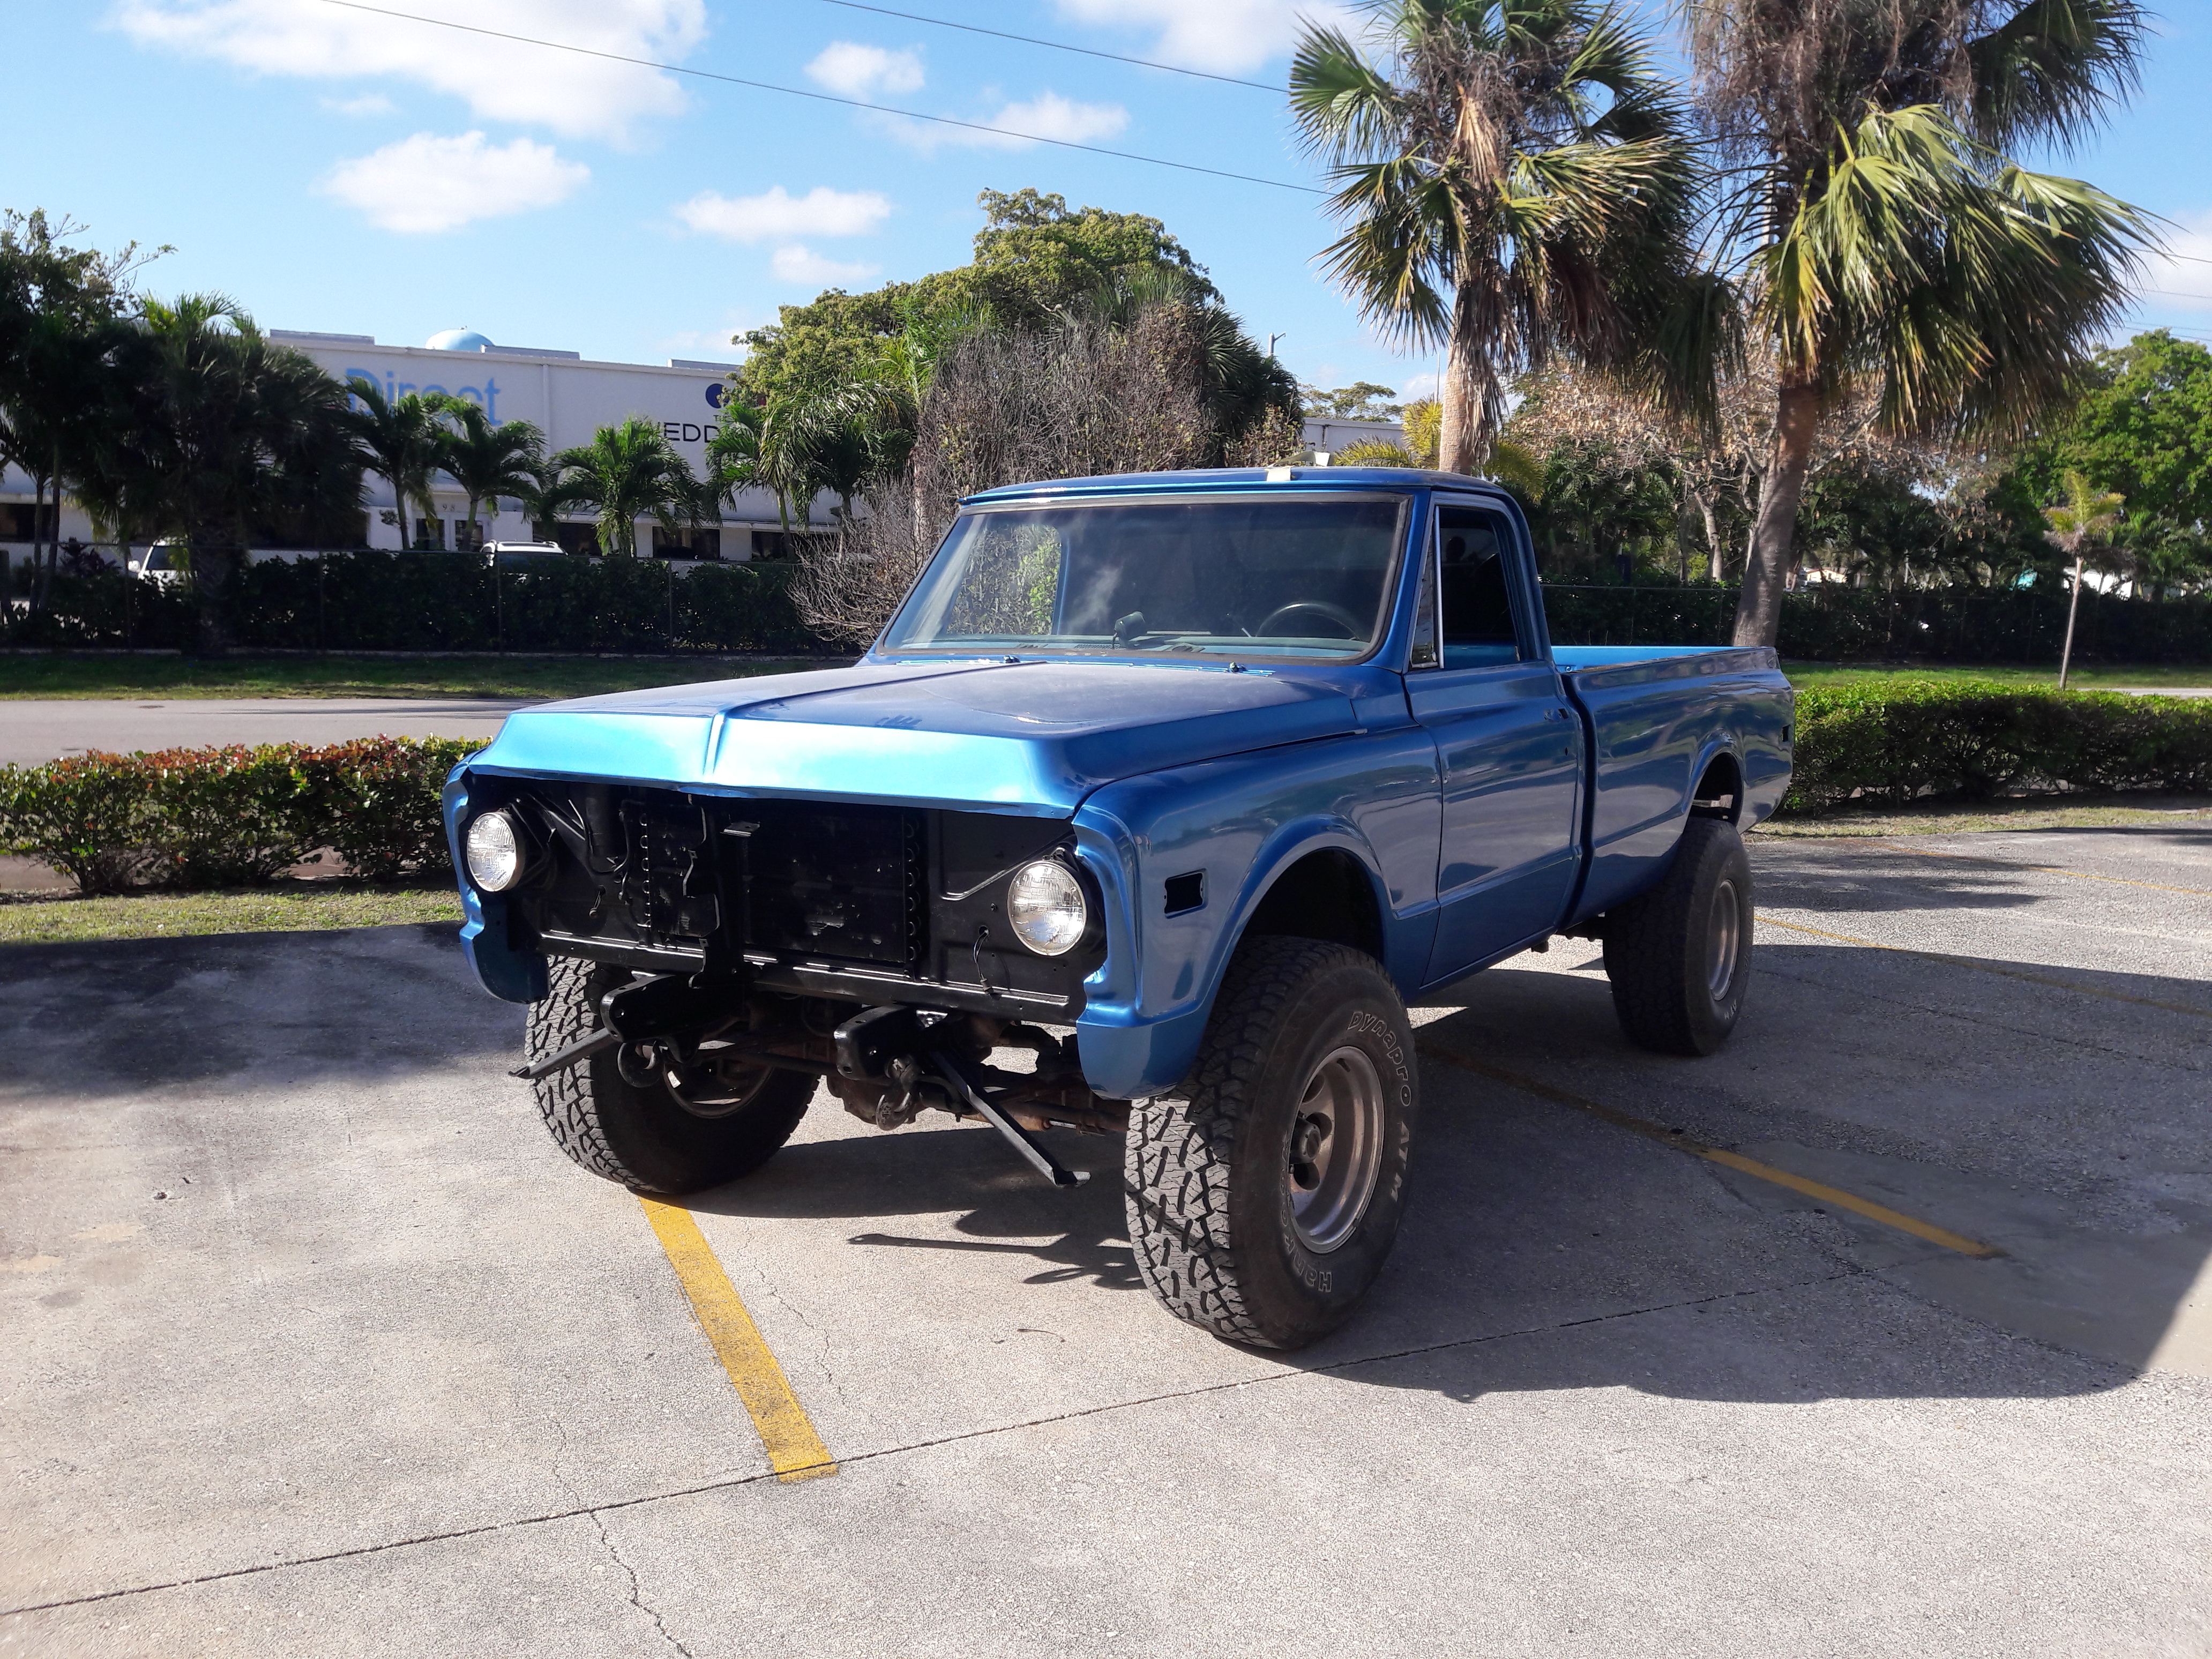
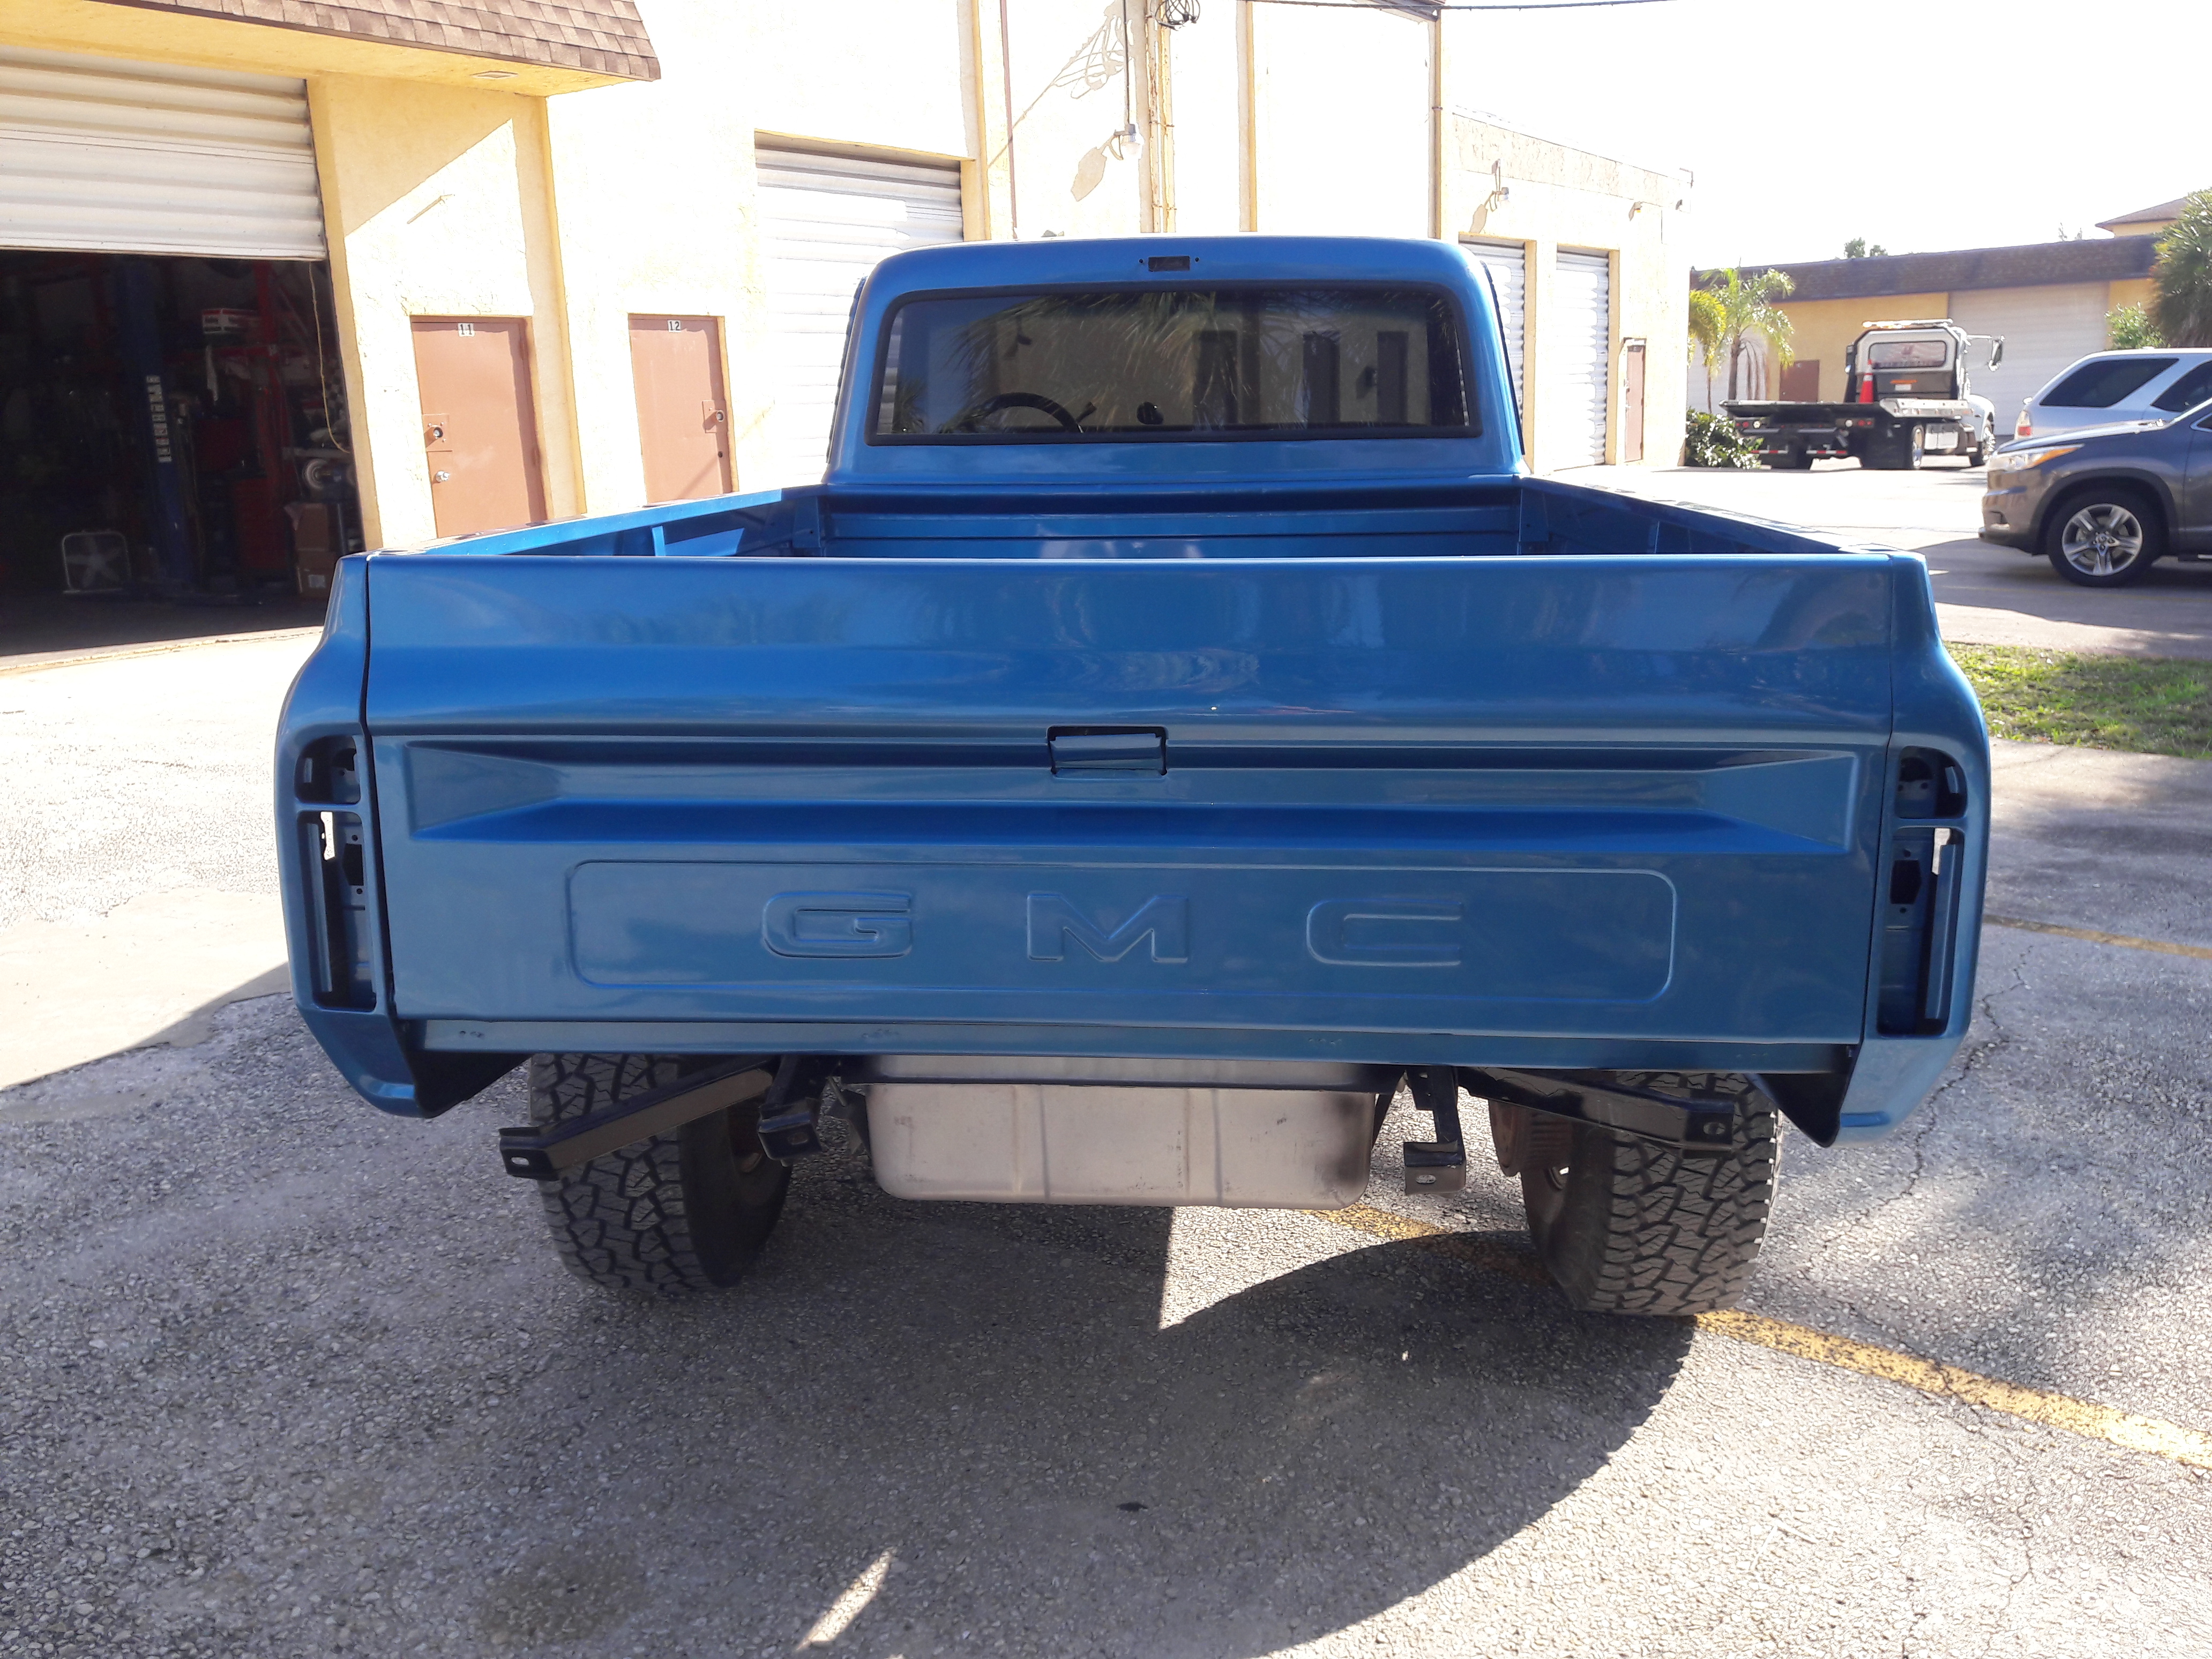
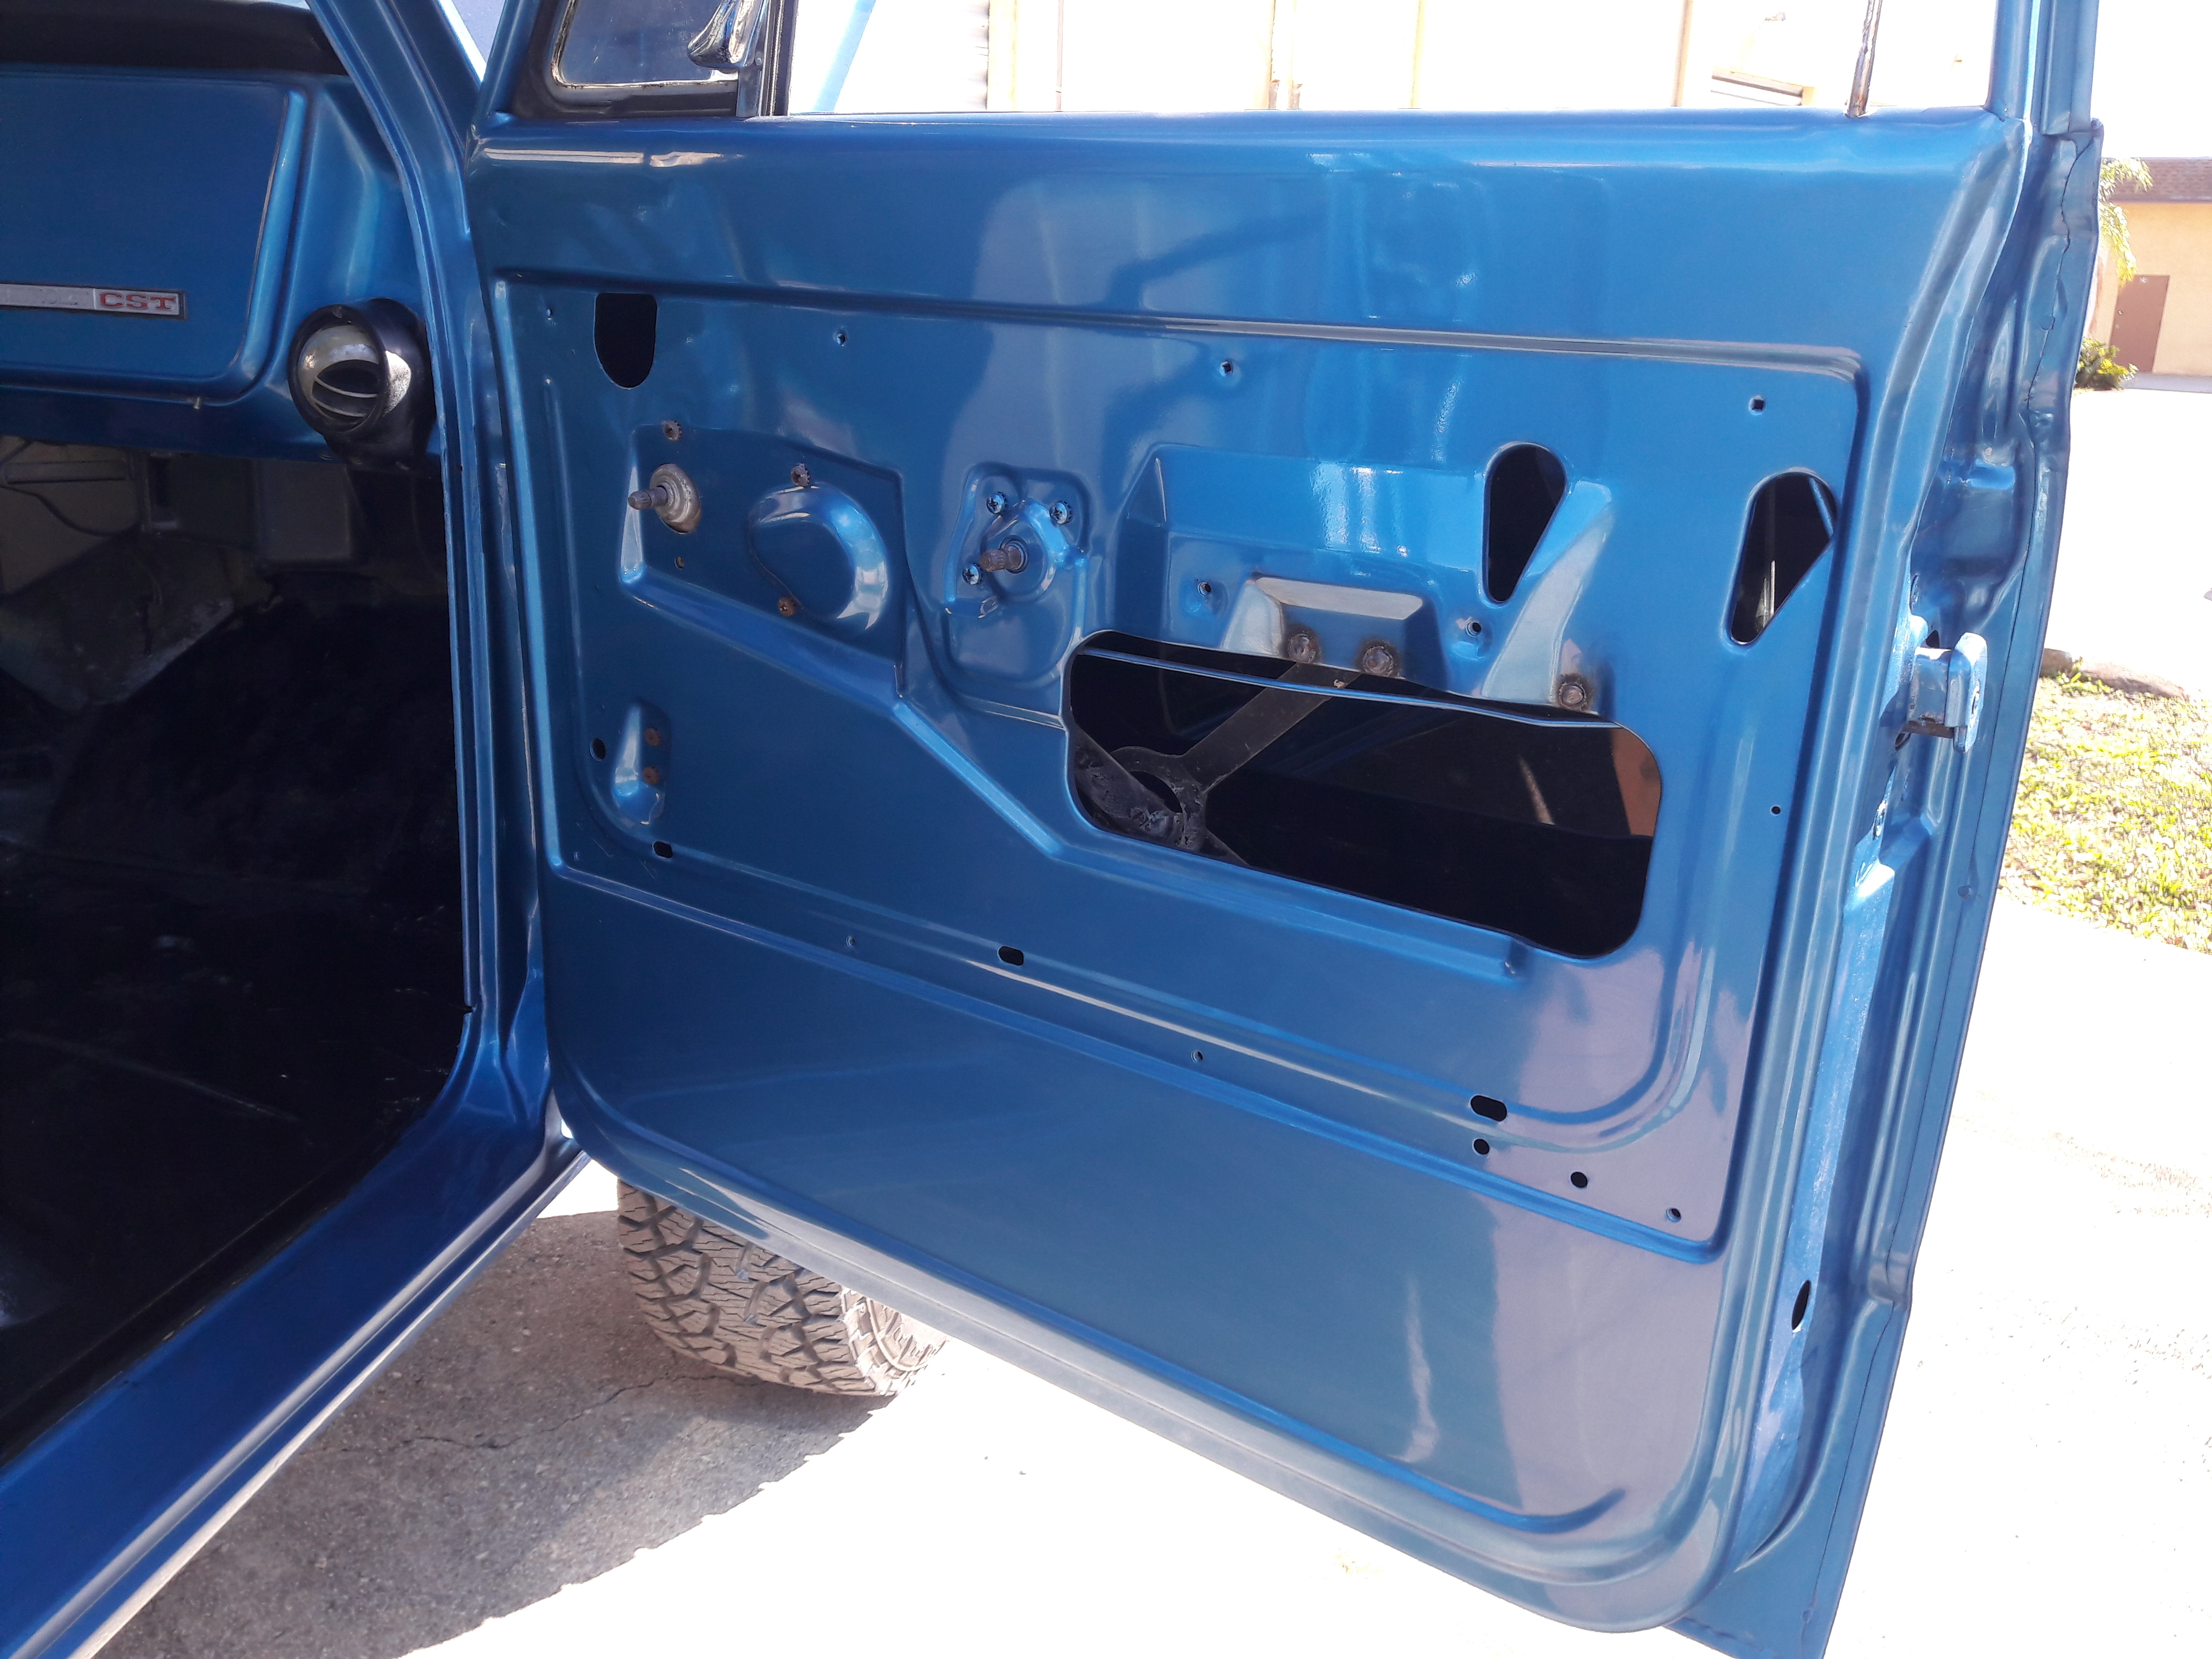
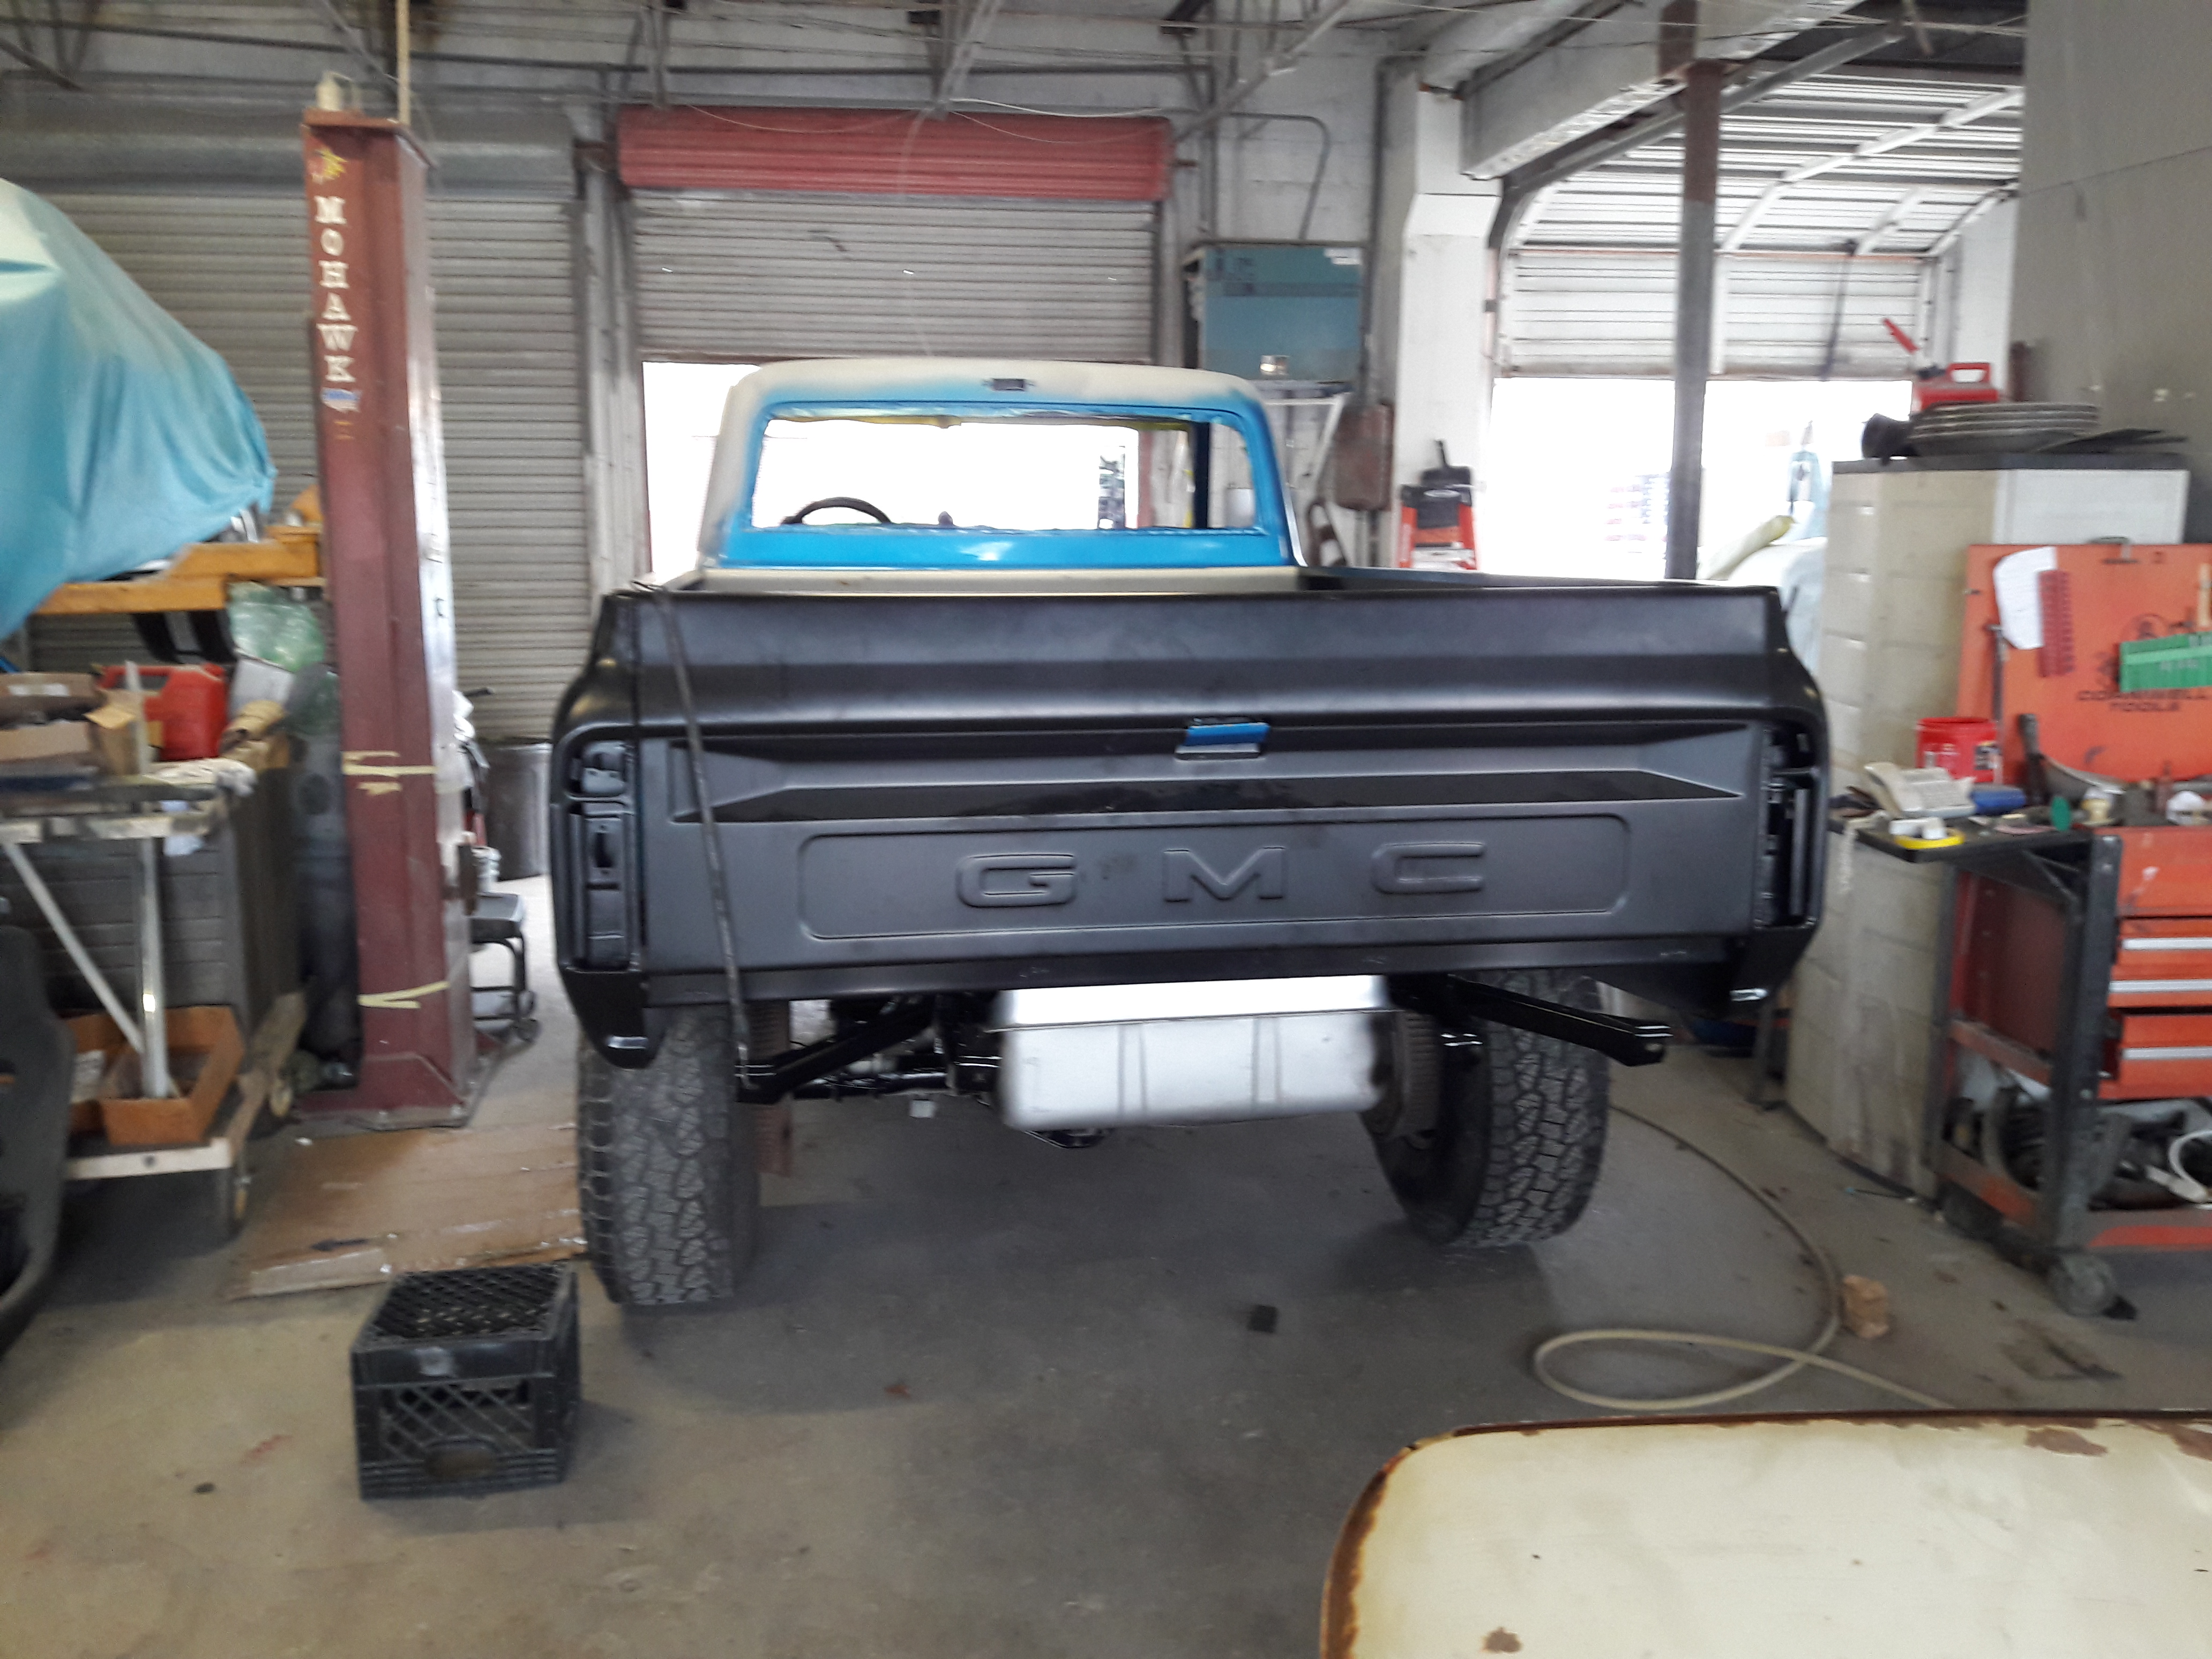
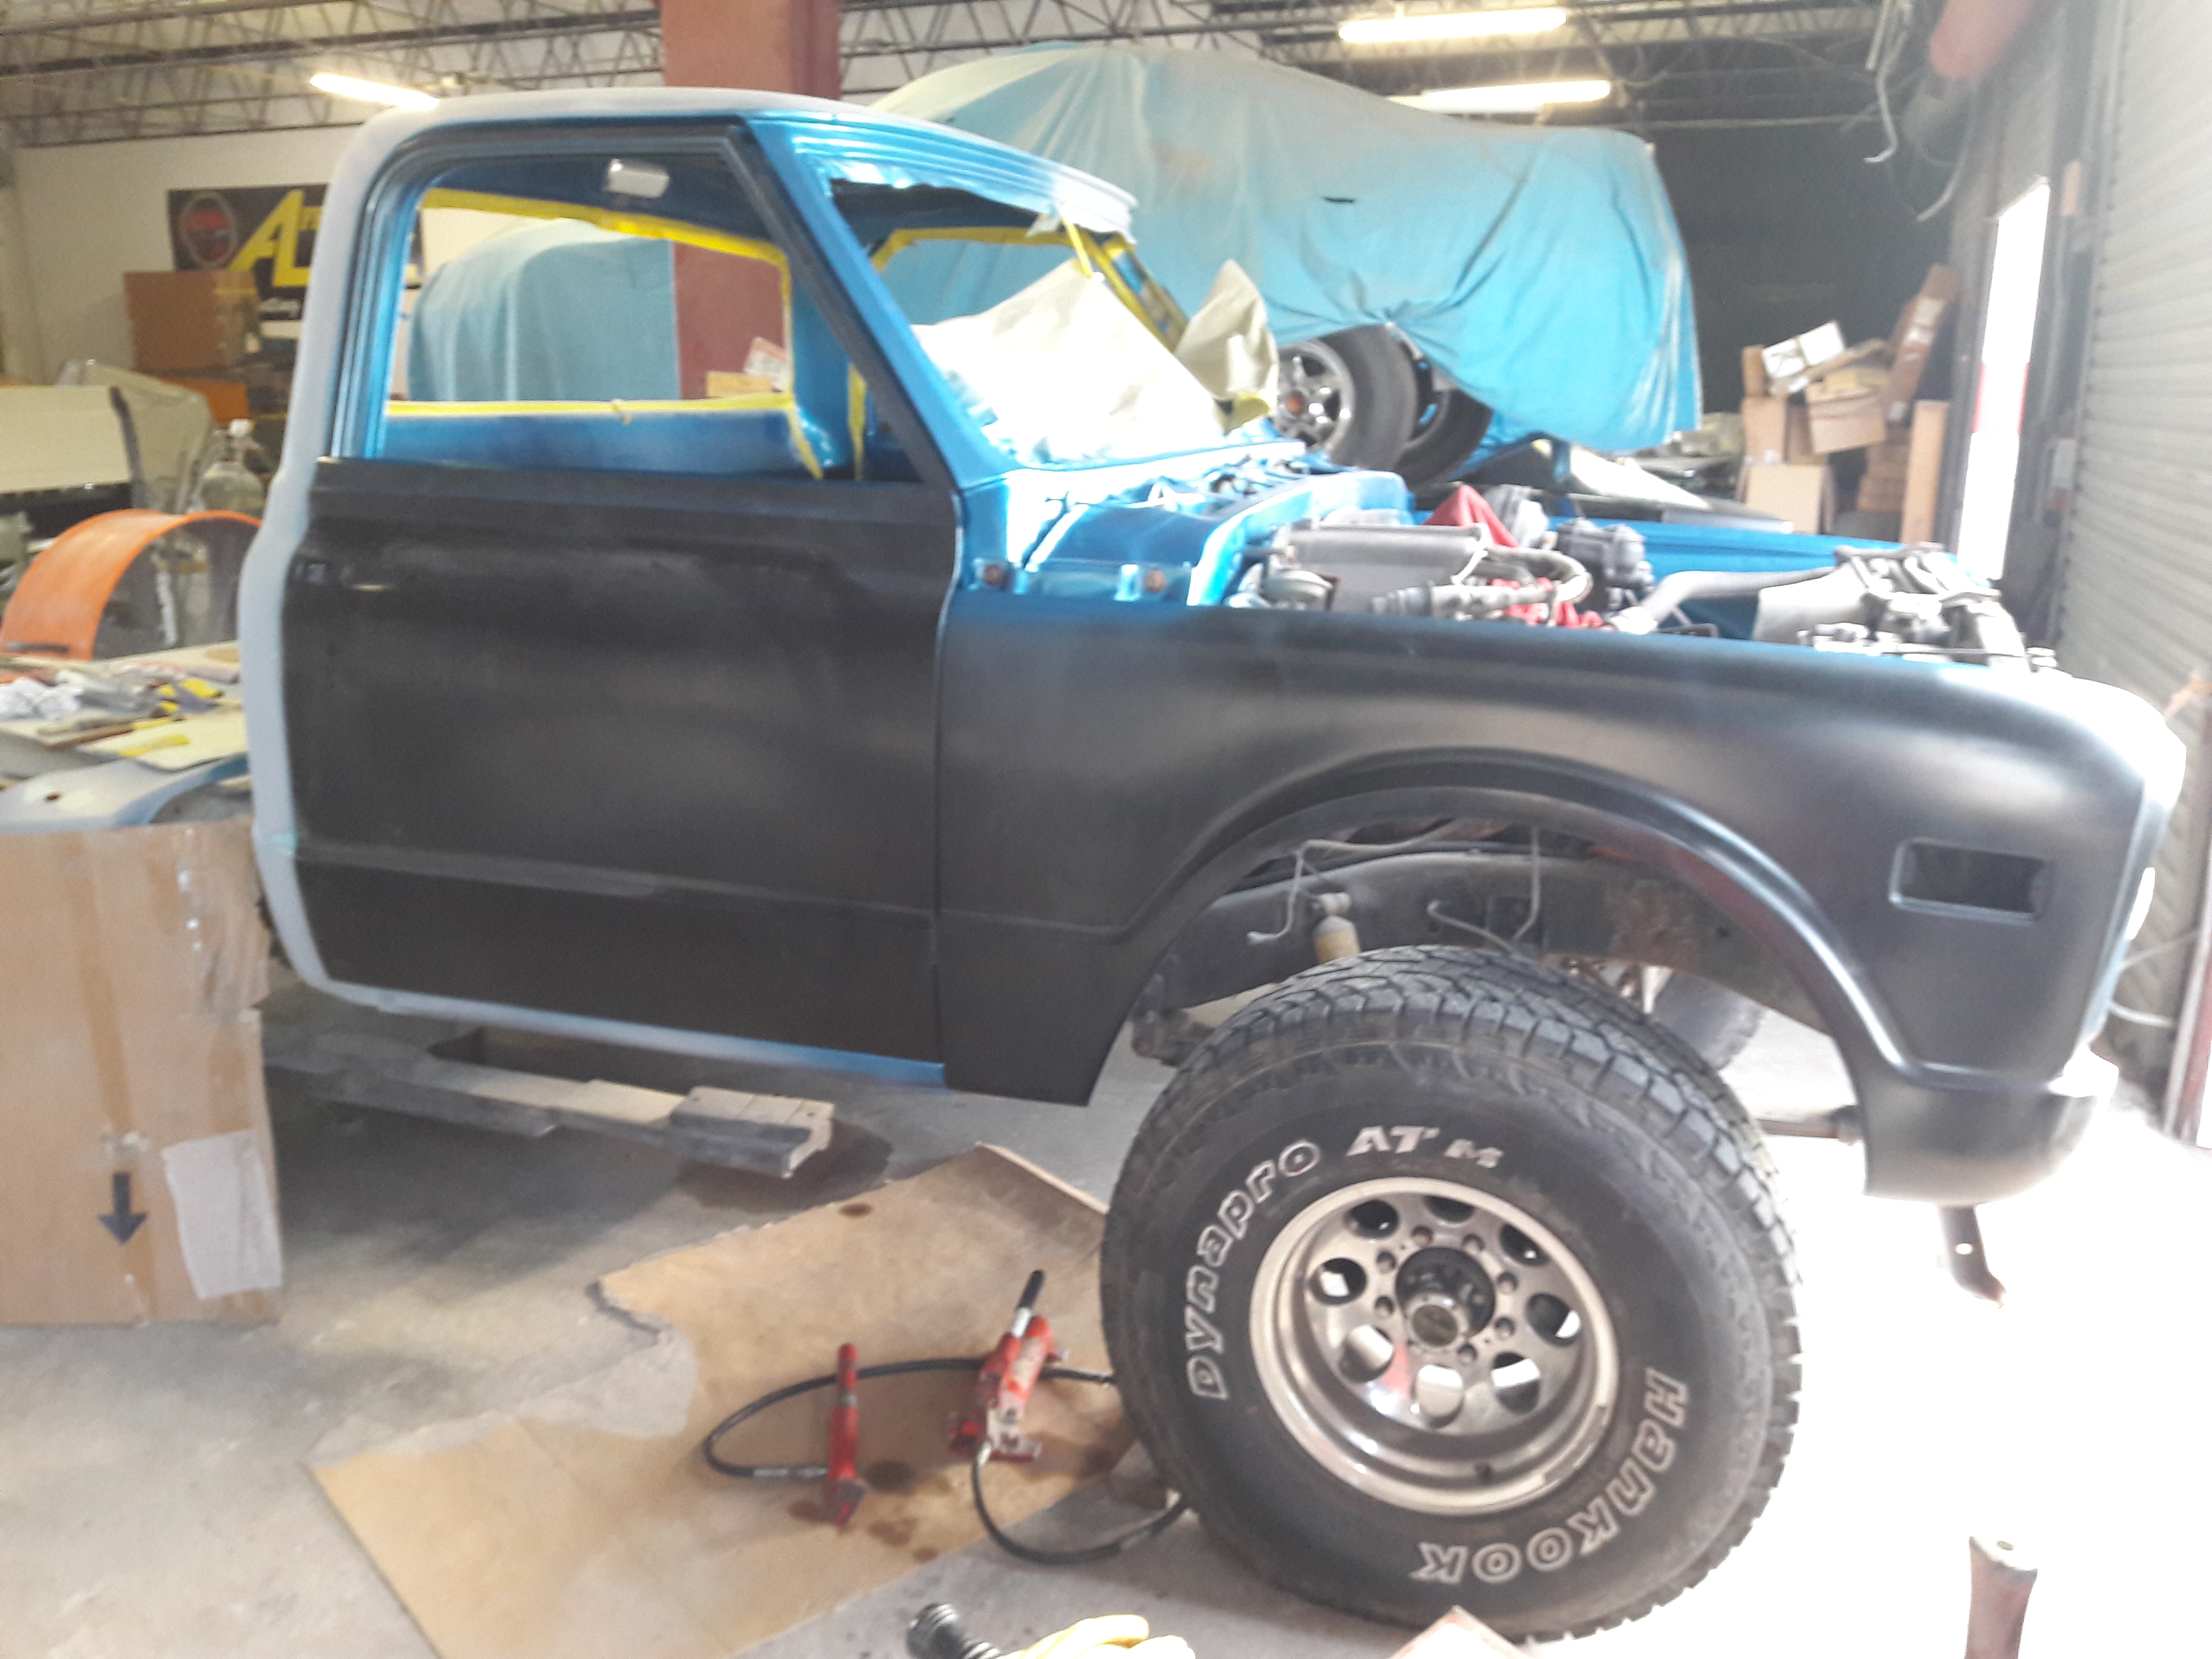
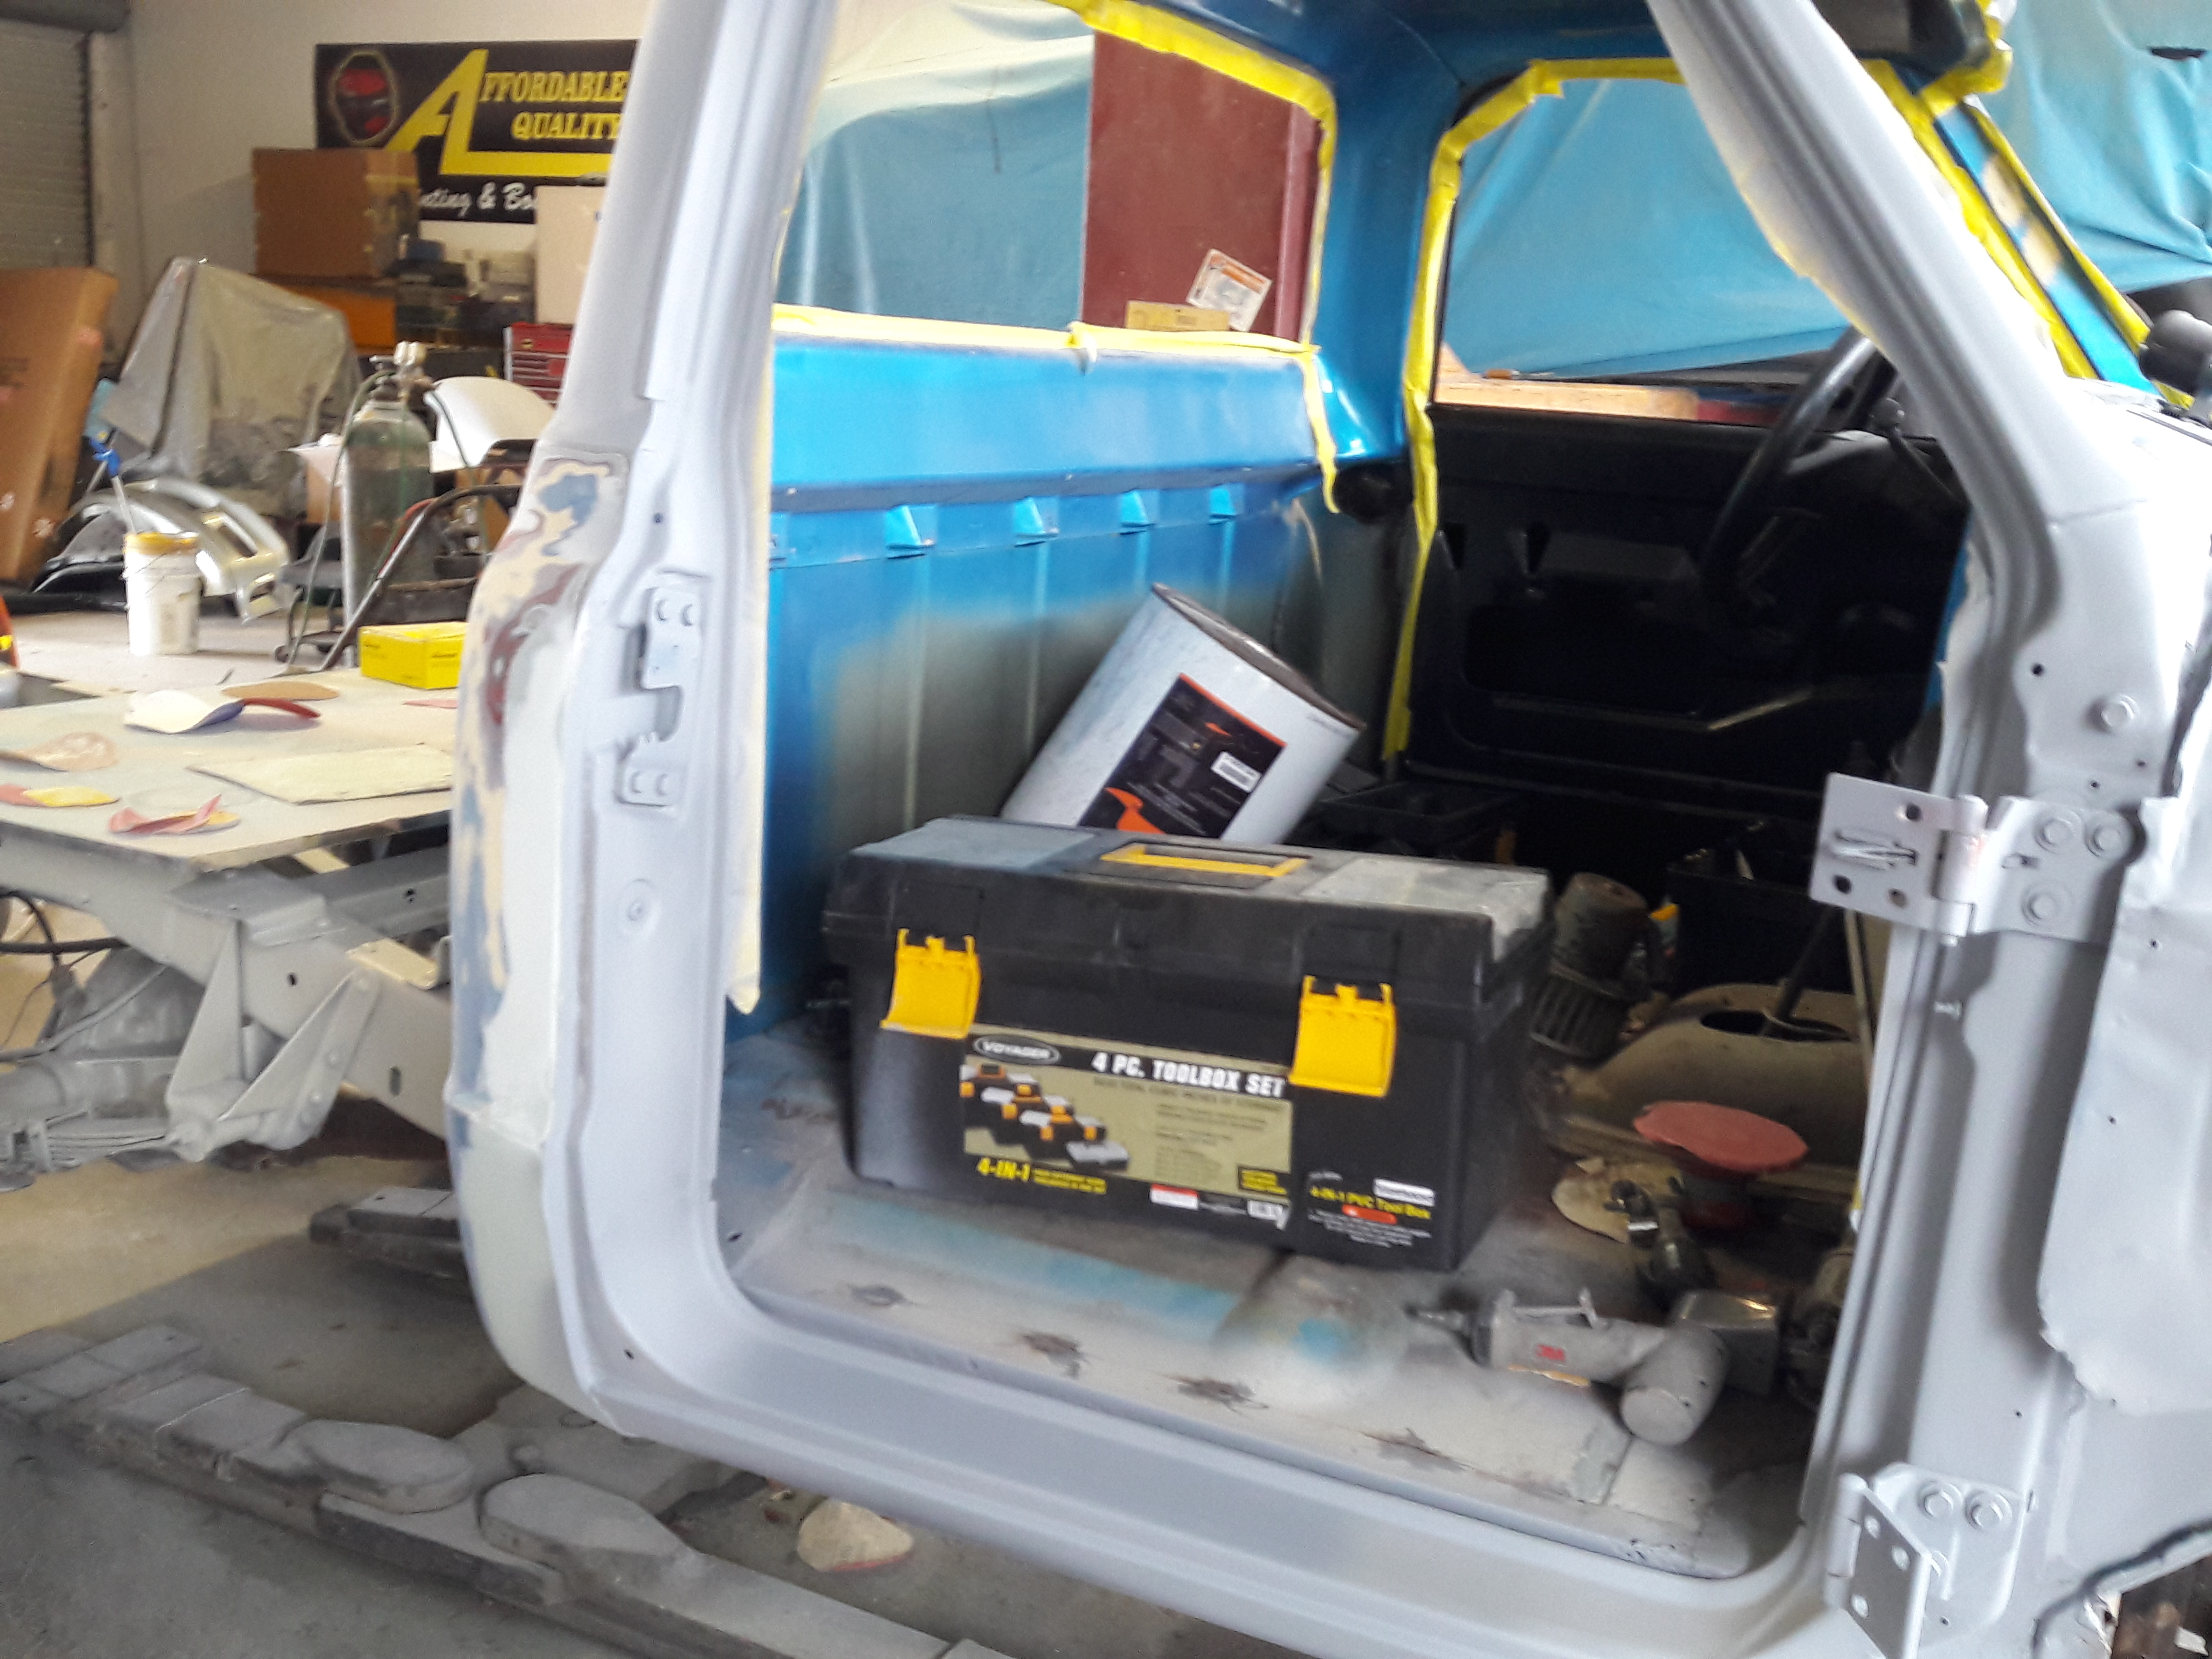
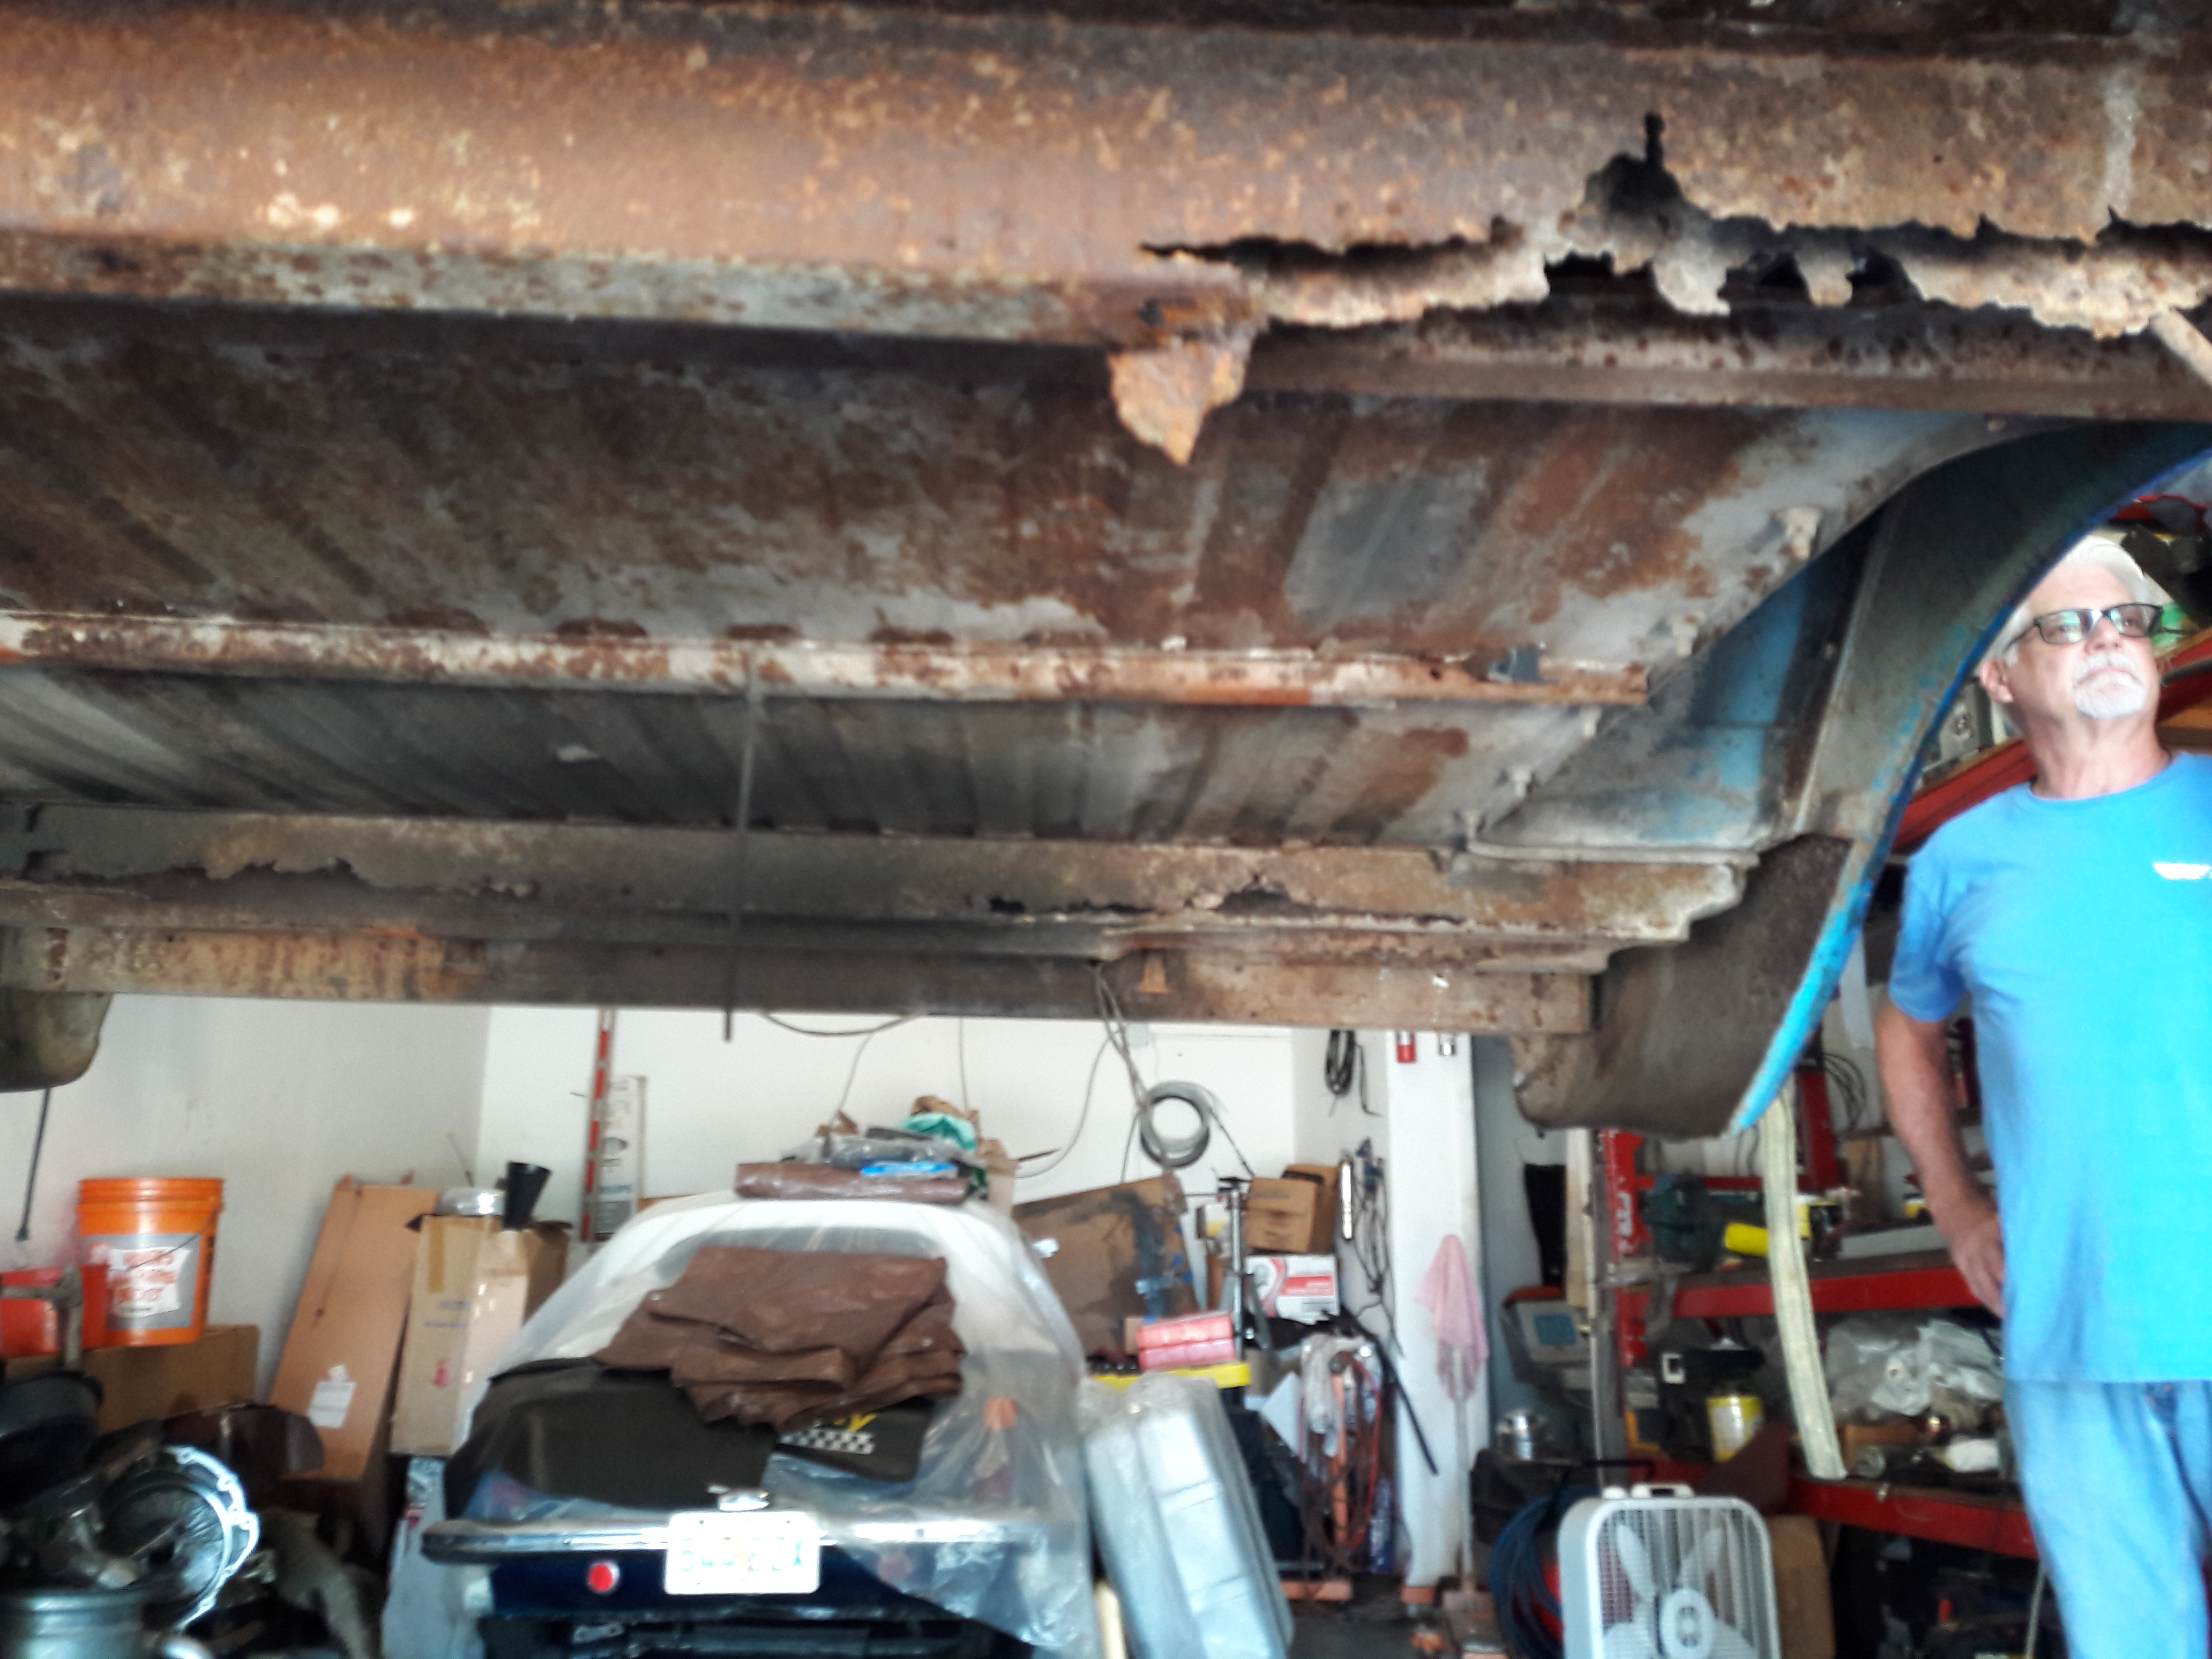
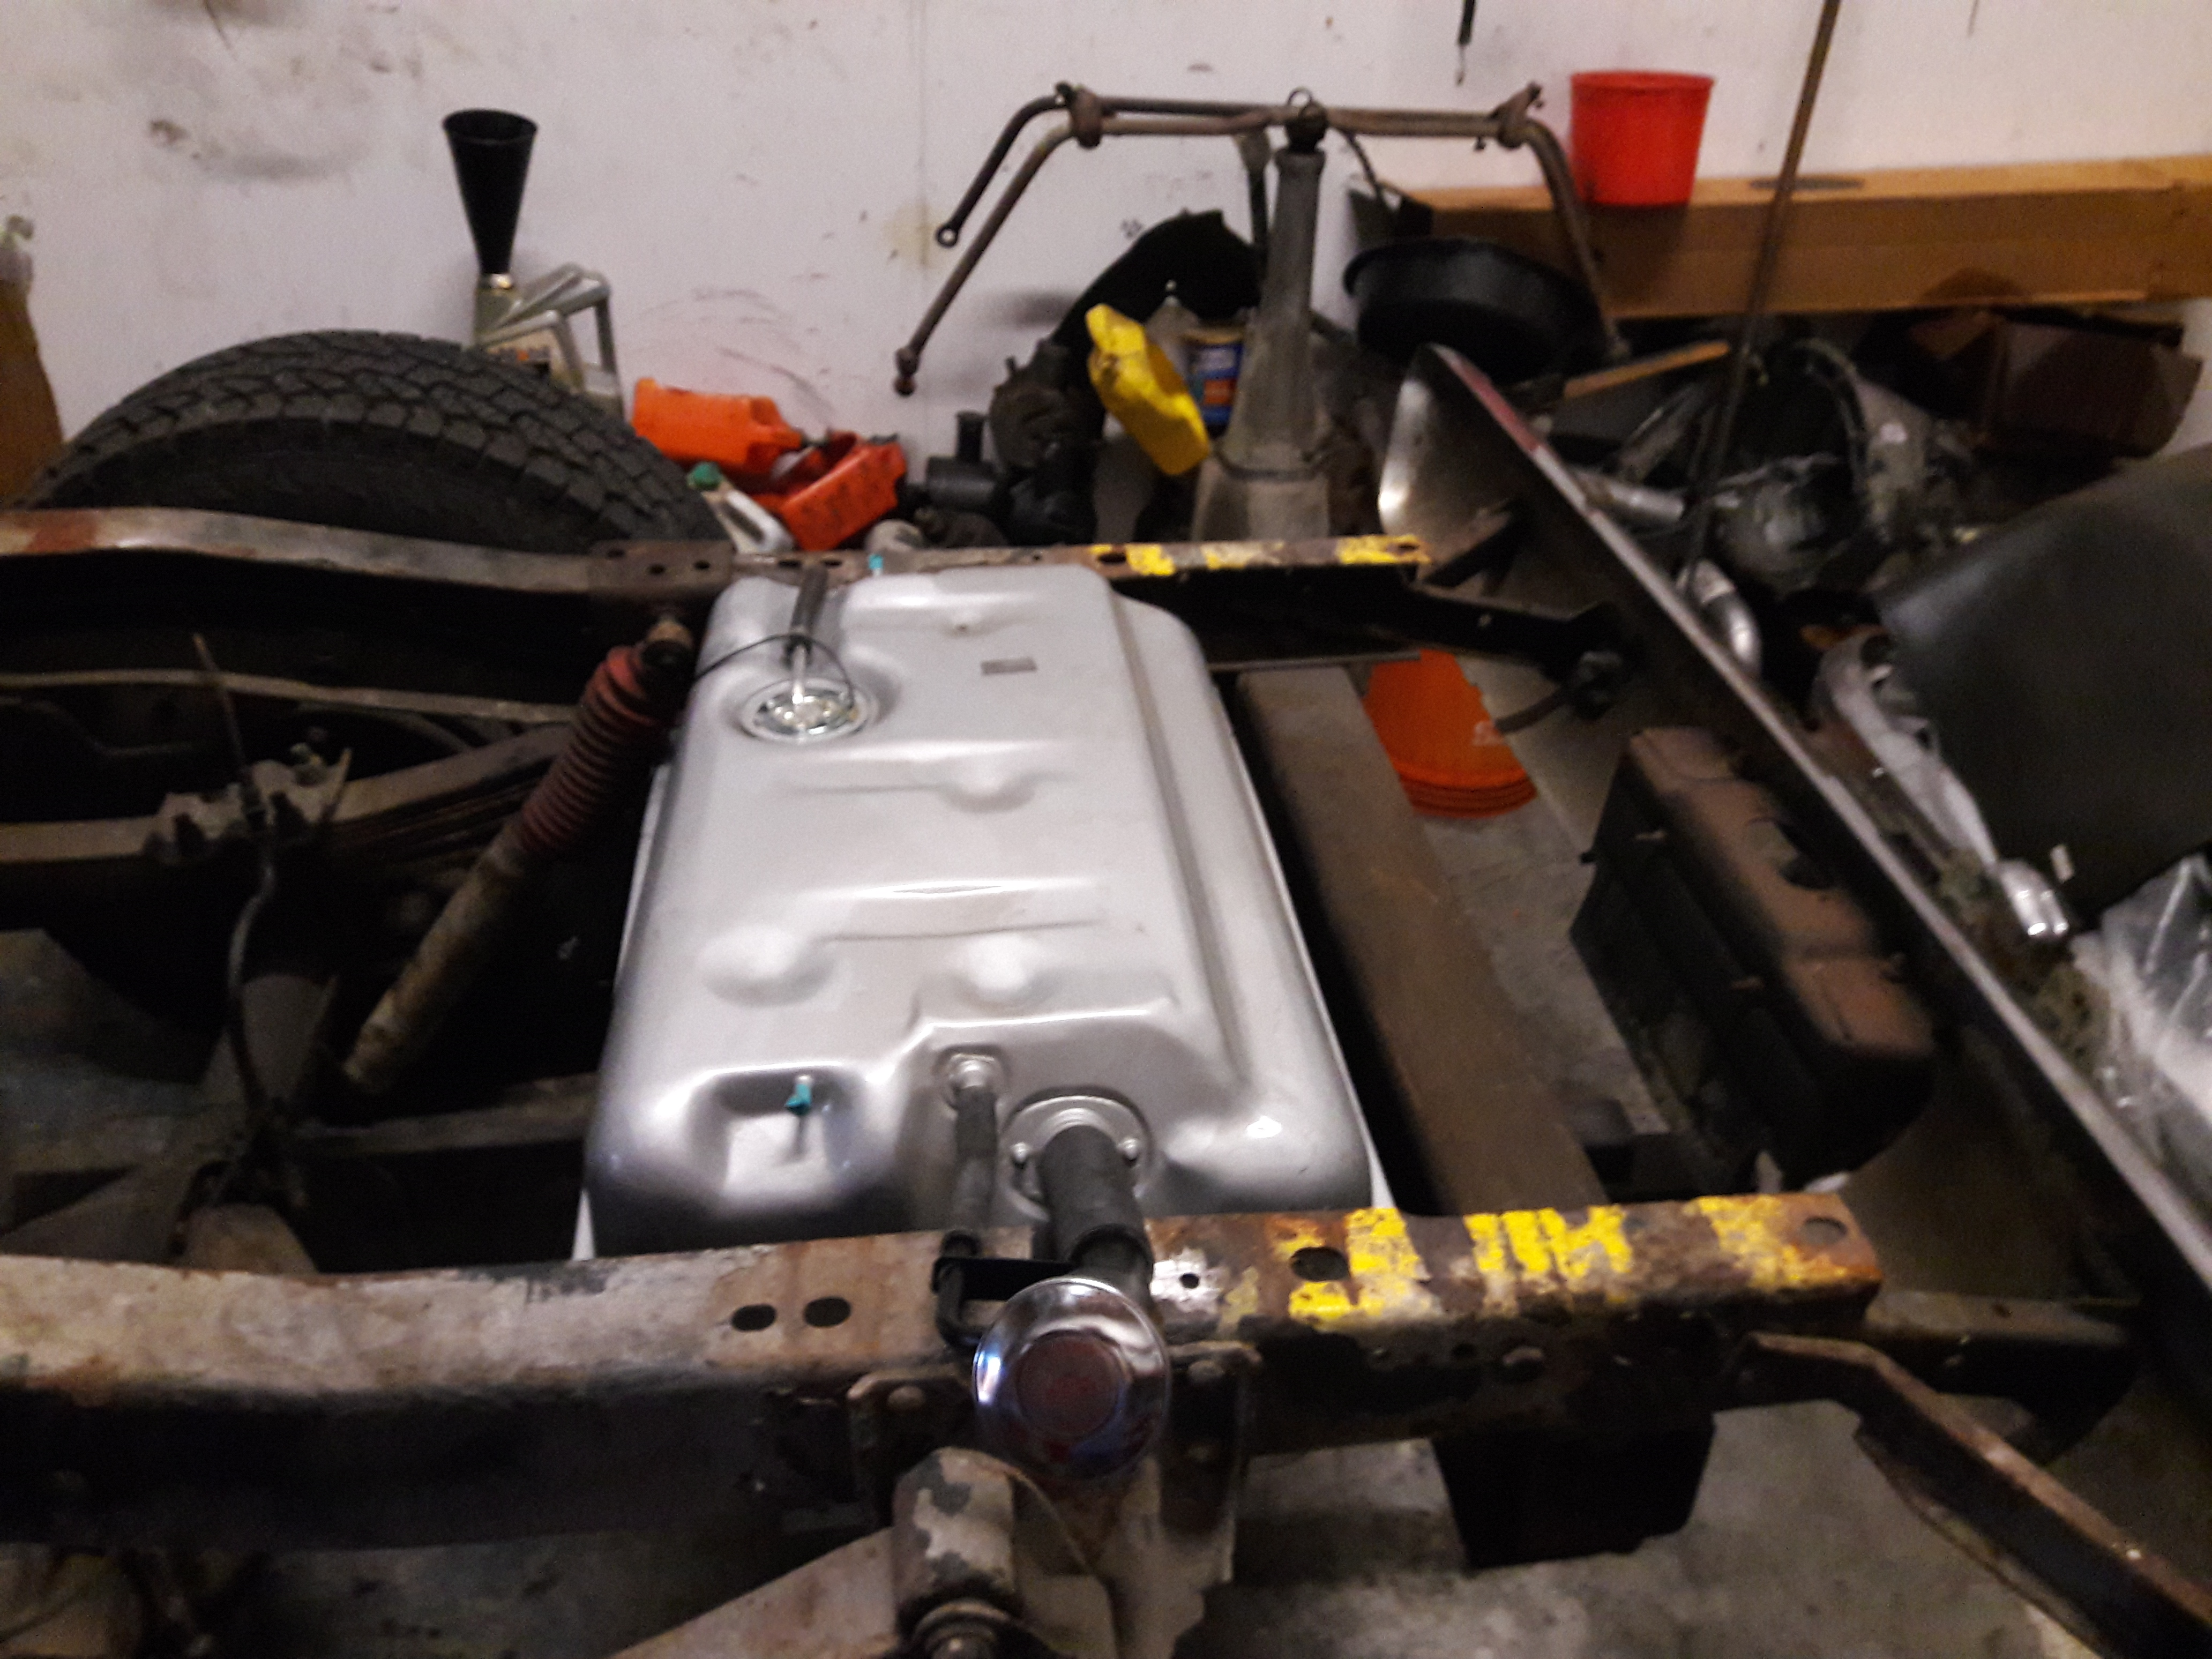
The 71 Truck is back from the paint shop. It is time to begin re-assembly and maintenance to any items as we proceed to asemble the truck. While the seat is out, a good look under the dash is in order and attention to any wiring details that may need attention. The bed is new, fenders, doors & hood were replaced, and the fuel tank was relocated to the rear. Now we need to re-install the hitch and provide protection for that new tank.
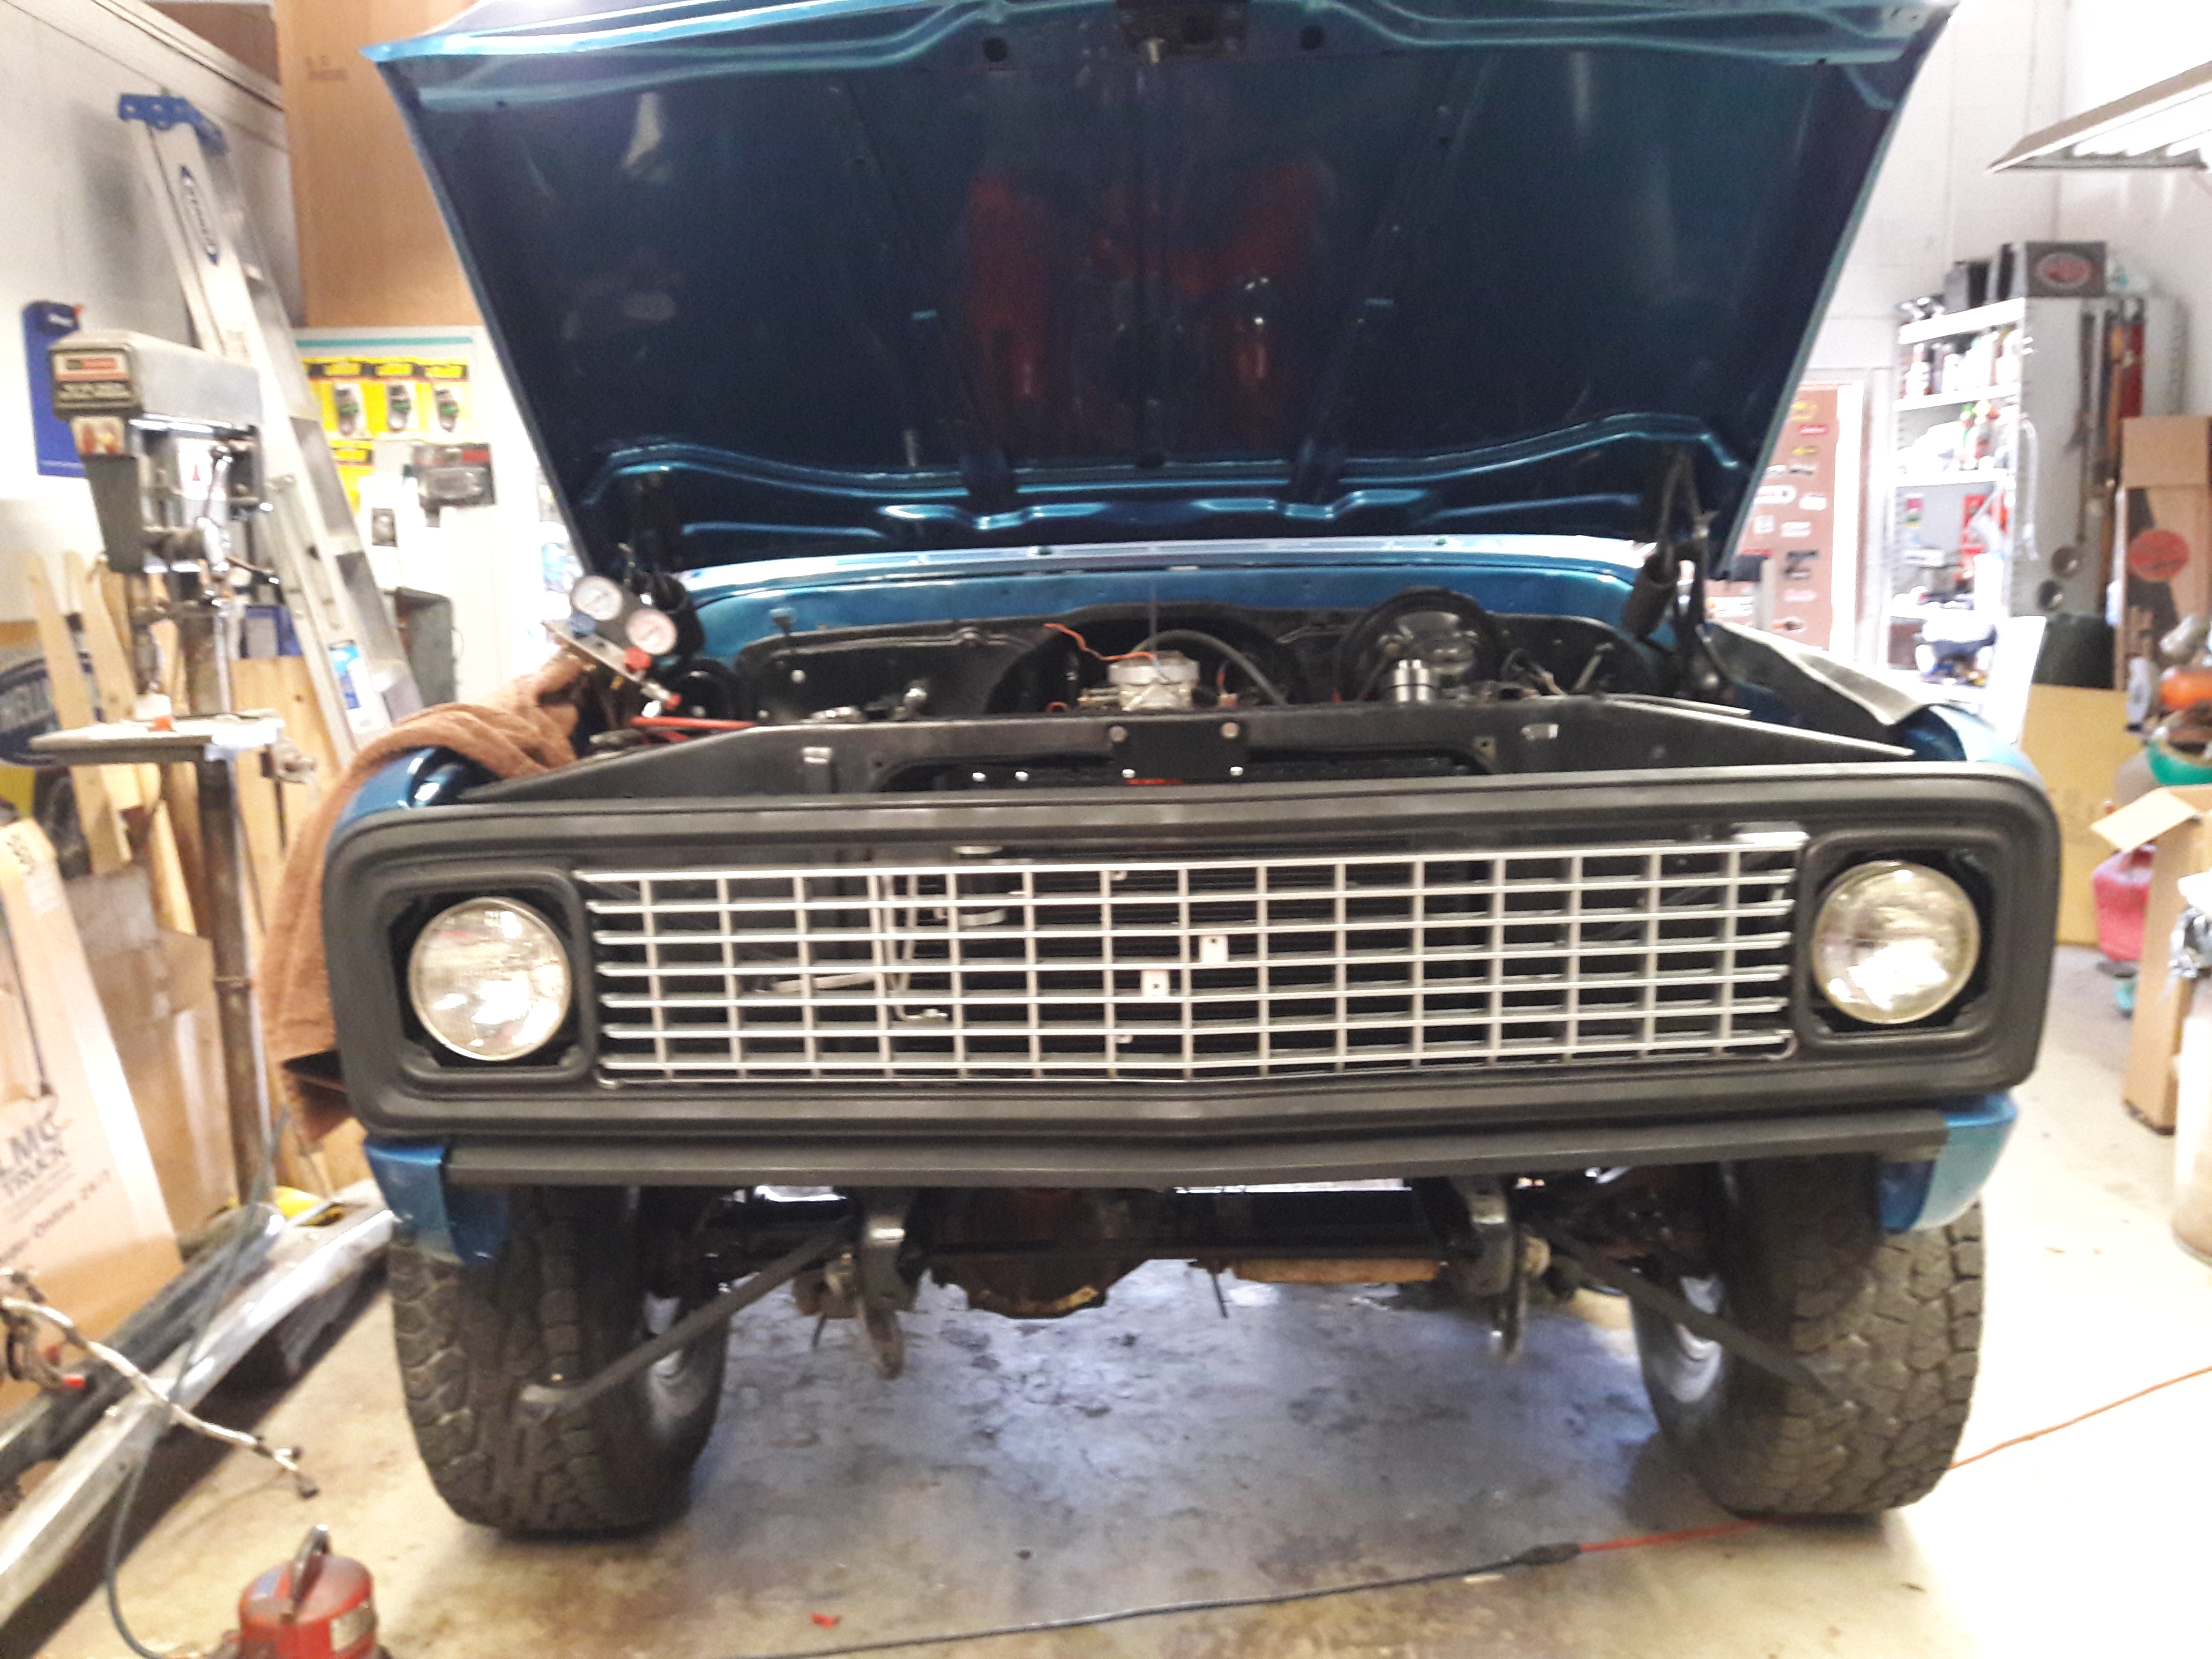
04/12/21 update: As the re-assembly began, a request for a few upgrades came to my attention. Denis would like to have working A/C and Serpentine Belts. In addition, the headers need to be replaced and the transfer case leaks ATF one cup at a time.
05/24/21 update: Installed a new trailer hitch. Installed rear bumper. Cut, crimp & install new A/C hoses. Evacuate A/C system and add holding charge. Strip, paint & install new headers. Deliver to muffler shop and have exhaust installed from headers back including tailpipes. Remove, clean & re-install sparkplugs. Swap carbs and roadtest.
05/24/21 update: Installed a new trailer hitch. Installed rear bumper. Cut, crimp & install new A/C hoses. Evacuate A/C system and add holding charge. Strip, paint & install new headers. Deliver to muffler shop and have exhaust installed from headers back including tailpipes. Remove, clean & re-install sparkplugs. Swap carbs and roadtest.

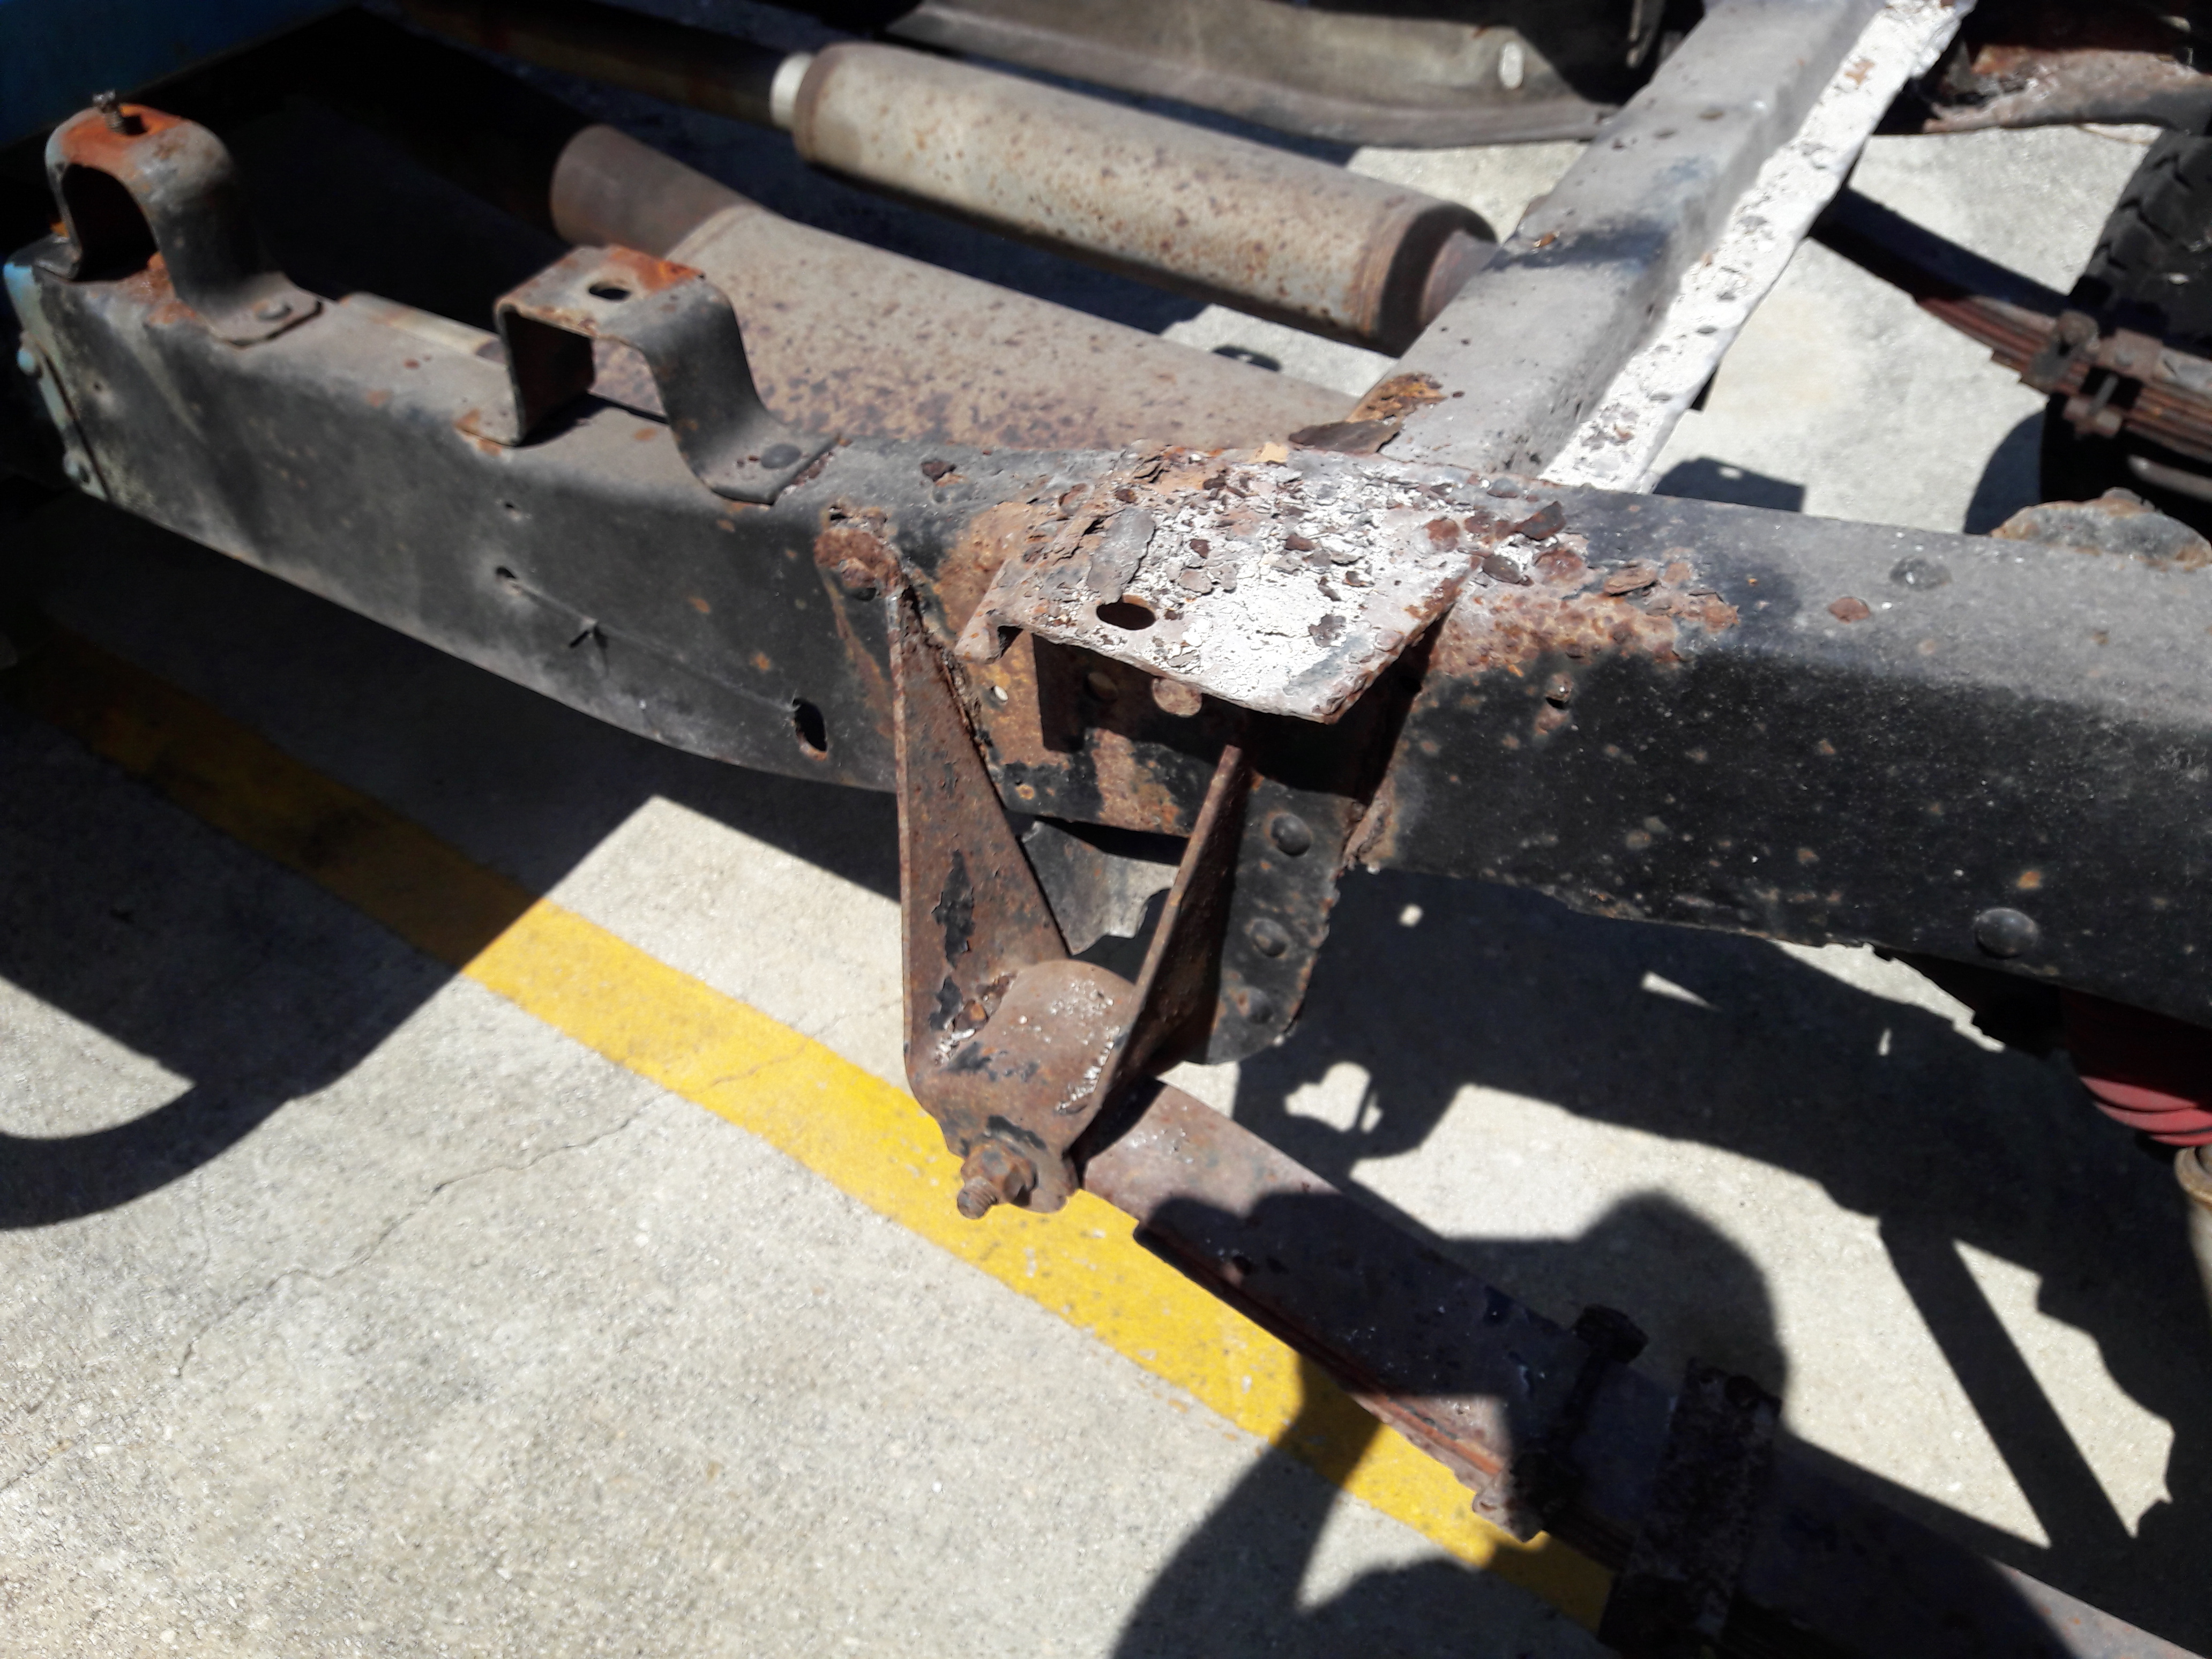
2 seals on the transmission adapter leak badly
The transfer case seperates from the transmission with 4 bolts, but mind you, it is a heavy mother! The previous somebody damaged both seals creating a massive leak when the truck is started. The transfer case was over-full with ATF.

The adapter housing has 2 seals #14724 on each end of the housing. Closer inspection shows damage to both seals during previous installation. I opted to install a 3rd seal on the xfer case side whereas the bore was deep and could accomodate an extra seal.

Use a jig to hold the transfer case!!
Make asimple adapter from wood to keep the case balanced upon removal.
Transfer Case Tricks


A/C Upgrade
Since the original A/C was disconnected, bent & broken, the decision was made to install a complete kit from Vintage Air. I have removed the original evaporator that hugs the engine giving great acess to sparkplugs and a clean look!

Transfer Case tricks
The transfer case seperates from the transmission with 4 bolts, but mind you, it is a heavy mother! The adapter housing has 2 seals #14724 on each end of the adapter housing. Because there was enough room inside the adapter housing, I added a 3rd seal I purchased from NAPA which is an improved design over the National seal!

Serpentine Belt Kit
With the upgrade to A/C, a compressor and brackets need to be added. This is the perfect time to order a serpentime kit designed for A/C.

Vintage Air Upgrade
Vintage Air makes a complete kit for the 67-72 GMC & Chevrolet series of pick-up trucks, THe evaporator housing shown here contains everthing and it mounted inside the cabin, allowing for removal of that unsightly housing under the hood.

Seat Frame Rebuild
The original seat had issues and torn covers, so I stripped the covers and found the frame needed repaired & painted.

Install new burlap and prep seat foam
The springs were in good condition, but the burlap was poor, so a new layer was added over the springs before installing the seat foam.

Seat Foam installed

Clean up the engine
While bumpers are off & I can reach the carb, I removed it, cleaned up the intake before re-installation.